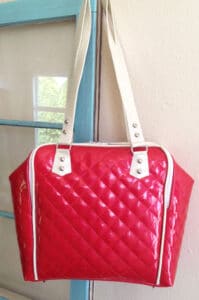
In my latest pattern, the Ellory Bag, there is an unusual item recommended as a stabilizer – craft foam! If you have kids, you probably have some craft foam even if you don’t realize it. Most of us see it in this form: These fun little shapes are for craft projects.
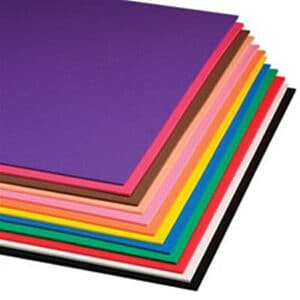
Stores like Hobby Lobby, Joann and Walmart also carry sheets:
I have found the sheets in thickness of 2, 3 4 and 6mm. The 3mm is the right thickness for the Ellory Bag.
Why craft foam? Well, while designing the bag, I was having a hard time coming up with the right combination of interfacing and stabilizers to achieve the results I wanted. The Ellory has pockets on each side that unzip across the top and about 1/2 down each side. The pockets then fold back. I found the heavy interfacing available are just too papery and crease to easily to work well. The foam stabilizers I tried were great, but none had quite enough body. I wanted the bag to have a good amount of structure in this area so the zippers could easily open and close. (BTW, If you like a soft-sided bag, skip the craft foam altogether and use foam stabilizer like Soft and Stable or auto headliner on the entire bag).
So, when I stumbled across a sheet of craft foam in my kid’s craft supplies it got me wondering – could it be used as a stabilizer for my new design? I mean, it’s thin yet sturdy, flexible, readily available, and best off – fairly inexpensive! At the time of this post, Hobby Lobby has their 3mm 12×18″ sheets in their store and online for $.99 each, while Joann’s will set you back $1.99 each (which is crazy so bring a 40% off coupon!).
So I did some experimenting and sure enough, it was just what I was looking for!
The cool thing about this stuff is that it can be heated and molded into just about any shape so people who do special effects and costumes use it. Of course this same quality is not ideal when you are using it as a purse stabilizer, so it does take some special handling. Since it is heat sensitive, you have to be careful not to warp it into a funky shapes with your iron.
Always do a test on a small piece to see just how heat tolerant it is before you start sewing it into your bag. When you do iron it, let it cool while laying flat on your ironing board before moving it. Also, the 3mm stuff I used had some thickness and you may find it drags on your throat plate a little. To work around these issues, you can compress it quite a bit with your iron at the seam allowance – that will help with the thickness of it.

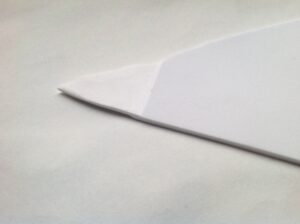
The point of this piece of craft foam has been ironed to flatten it a little
As far as the dragging, I haven’t had a great deal of problem with this except where there are many layers. I found the best way to deal with it is to either use a Teflon foot or to just put some tissue paper between the throat plate and the foam (or foam and presser foot)- it sails right through!
I love experimenting and discovering new things to use in my designs, I hope you will try it for yourselves and, if so, let me know how you like it!
Best,
sarah


Thanks for this!! Was looking for an article about this!
I’m glad you found it useful! I hope you will let me know if you use it and how it went!