
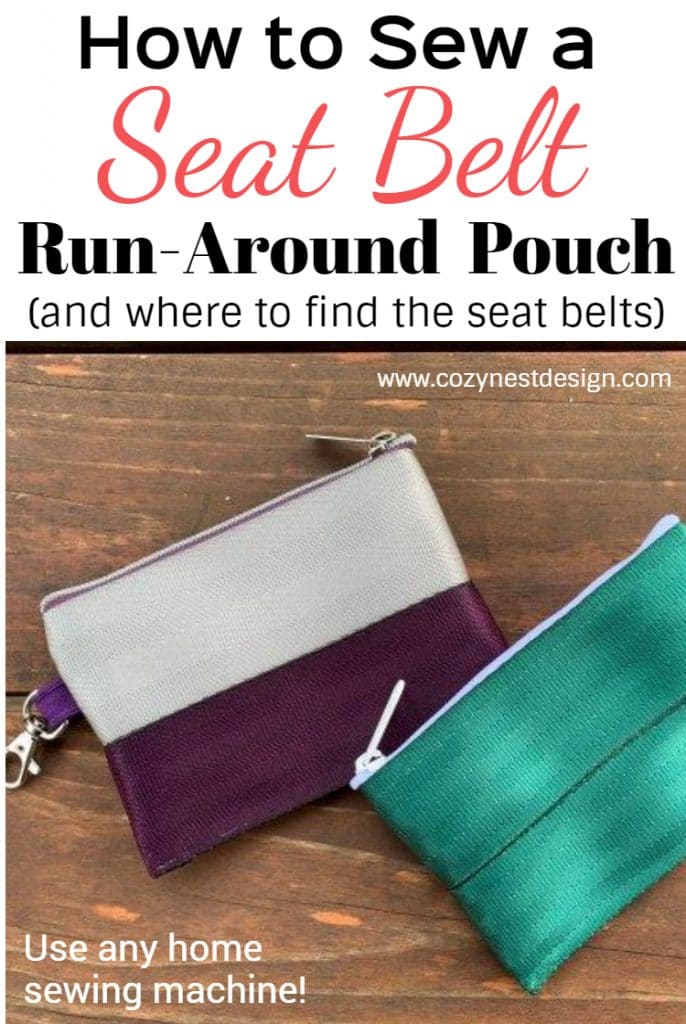
I have a super treat for you! My sweet, uber-creative friend, Suzanne Flores, is going to take you step-by-step in making one of her quick and functional Run-Around Pouches! This project was designed by Suzanne and you will be amaze at how easy and fun it is. Run-Around Pouches are perfect for credit cards, change, or any little tidbits you need organized.
Just so you know, Suzanne has taken her passion for sewing seat belts and has run with it! Below is just a small sampling of her creations and you can see more in the Cozy Nest Facebook Group.
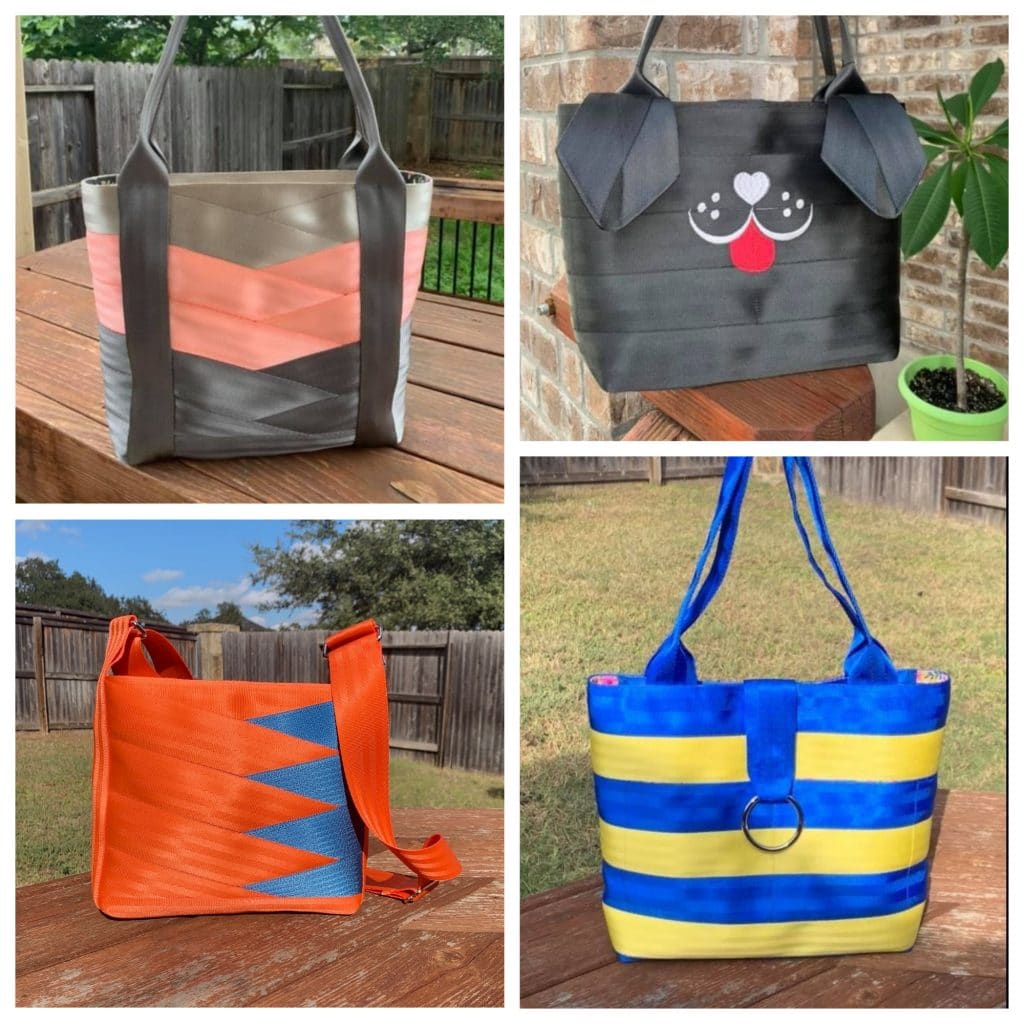
Suzanne does custom work and embroidery. If you want to contact her you can email her at: sflores216@gmail.com.
Until next time, Sarah
Hello and welcome! I’m Suzanne Flores. I love sharing my knowledge with like-minded sewists, encouraging others to be successful, and making the most amazing seat belt bags that I can imagine! If you are a member of the Cozy Nest Design Pattern Fan group on Facebook you are probably aware who I am, and have seen my creations on the wall. If you are not a member of that group you are missing out on the fun! Join the group today and see the beautiful bags and pouches we all make! I absolutely love to challenge the limits of my imagination and machines. Share this blog with all your sewist friends, as my gift to you…a free handy useful pattern, and Sarah has graciously given me permission to take over the blog today so quick run and make you one!
Starting off, know that you CAN make is project on any home/domestic sewing machine. You do not need an industrial machine to sew seat belt. I use my domestic more than any other machine in my arsenal.
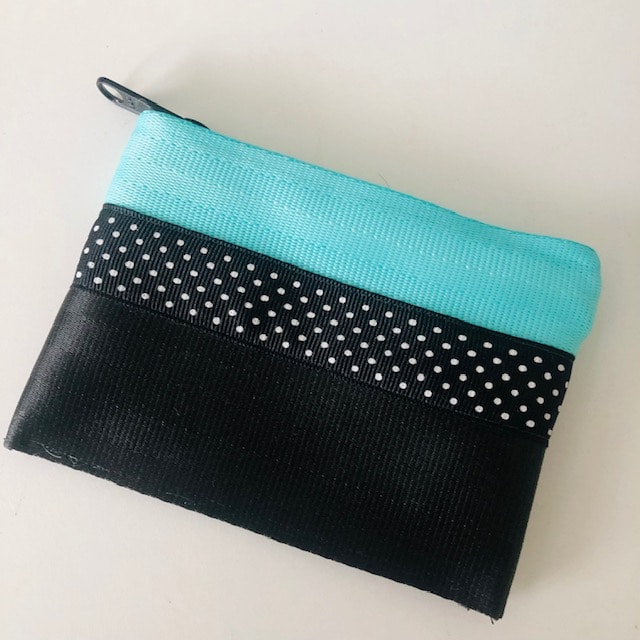
Does this picture look familiar? If you are a member of the Facebook group it does. I get more messages about this than any other picture on the wall. Pictured in this photo are the beautiful Roundabout Bag with tassel and the stellar Tri-Fold Wallet (both Cozy Nest Design patterns). It is the little coin and credit card pouch everyone wants to know about and needs the pattern for.

Today is the day you get instructions to make your own! But first, story time…I happened along this obsession by accident in a little local quilt shop (LQS) in Boerne, TX. They happened to have 3 seatbelt purse kits that included patterns in stock. Yep, you guessed it; they all went home with me and 4 days later I had sewn 3 new purses! Prior to accidently finding these amazing kits I had no clue where to get seat belt from, but had a love for an overpriced name brand seat belt purse which broke the bank with every new release. This is where Cozy Nest Design and Sarah and I start our friendship. I begin emailing her with crazy ideas that I want to make, but no pattern in existence on the www. I became this crazy fangirl of her pattern designs and she realized I wasn’t a creep, but just a very excited sewist. Fast forward quite a bit and I now have a friend who understands my seat belt fetish, supplies my belt needs with the most amazing color selection around, I can bounce pattern ideas off of, and just happens to own Cozy Nest Design. Pick up a kit for a purse while you are there and ask your LQS to host a trunk show to see some of Sarah’s amazing makes.
Disclaimer, once you make one, you will make more. They are so quick and easy and do not require much for supplies; thus making this the perfect scrap buster! There is nothing wrong with having one to match every bag you own! What a unique gift for a friend or an easy sell for your next craft show. Go on, get your feet wet, gain confidence, brush the dust off the domestic machine and sew with me!
SUPPLIES TO MAKE A Seat Belt run-Around Pouch
Makes 1
- 1-15”x 1” piece of lightweight canvas or ribbon (this will not be seen in finished pouch)
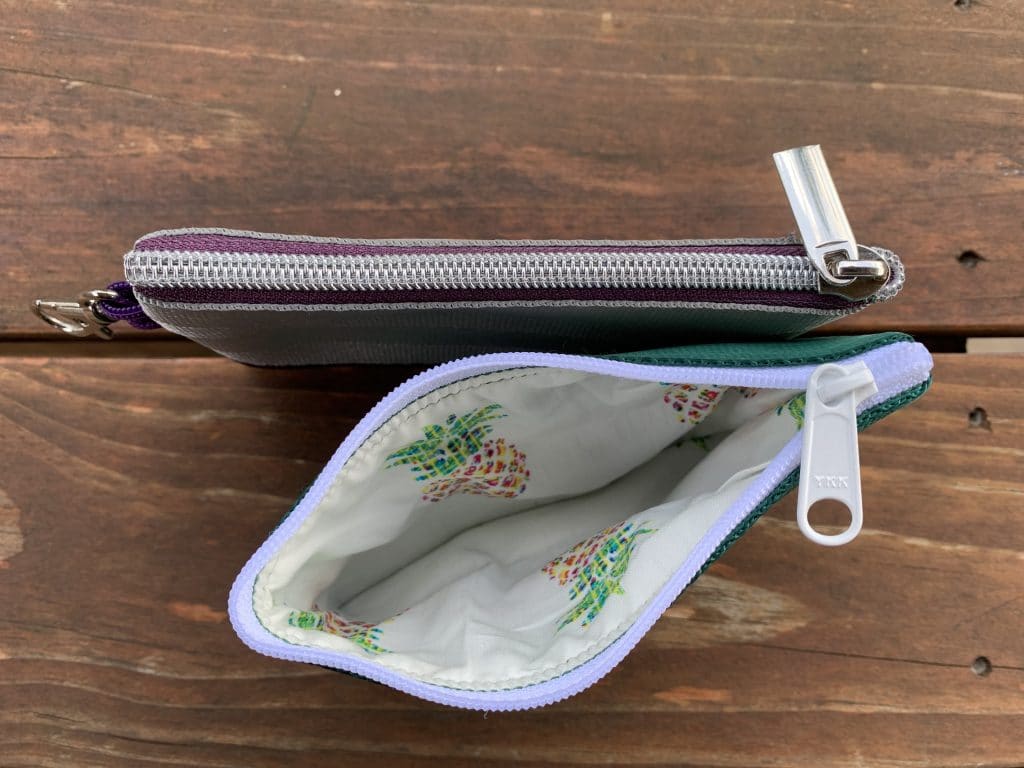
- 2-13” pieces of 2” seat belt (not all seatbelt is exactly 2” wide but is sold as 2” wide. This will not affect the finished pouch). Melt the ends with a candle, lighter, zig-zag, or some other method to prevent fraying. In this tutorial, I am using seat belt in colors Aubergine and Whispy Silver. The solid green one pictured is made from Jungle. You can buy seat belt by-the-yard and half yard.
- 1-13”x 5” piece lining fabric
- 1-15” single side of zipper (1-15” zipper will make 2 pouches). If using zipper-by-the-yard, pull it apart so you have only one side. If using a precut zipper, cut off the zipper stops as close to the stop as possible and pull it apart so you have only one side.
- 1-Optional ½” Swivel clip
- 1-Optional Swivel Tab – if making a fabric tab cut lining fabric 3”(l) x 2”(w). If using ribbon cut 1-3” piece
- Removable marker or chalk wheel (I like the Pilot Frixon erasable gel pens)
- Coordinating thread and basic sewing supplies
- Lighter, candle or torch
*The link to the pen is an affiliate links which means Sarah will get a few cents at no added cost to you if you buy them. If you don’t want that, you can just type the item description into your browser to find them. Either way, get you some of those pens- they are worth it!
Now that we have all that ready to go let the fun begin!
SEWING INSTRUCTIONS
Find the 15×1″ piece of canvas. Draw a line ½” down from the long edge. Position the long edge of one of the seat belt pieces along the 1/2″ line. Stitch the long edge of the seat belt to the canvas as close to the seat belts’ edge as possible (this is called edgestitching). Place the second piece of seat belt on the canvas so it abuts the first piece. Edgestitch the long edge to the canvas.
If you are not adding a swivel clip, skip this step. If you are using fabric (vs ribbon), fold the fabric tab in half long sides together and press. Fold the long, raw edges toward the center and press again. Fold in half so you have a piece that is 3” x ½”. Top stitch 1/8” from both edges. Slide the tab or ribbon through the swivel clip and match the ends. Hold the ends together with a clip. Place the tab on the panel as illustrated below. Be sure the tab is laying 1″ off the panel. Baste the ends to secure. This panel will be referred to as the exterior in the rest of the tutorial. Set aside.

Let’s move on and add the zipper to the lining. Place the lining panel on your work surface right side up with long edge at the top. Place the single side of the zipper on the panel with its teeth facing up and the tape aligned with the top edge of the lining. Overhang the zipper ¾” on one end of the lining and 1-1/4” on the opposite end. This overhang will make it easier to attach the zipper pull later. Stitch along the edge of the zipper tape using a 3/8” seam allowance.

Pull the zipper tape away from the lining panel and press the wrong side of the zipper tape to the wrong side of the lining. Press well so the zipper tape stays to the wrong side for future steps.

Bring the exterior and the lining panels together with wrong sides facing. Position the exterior so that it’s long edge sits approximately 1/8” from the zipper teeth. Stitch as close as possible to the upper edge of the seat belt to join the 2 pieces together. Trim the lining piece ½” longer than the bottom of seat belt lower edge.
Now it is time to attach the zipper pull. Align the exterior bottom and ends (tuck the lining up and out of the way at the bottom edge). Use clips to hold in place. Attach the zipper pull being sure to keep the alignment of the seat belt square. If you don’t know how to install a zipper pull, there are great videos on YouTube that illustrating how. Slide the zipper pull half way across.

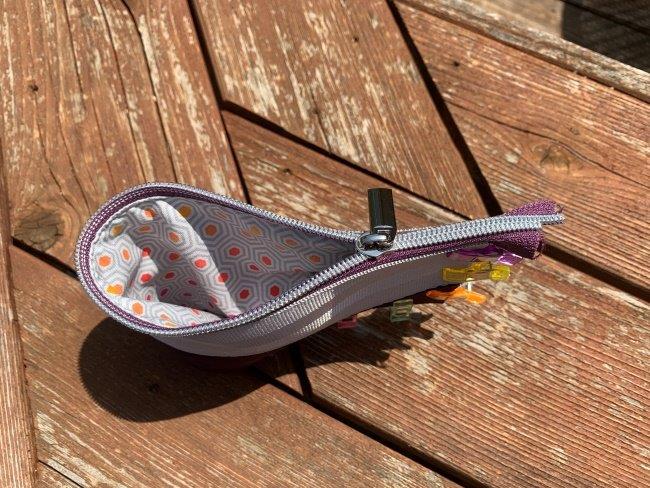
Let’s sew the bottom of the lining and the side seam. Turn the panel wrong side out. Pull the lining up from the exterior as shown below. Stitch, using ½” seam allowance across the bottom edge of the lining and down the side of the lining and the side of the seat belt. Be sure your zipper pull is out of the way. As you stitch across the zipper, take care and go slow. A seam jumper is helpful to make this step easier.
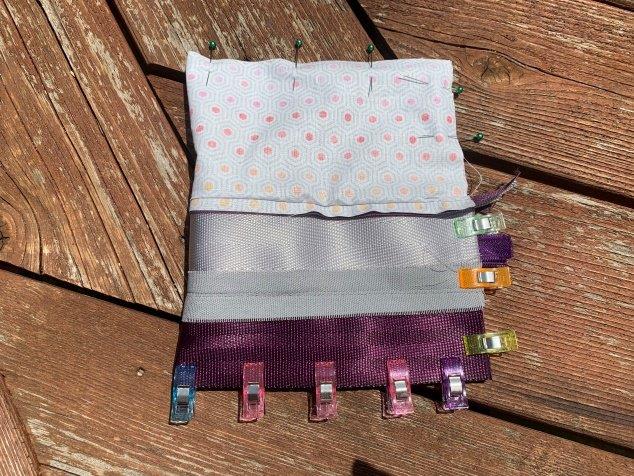
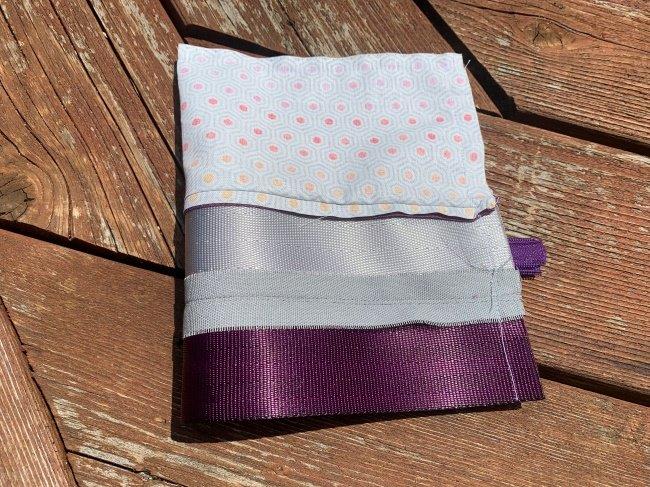
Now it is time to sew the final bottom seam. To do this, bring the seatbelt over the lining through the open bottom. Push out the corner where the side seam and zipper meet. It may be helpful to trim the zipper back to ¼” or so to thin the seam. If the seatbelt is difficult to work with, a bit of steam from an iron may make it more pliable. Pull the lining through the zipper a little so that it sits out of the way of the bottom edge of the seat belt. We don’t want to catch the lining in this final seam. Align the bottom belts and sew as close to the edge as possible.
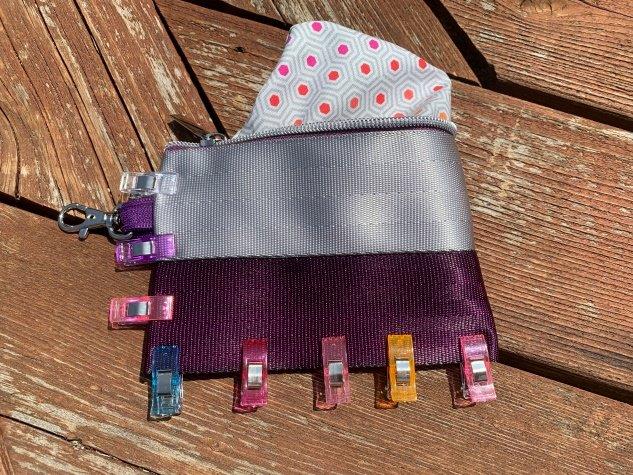
The final step is to push the lining back into the bottom corners of the pouch, zip the zipper and you are done. Congrats!
Super easy and fun to make! Show it off to all your friends, hook it to your keys as an easy grab and go of necessities to take to the store or pool. Be sure to post your makes in the Cozy Nest Design Patterns Fan Page on Facebook. Thanks Sarah and Cozy Nest Design for allowing me to take over the blog today. I can’t wait to see your purse and pouch creations!
Suzanne Flores
Related Seat Belt Tutorials
Must-Have Seat Belt Sewing Supplies
How to make a seat belt pouch
How to make roses out of seat belts
How to make seat belt tassels – bell cap style
How to make a fold over style tassel
How to make a sleek drop tassel
Leave a Reply
You must be logged in to post a comment.