Hi!
This tutorial will cover steps 22-29 in the Rollie Pollie Organizer pattern. This is the point where we are creating and attaching the Binding to the Wrap.
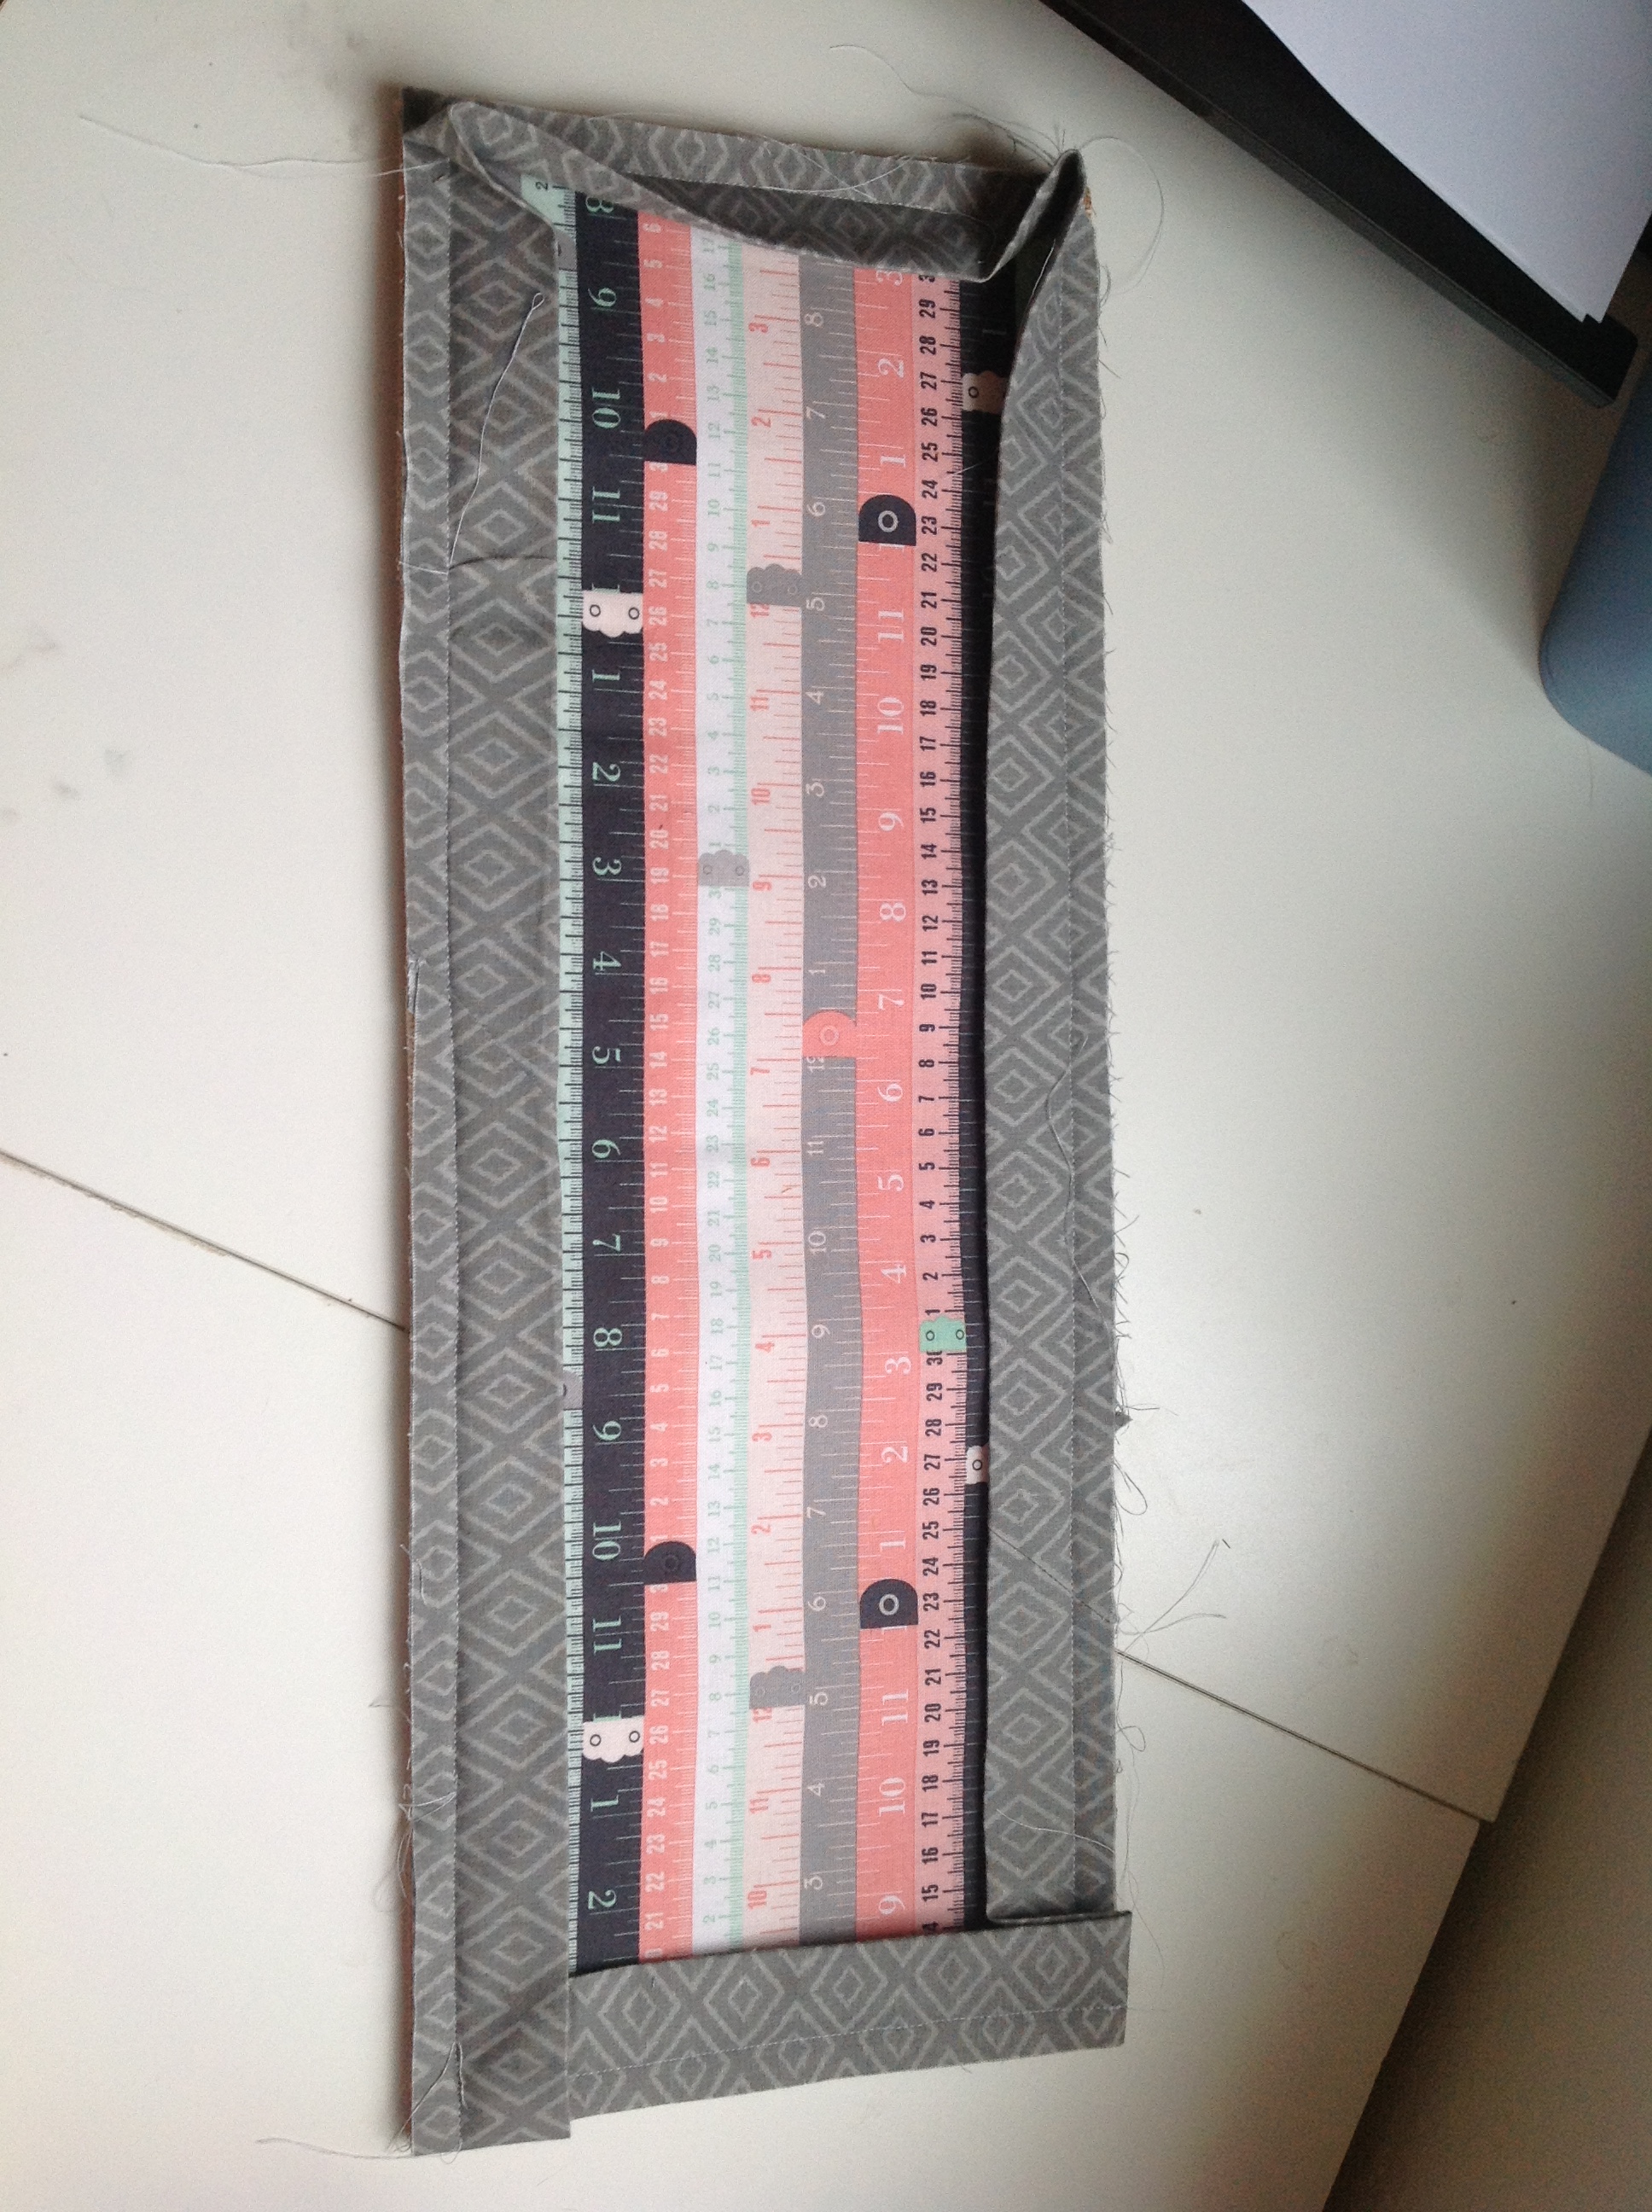
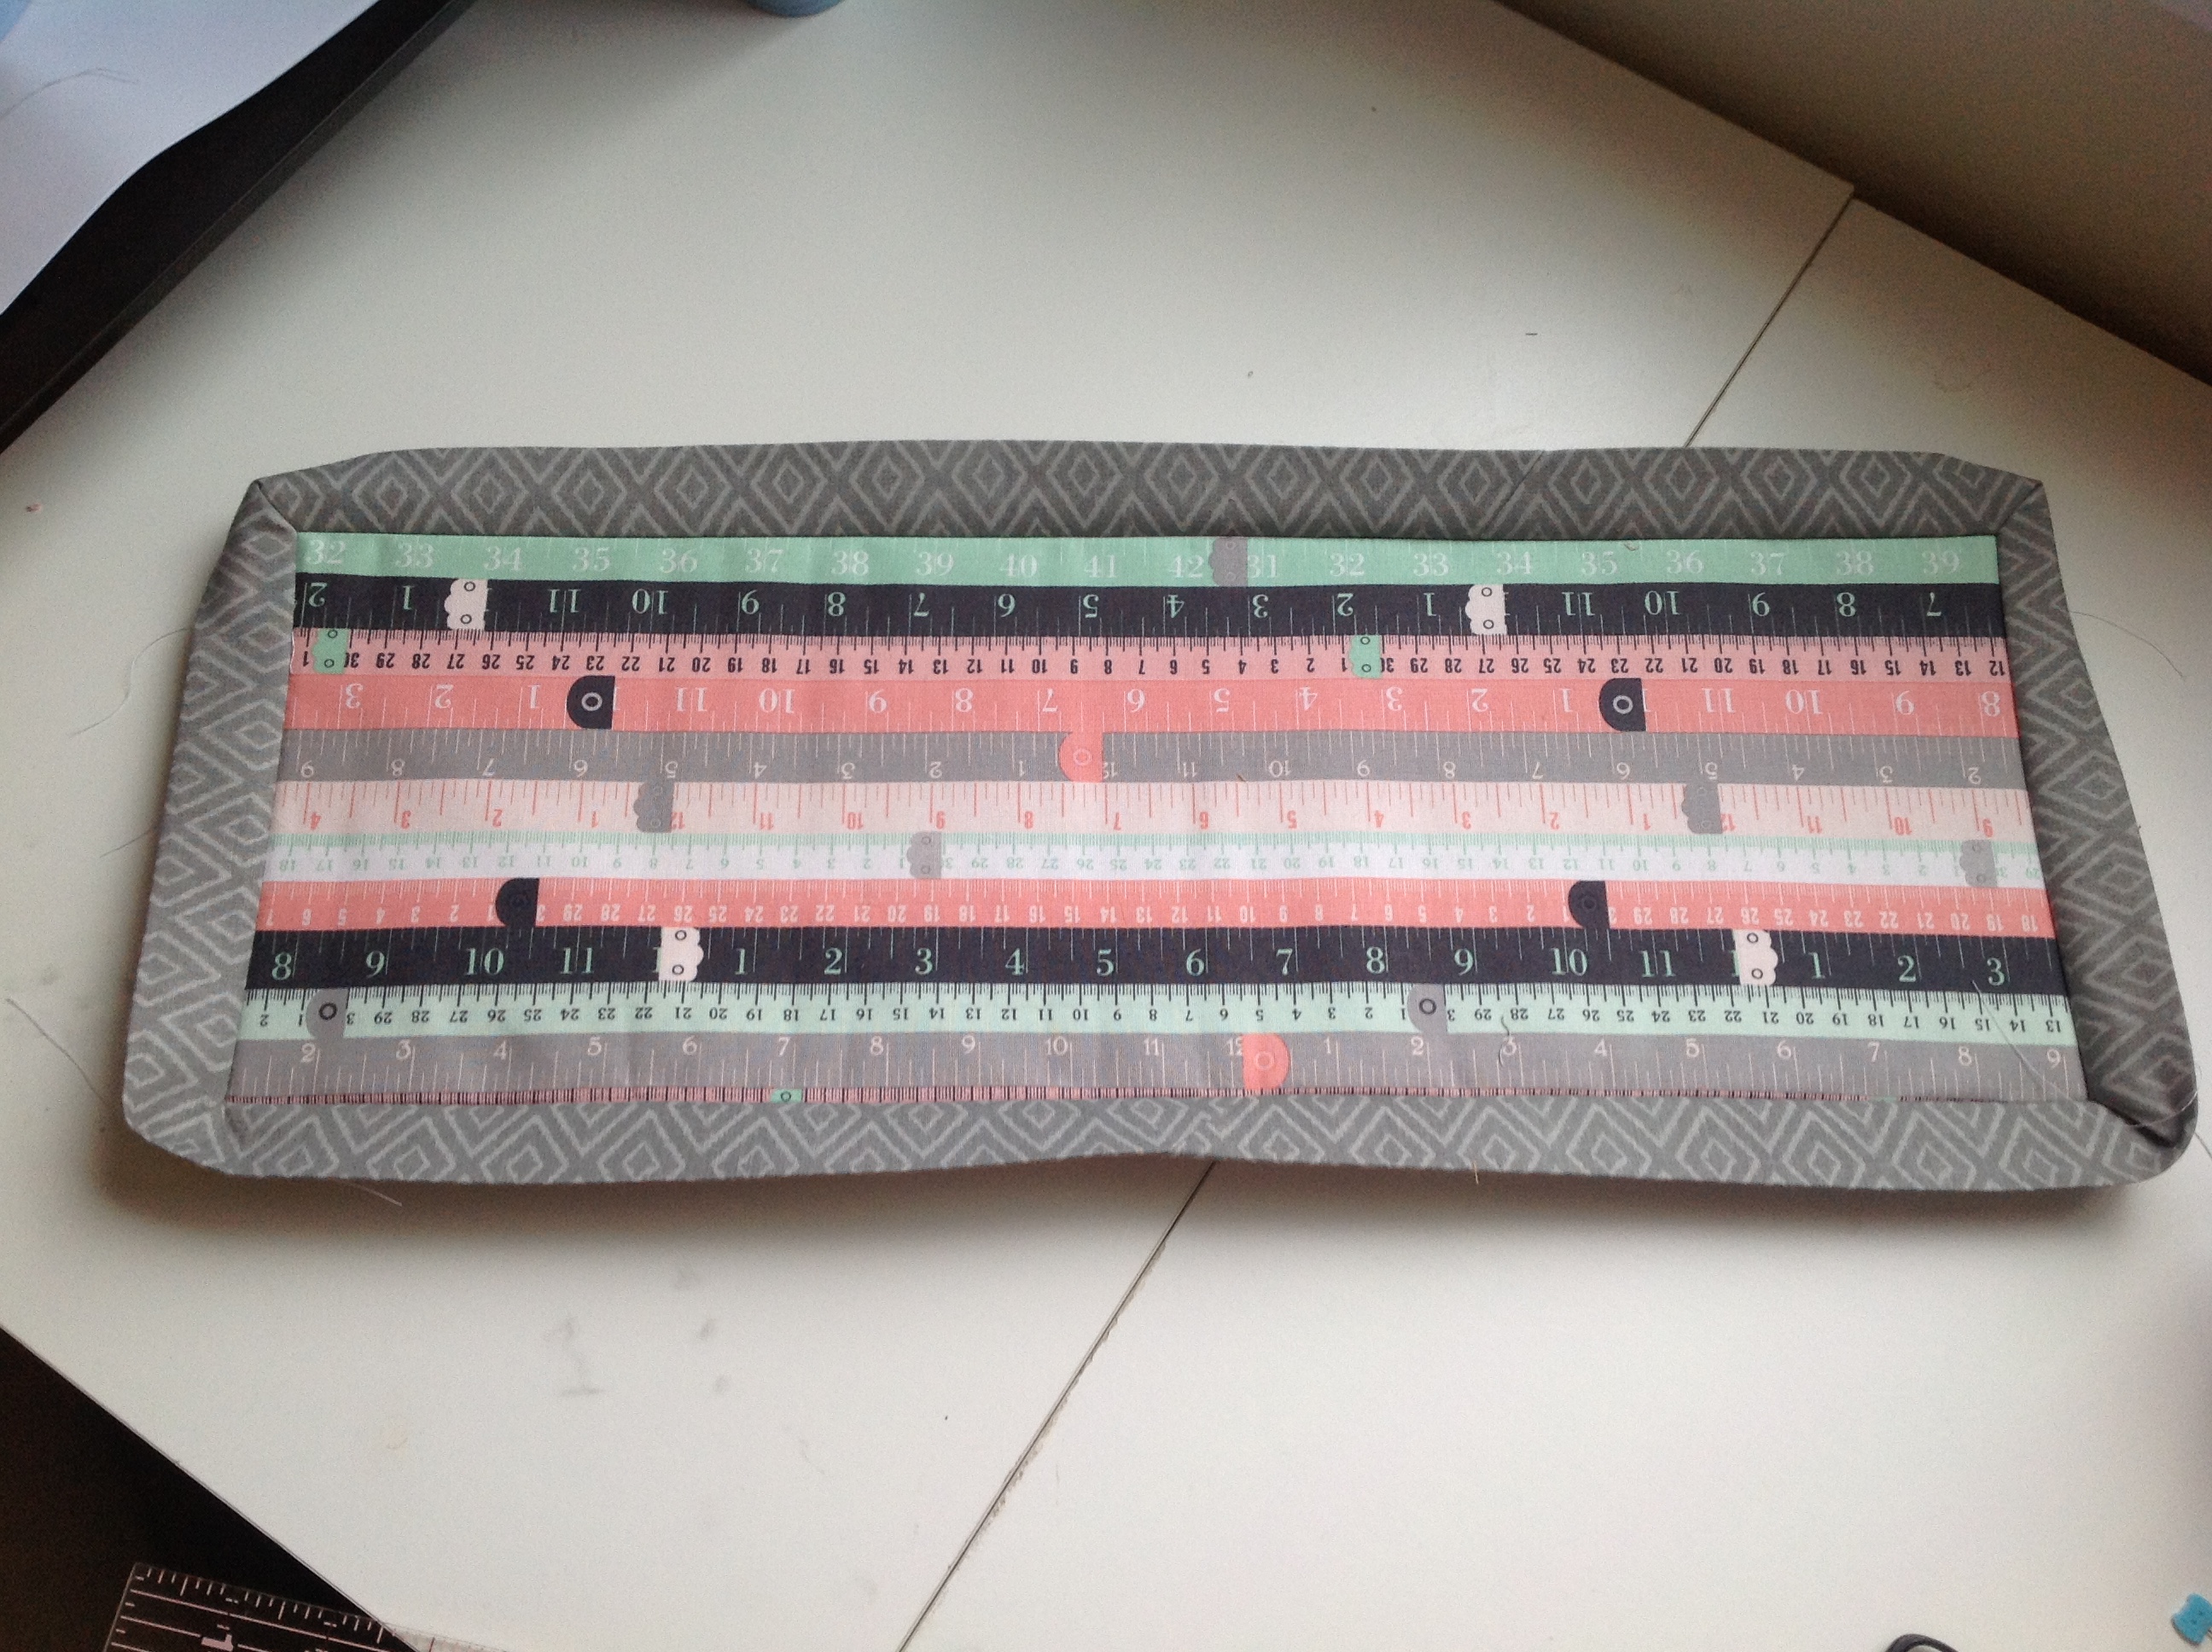
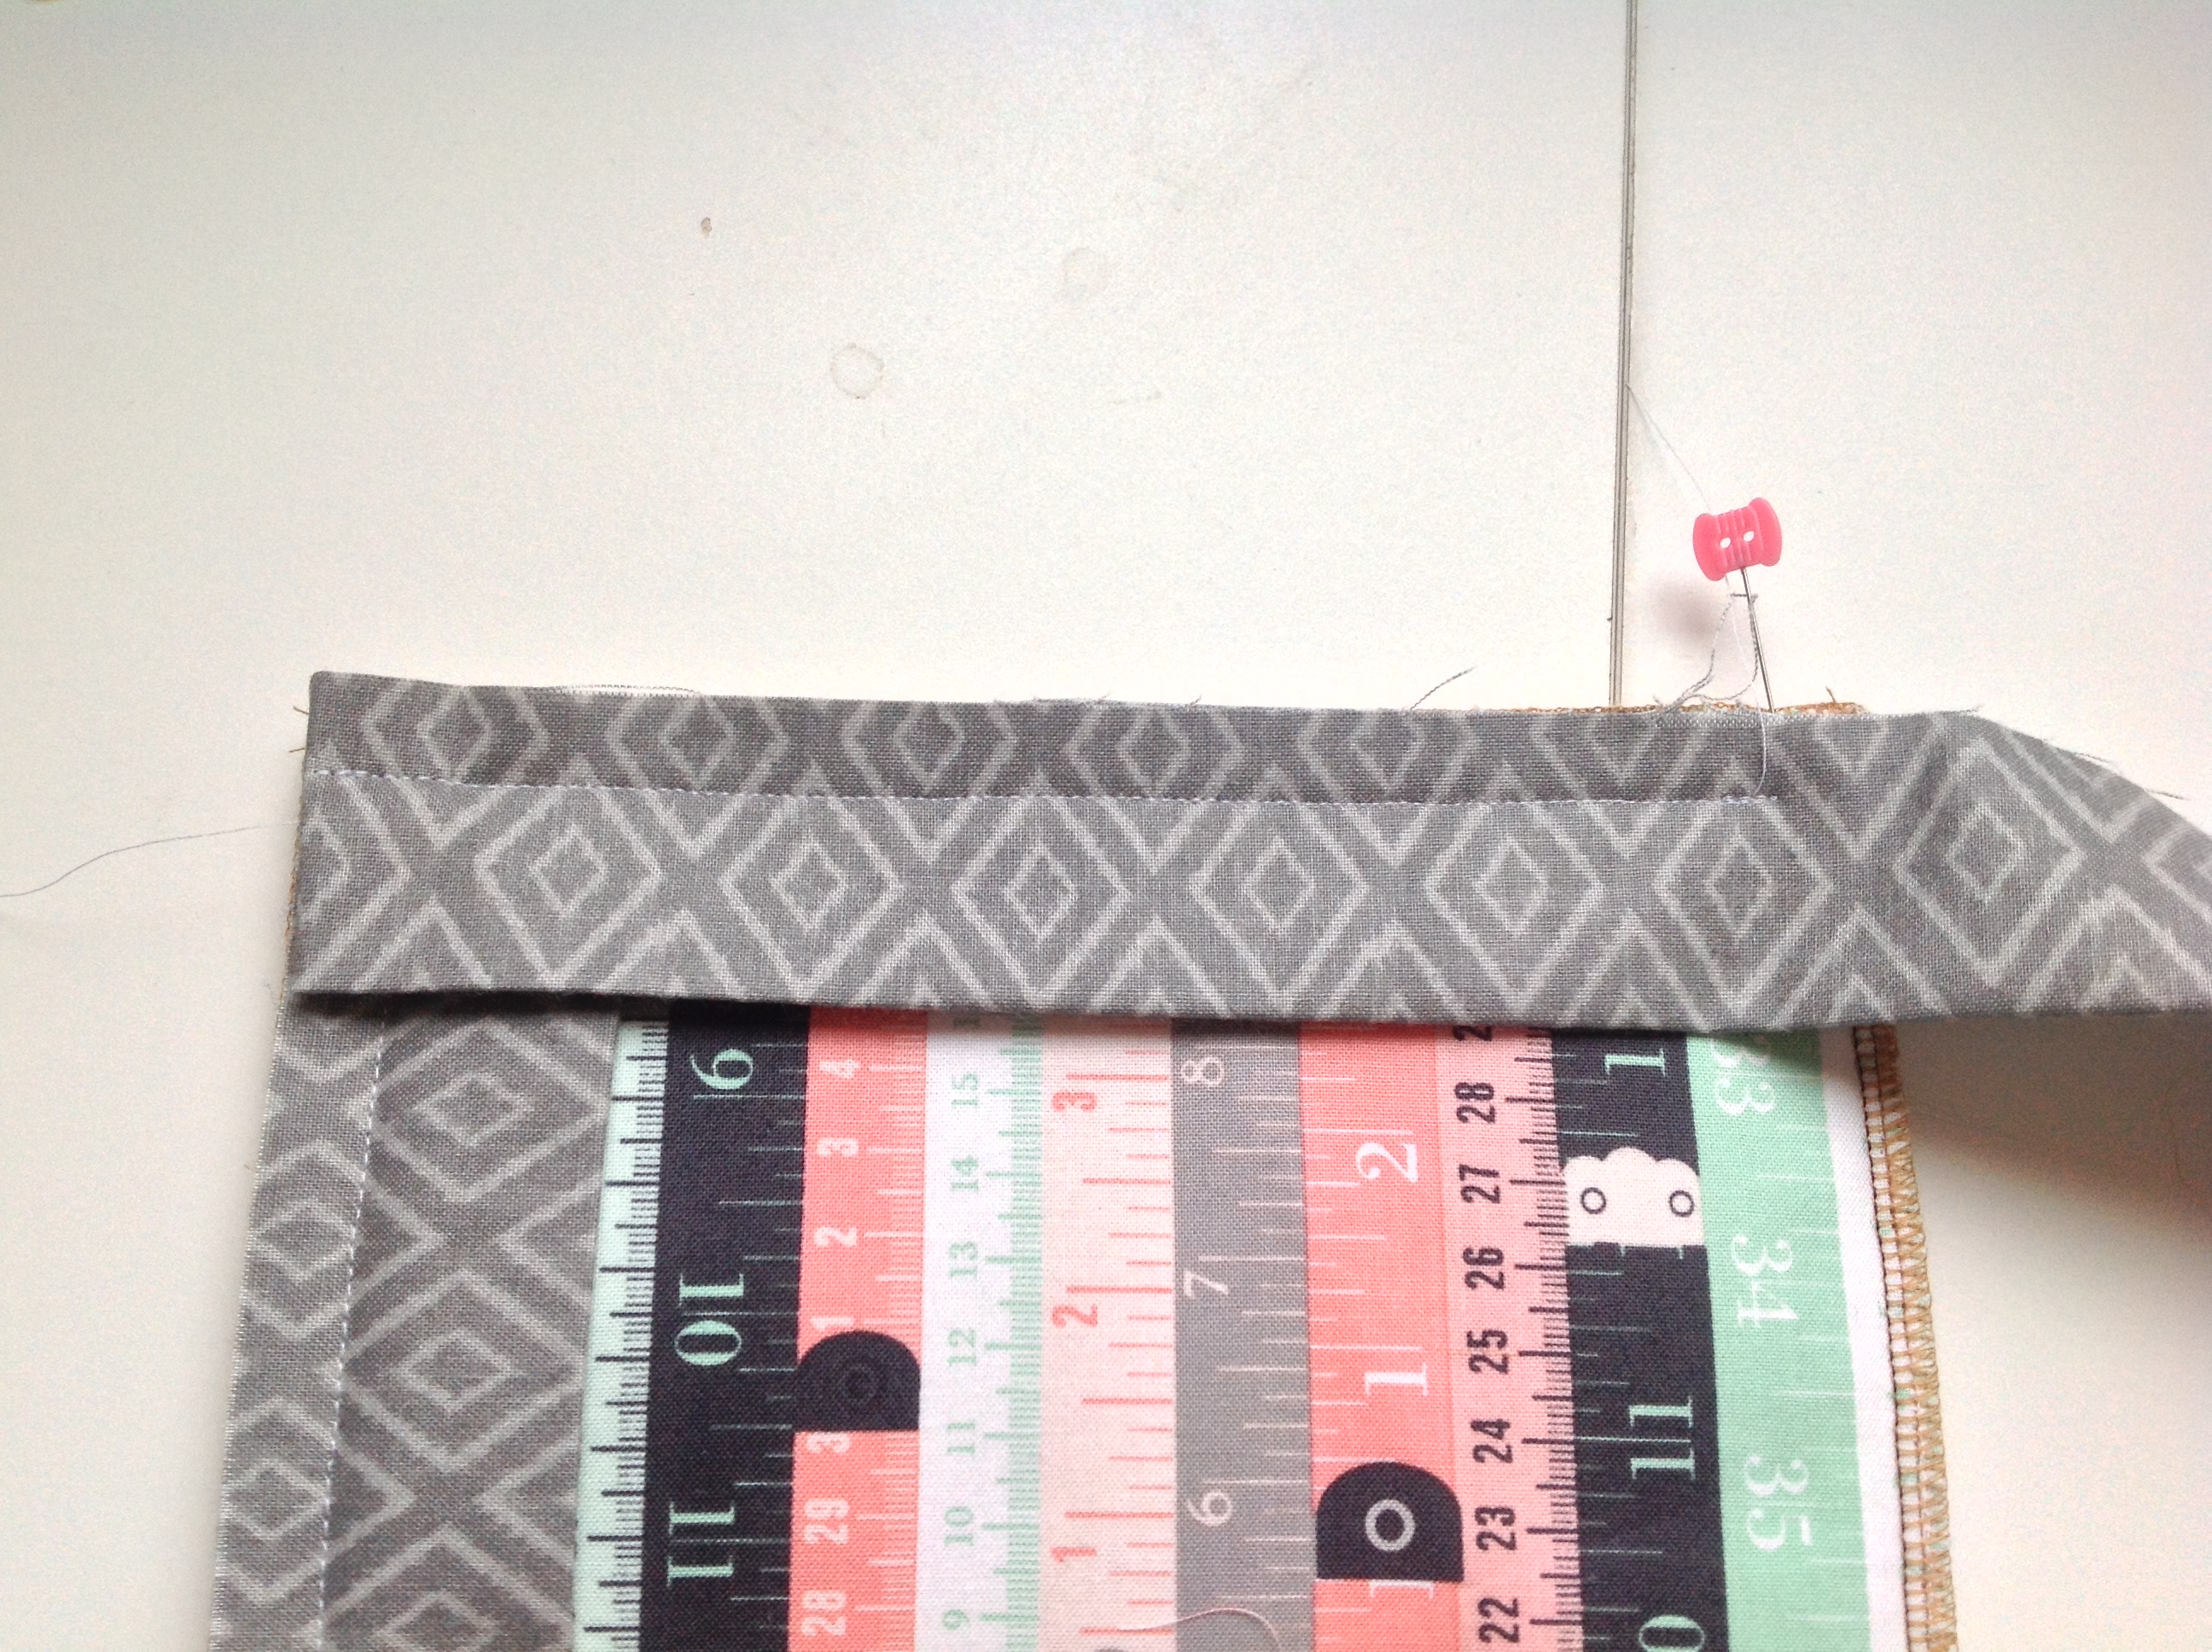
At this point you should have your Velcro strips sewn on to the interior. Here’s mine…
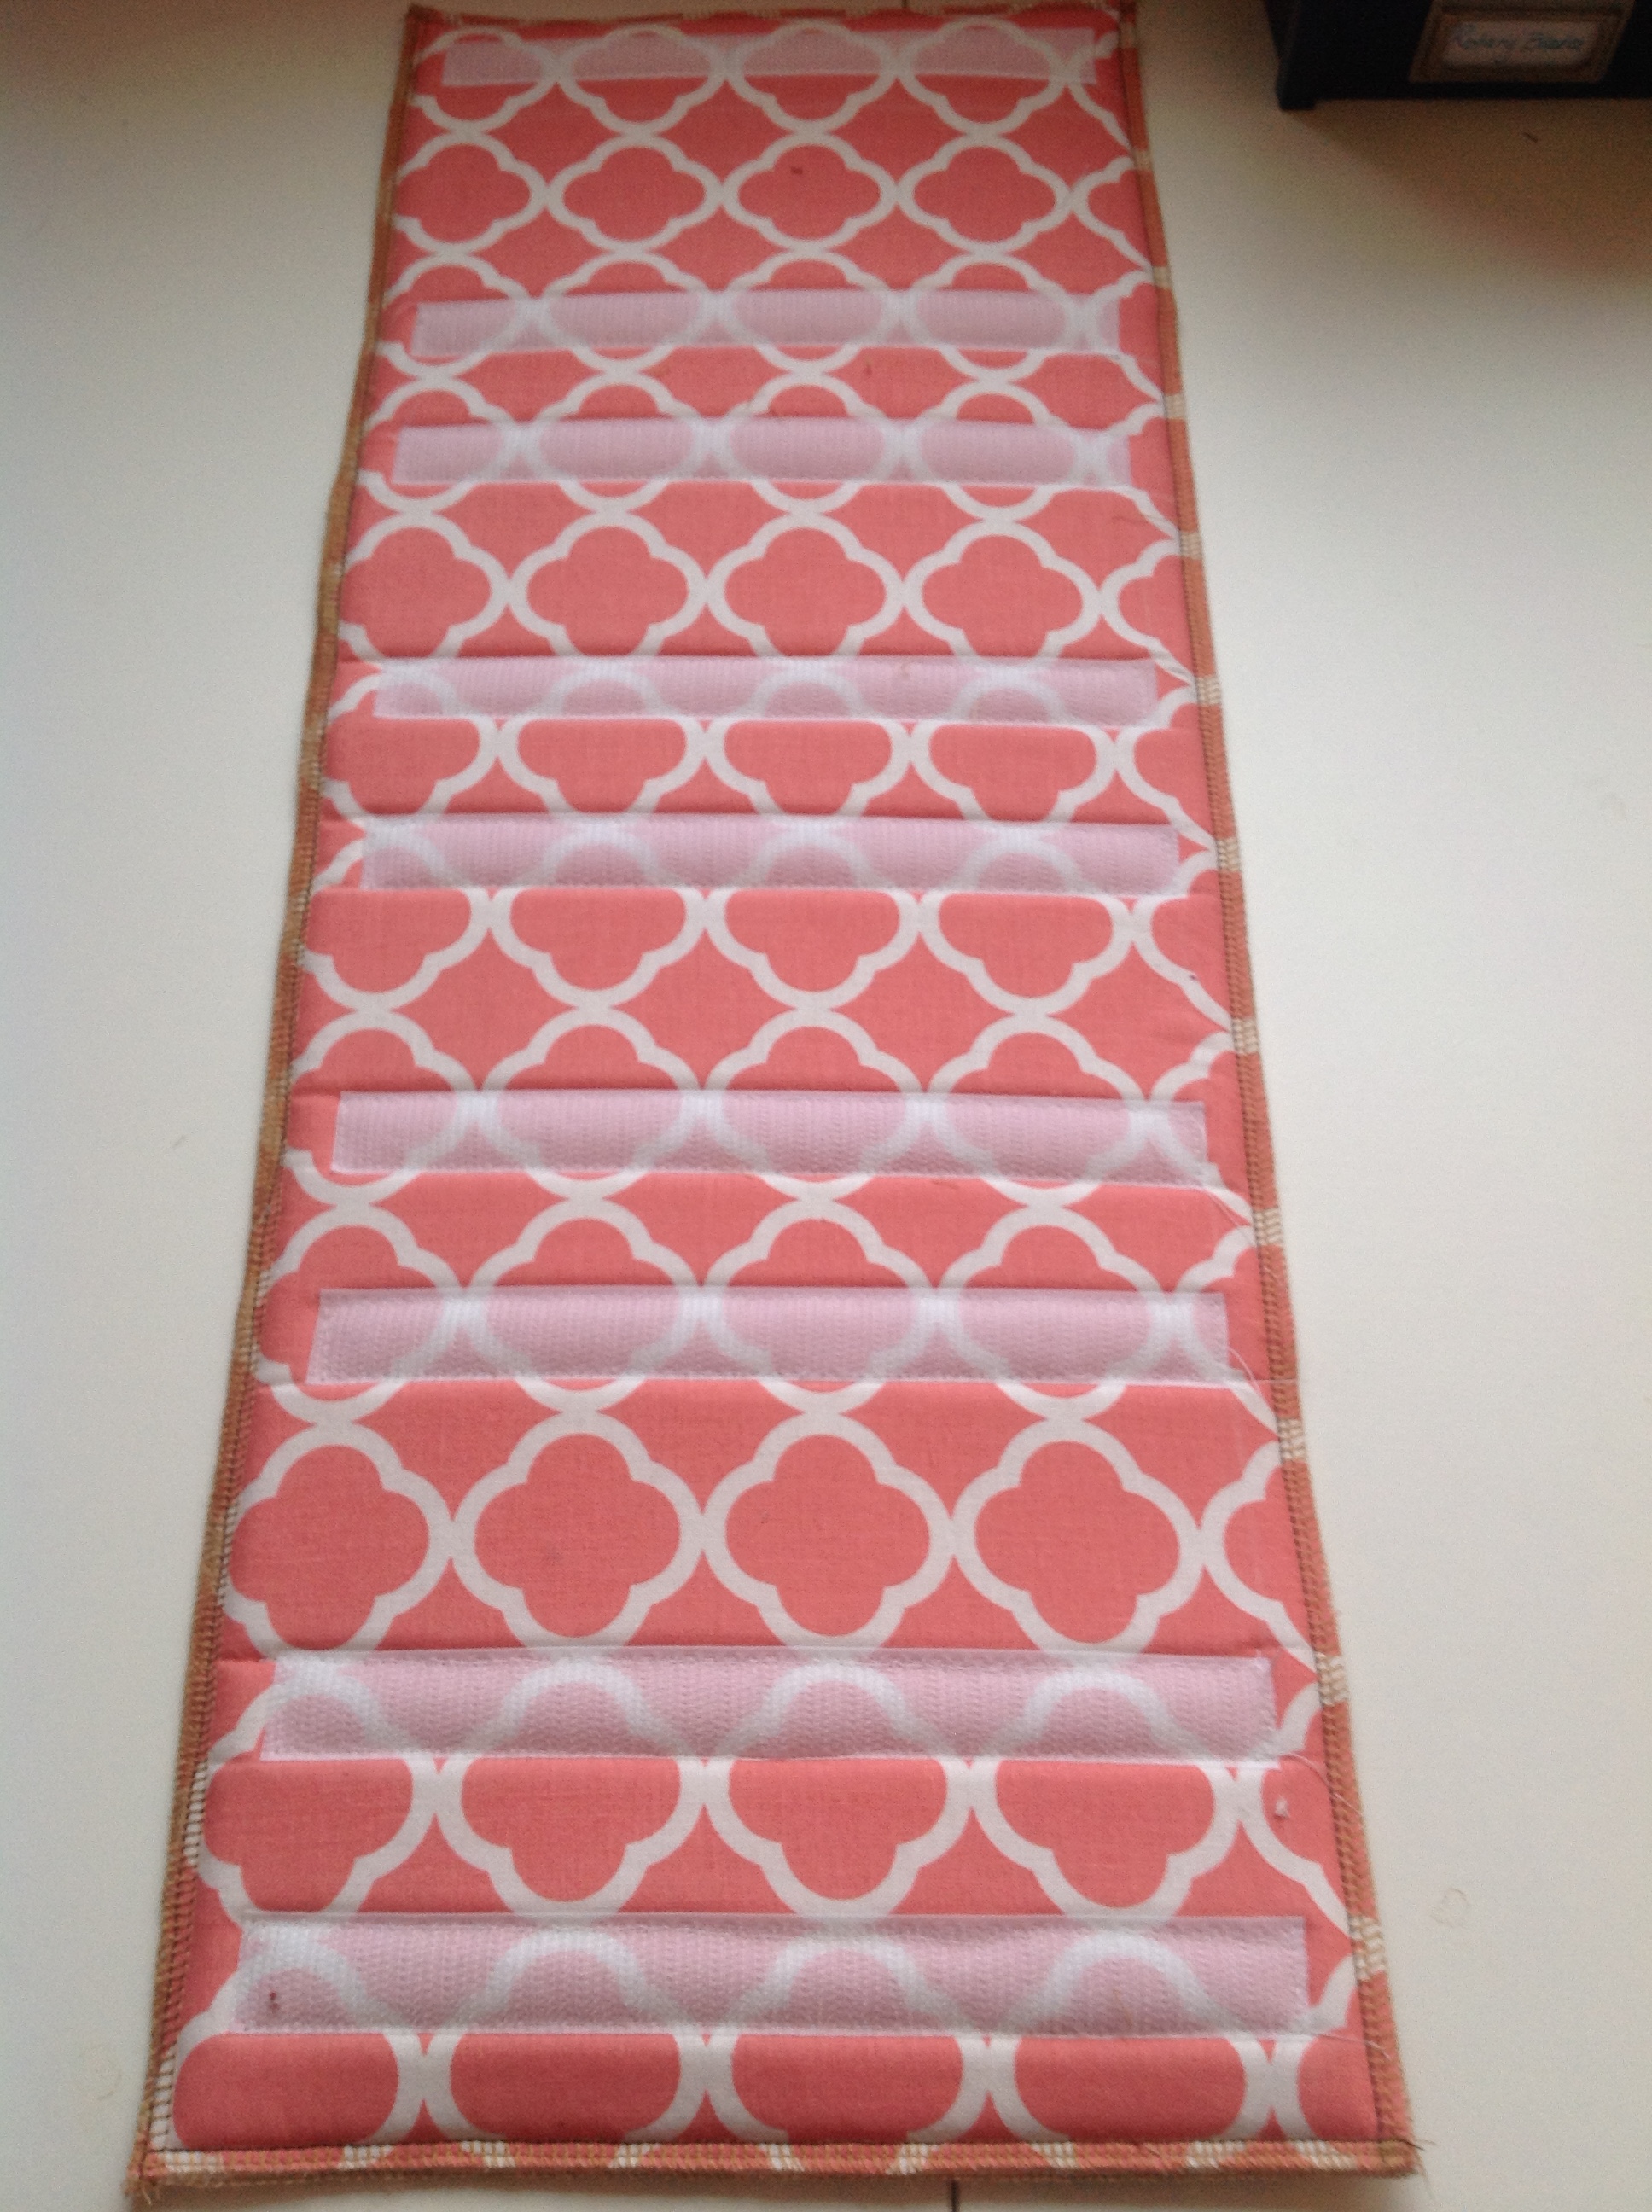
Btw, you may notice that I have neglected to stitch the corner lines from step #19 on mine but you should definitely have them on yours …my bad!
The Wrap Exterior should also be basted on the opposite side. As you can see, I have serged the interior and exterior of mine together (are all my quilter friends out there cringing?).
with a pin. If all that is done, you can set the Wrap aside for now.
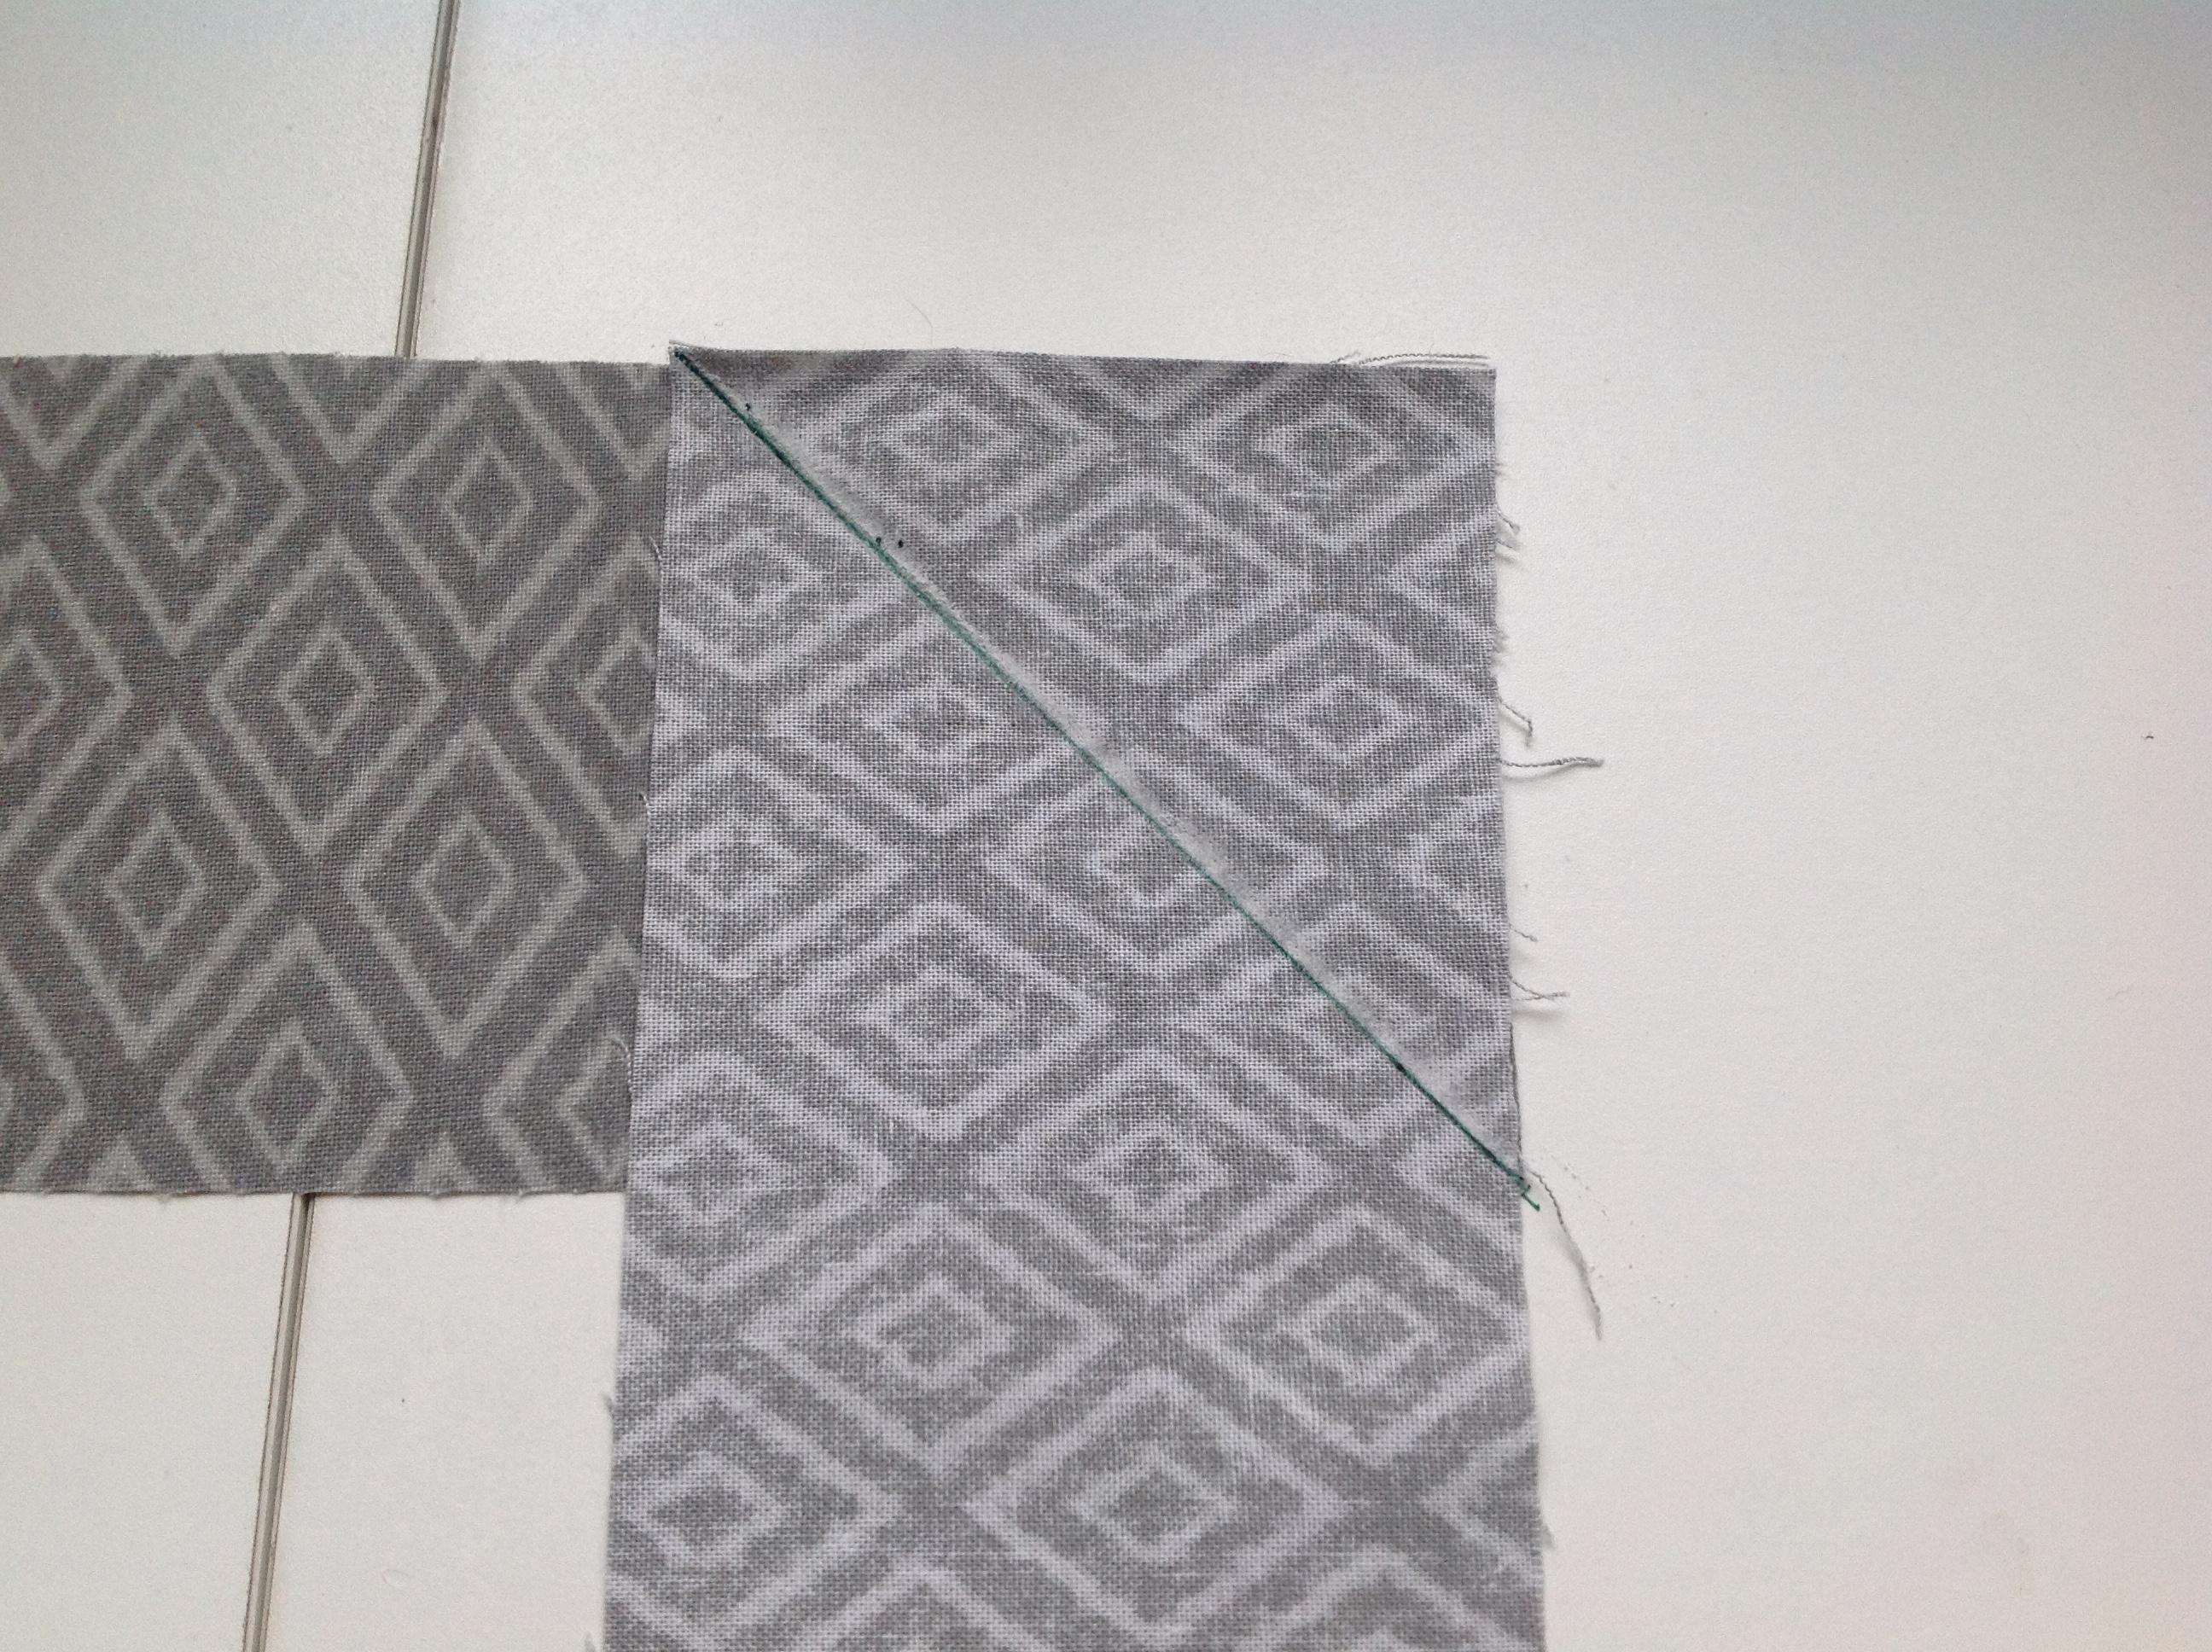
Let’s get our Binding ready. First we need to stitch the two Binding strips together to make one long strip. Position them so their short ends are perpendicular to one another and their right sides are facing. 
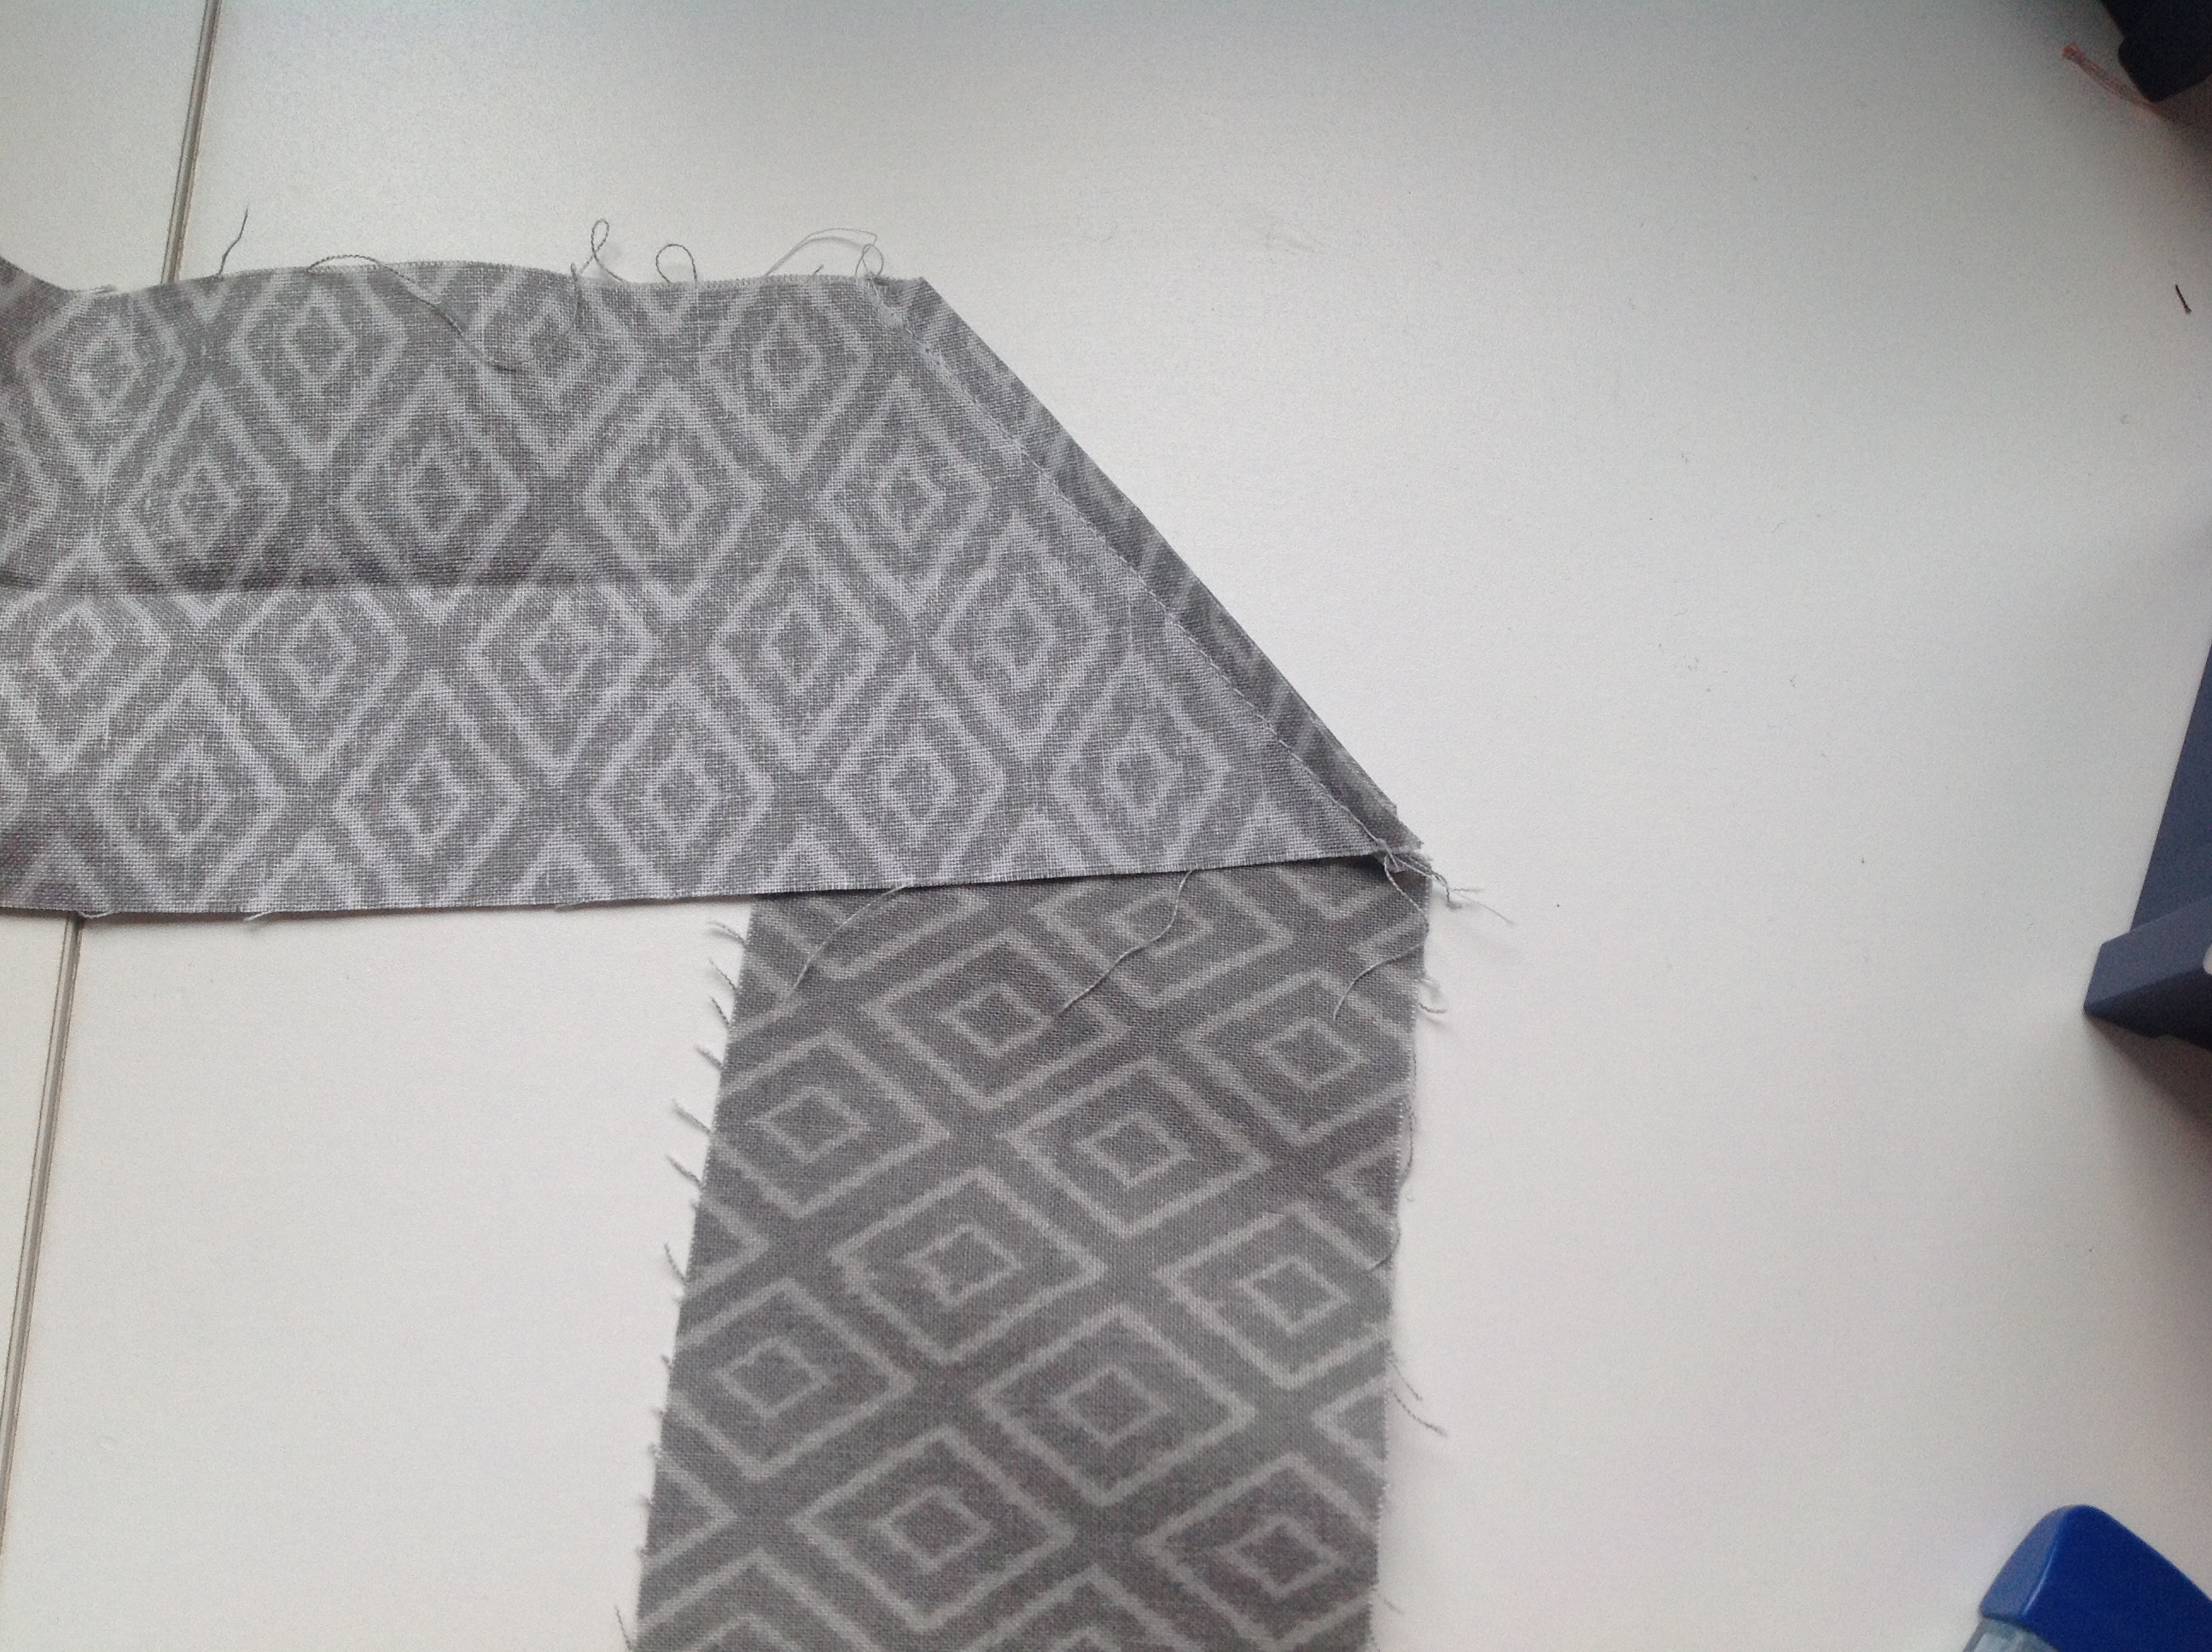
The idea here is to stitch on the diagonal from the top left corner to the bottom right corner of the area where the two intersect. Of course you can’t really see where the bottom right corner is, so sometimes it’s easier to draw a guideline to follow.
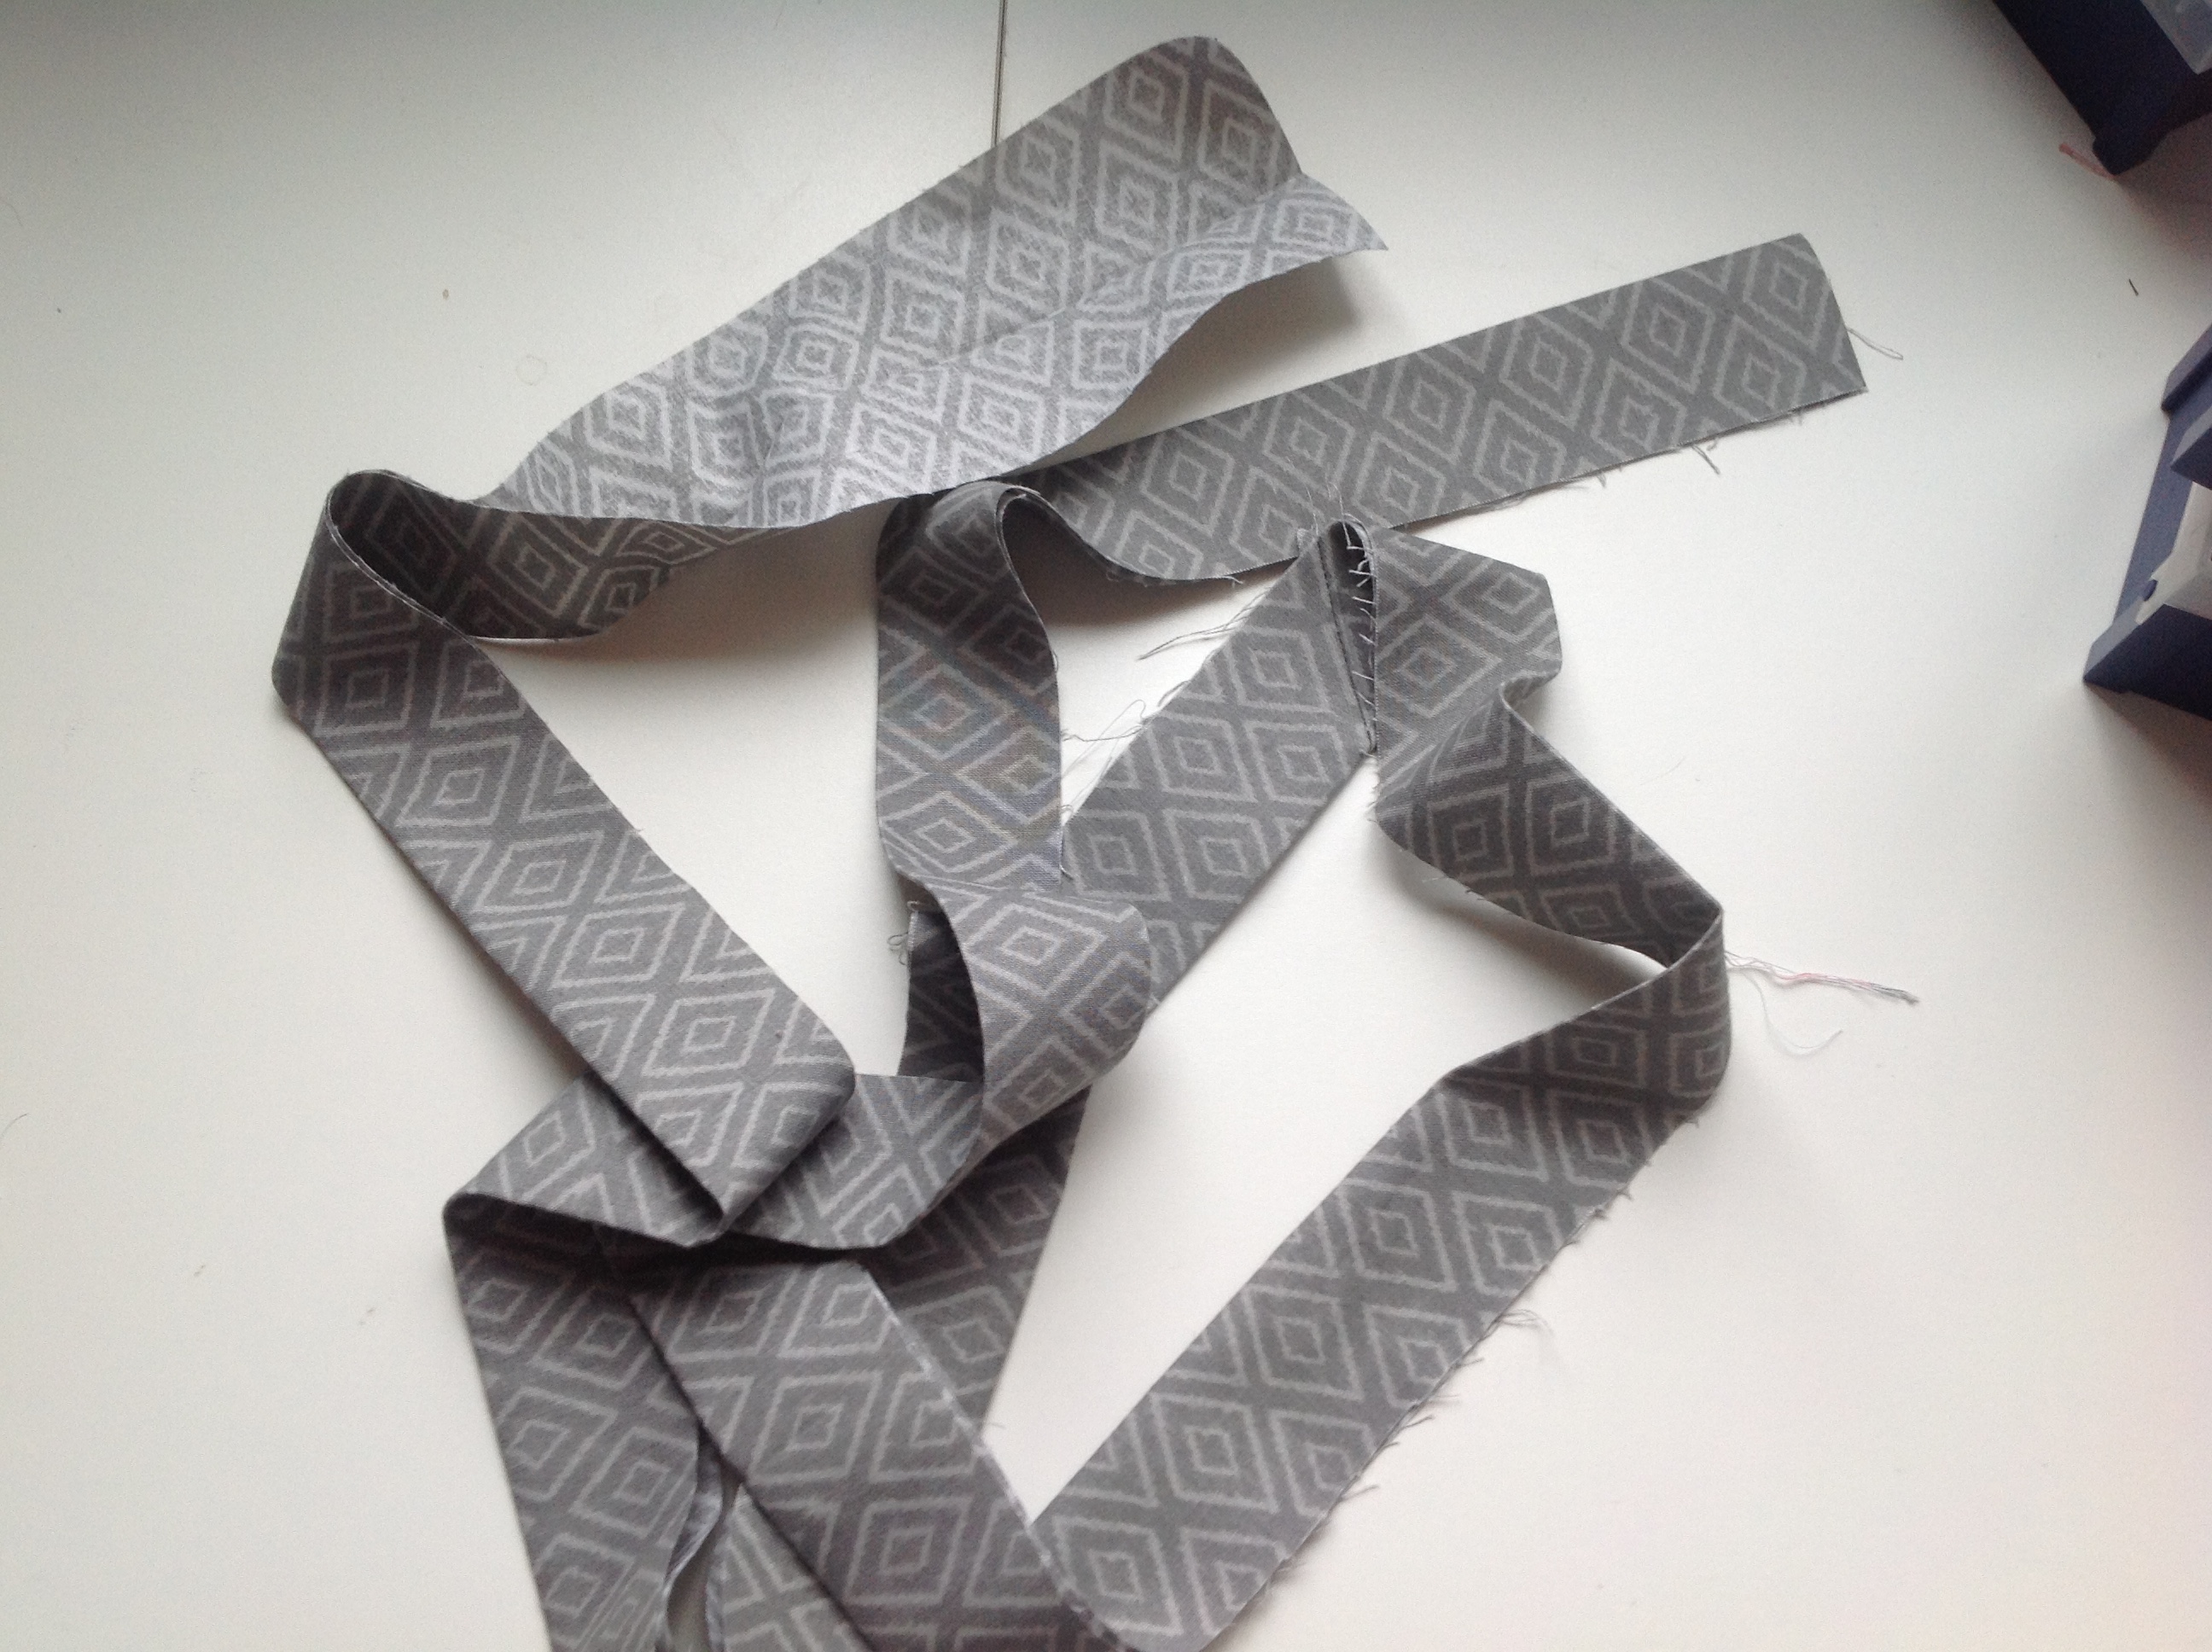
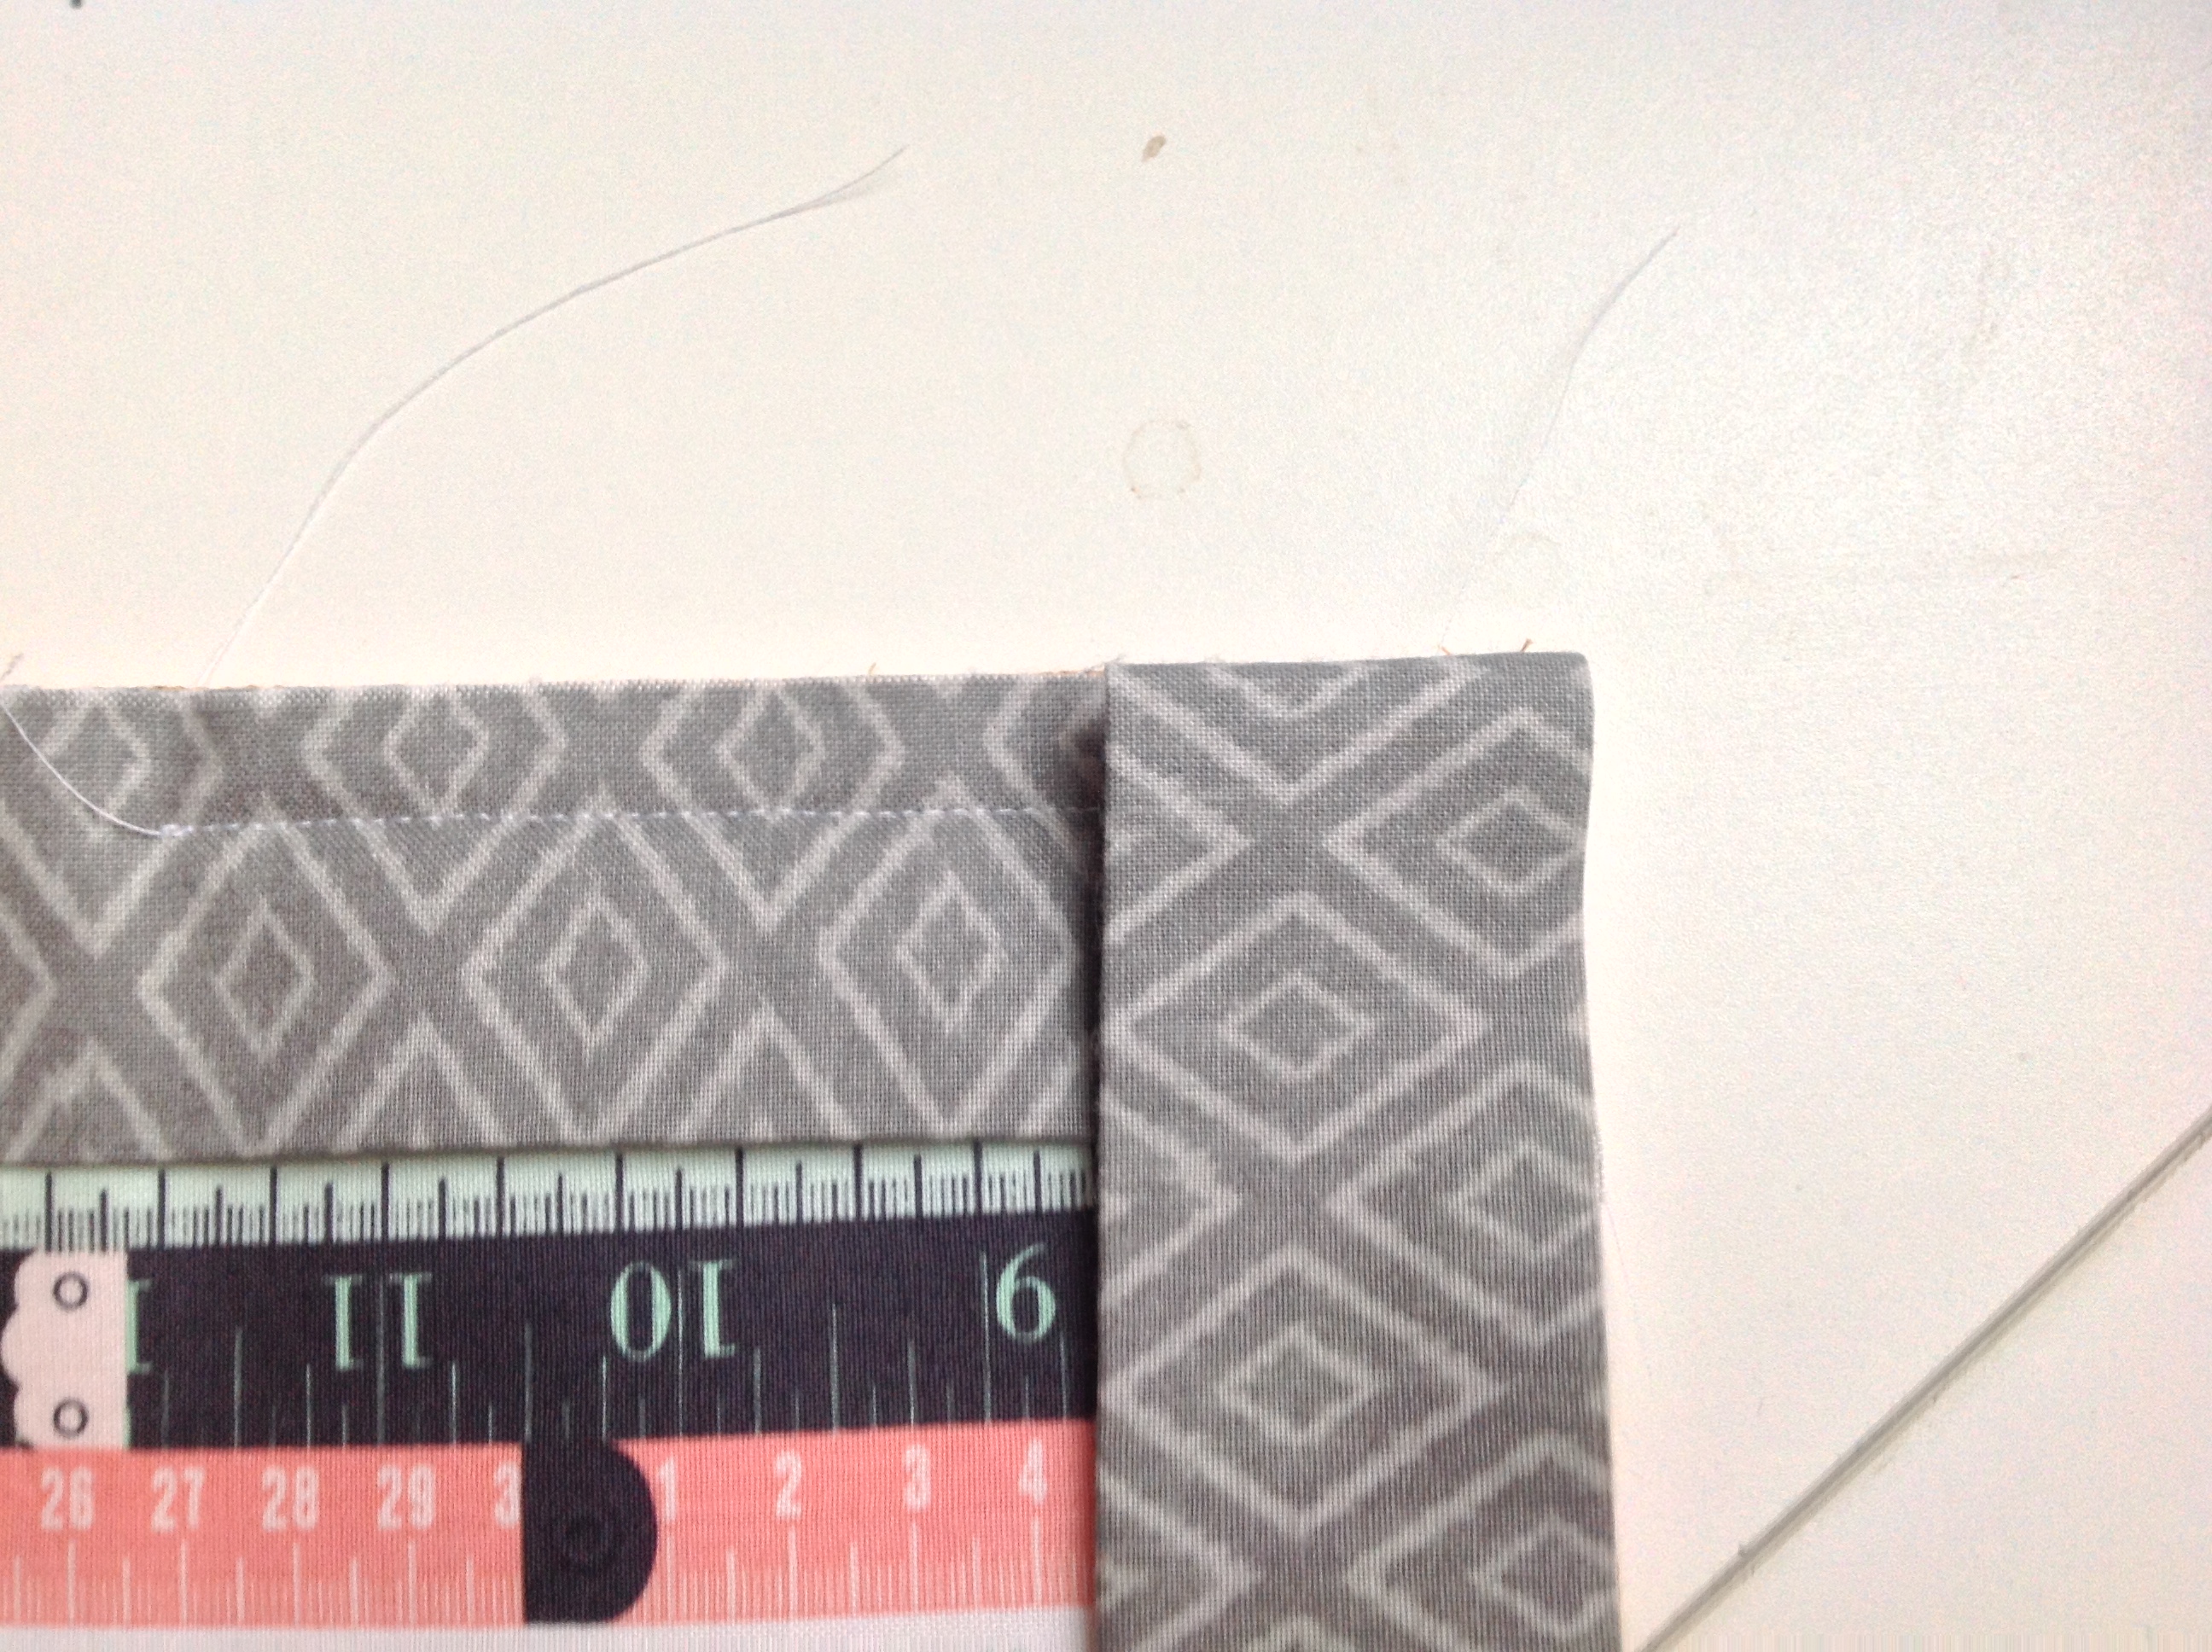
Once it’s stitched across, trim the seam allowance down to about 1/4″ and then press the seam open. Keep this process in mind, we will repeat it to join the ends of the Binding once it is stitched to the Wrap.


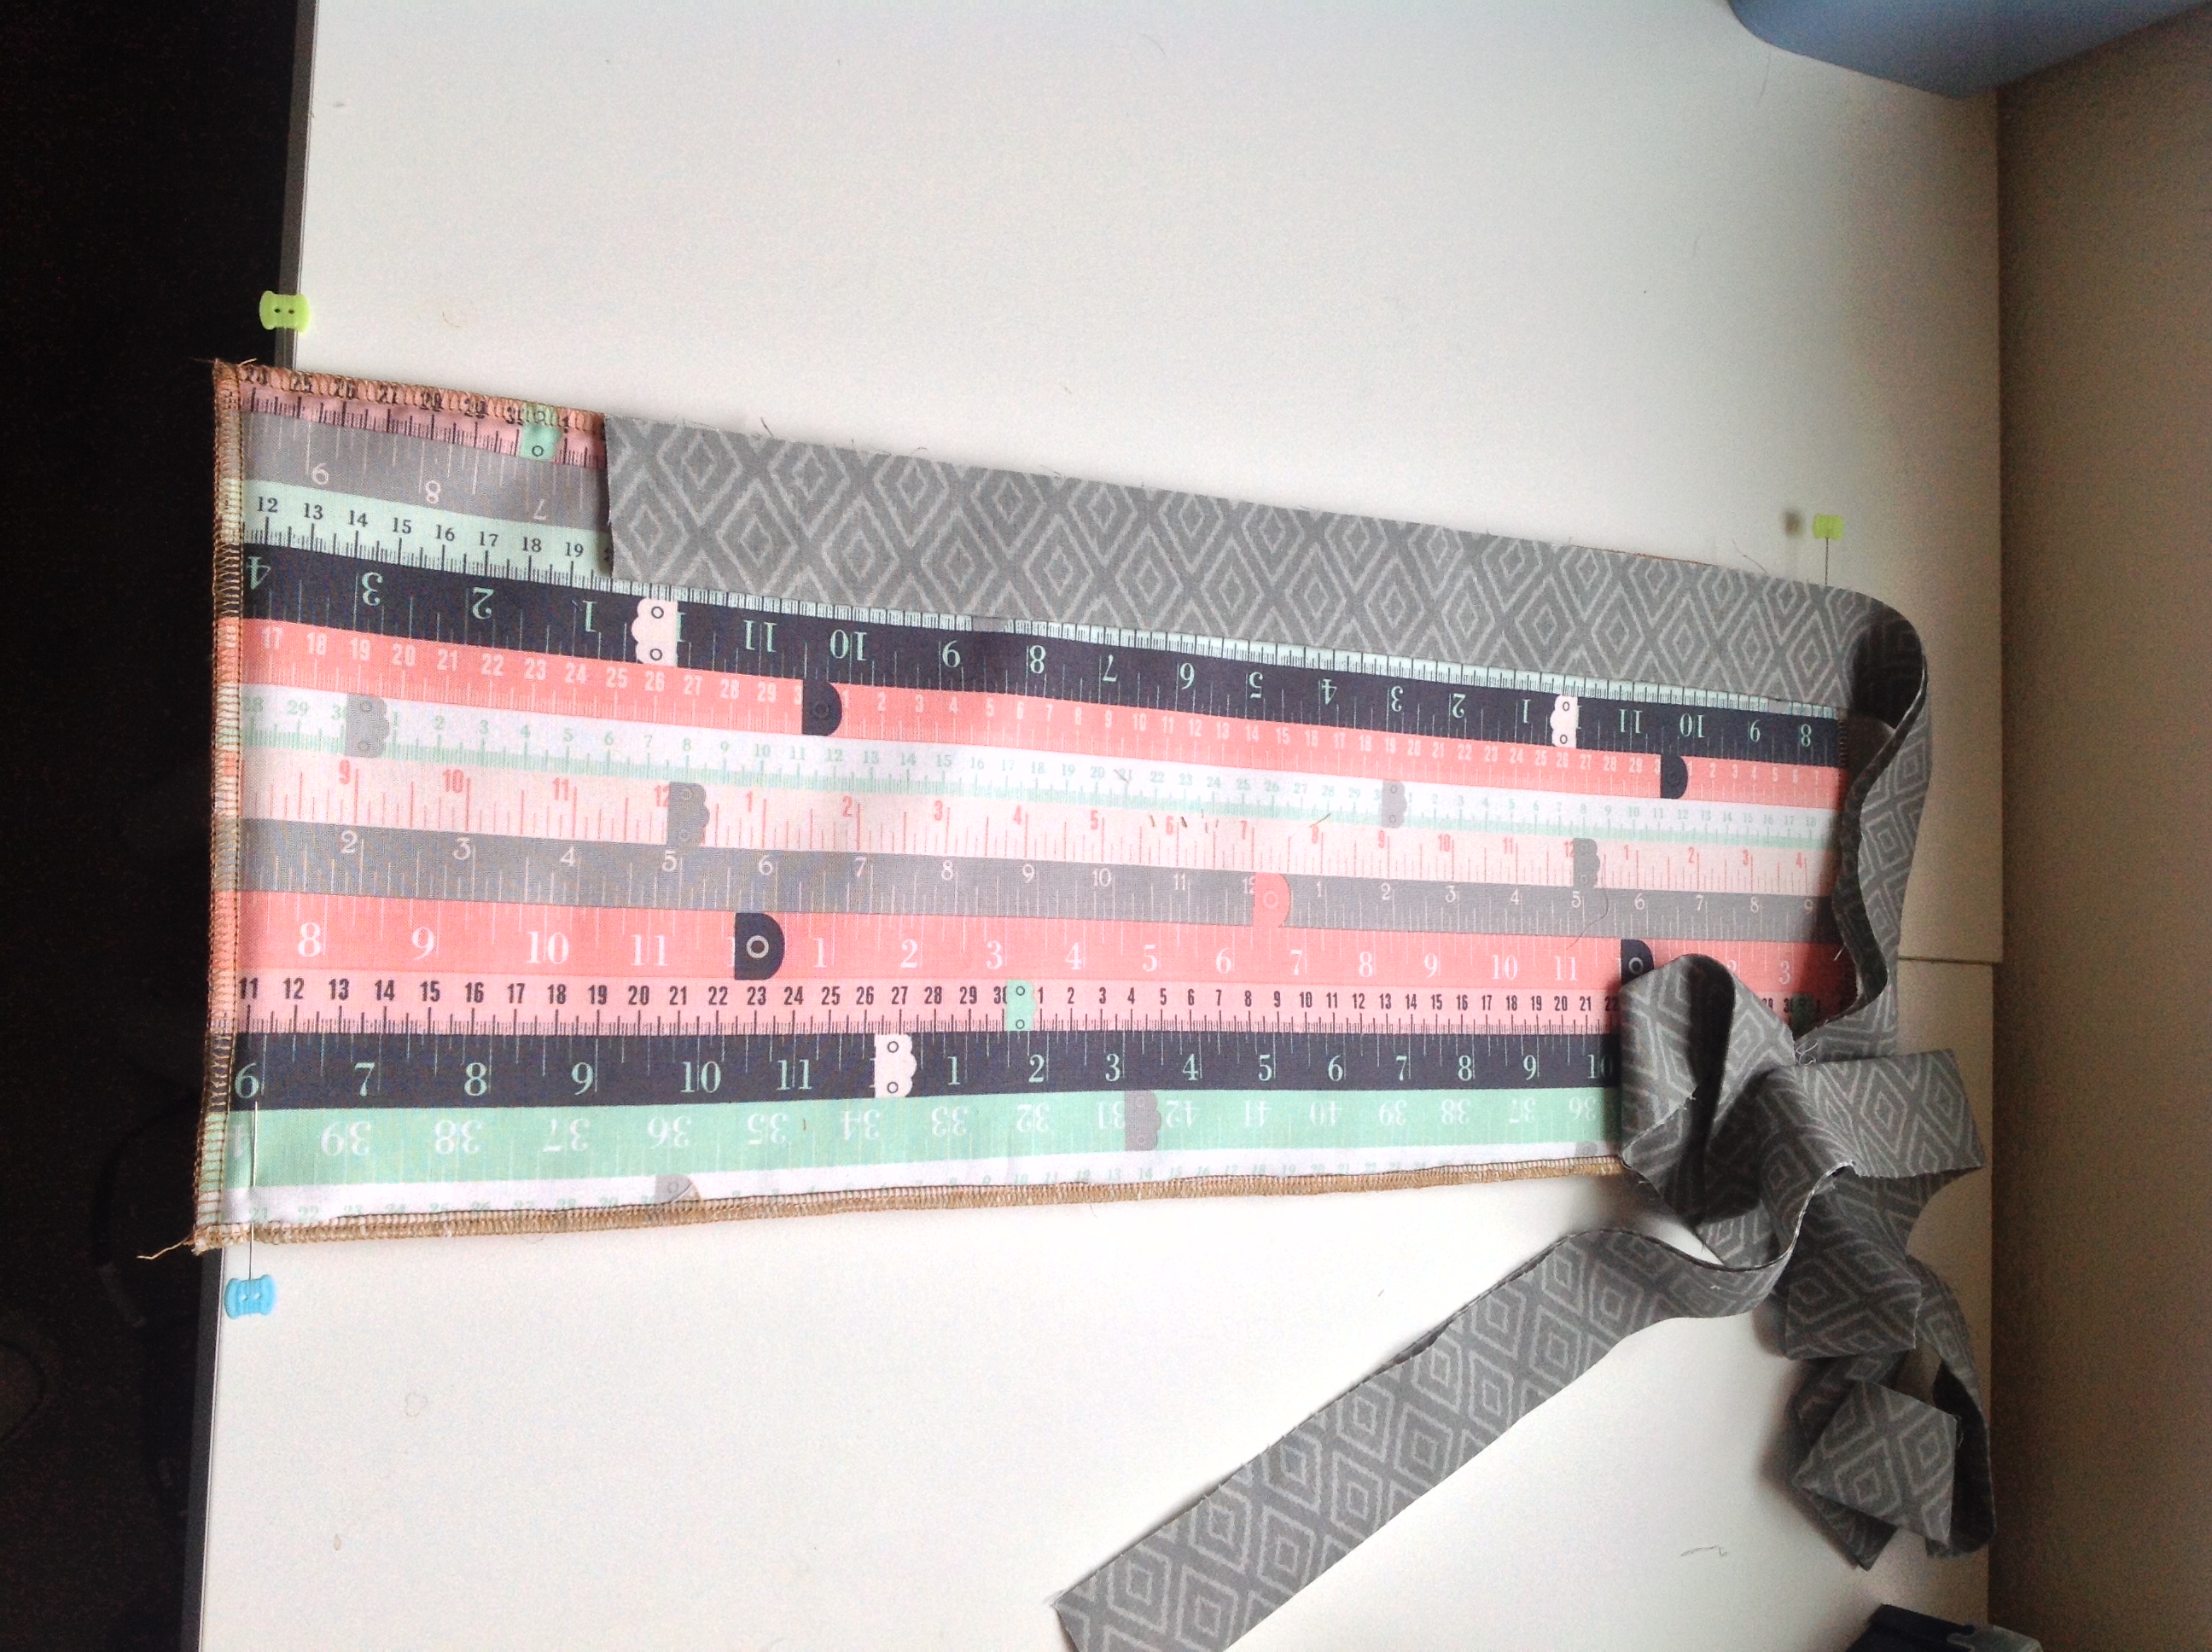
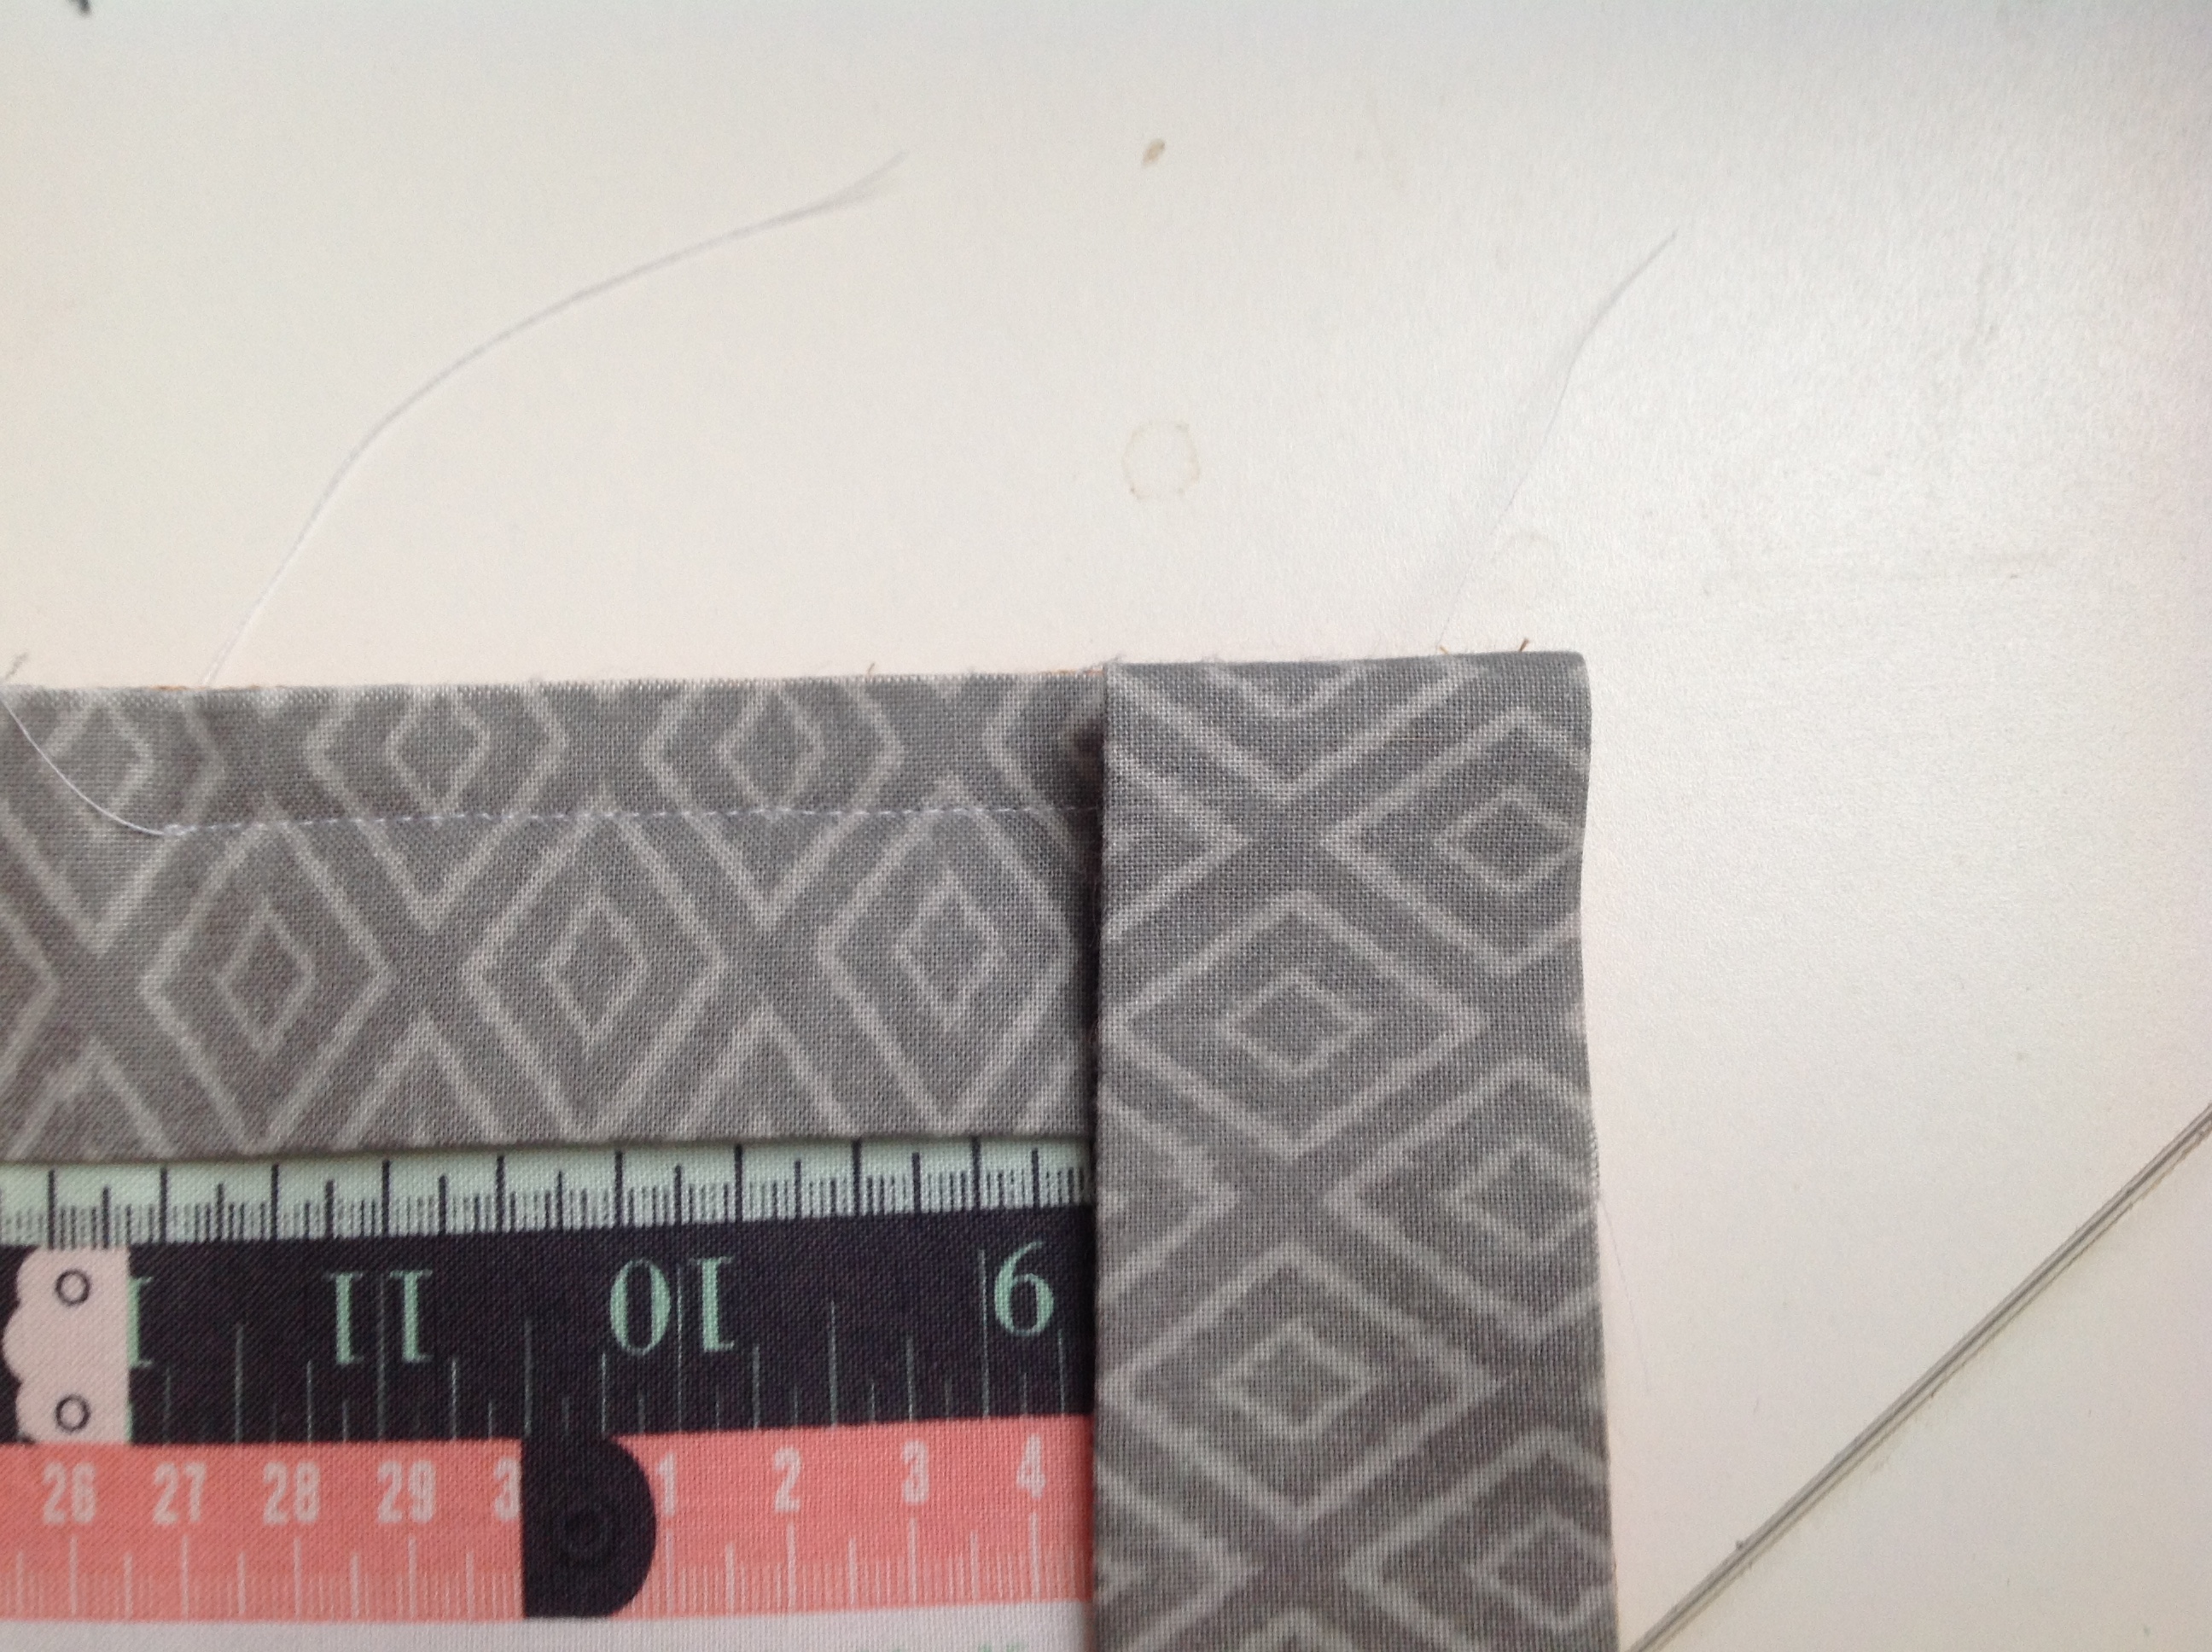
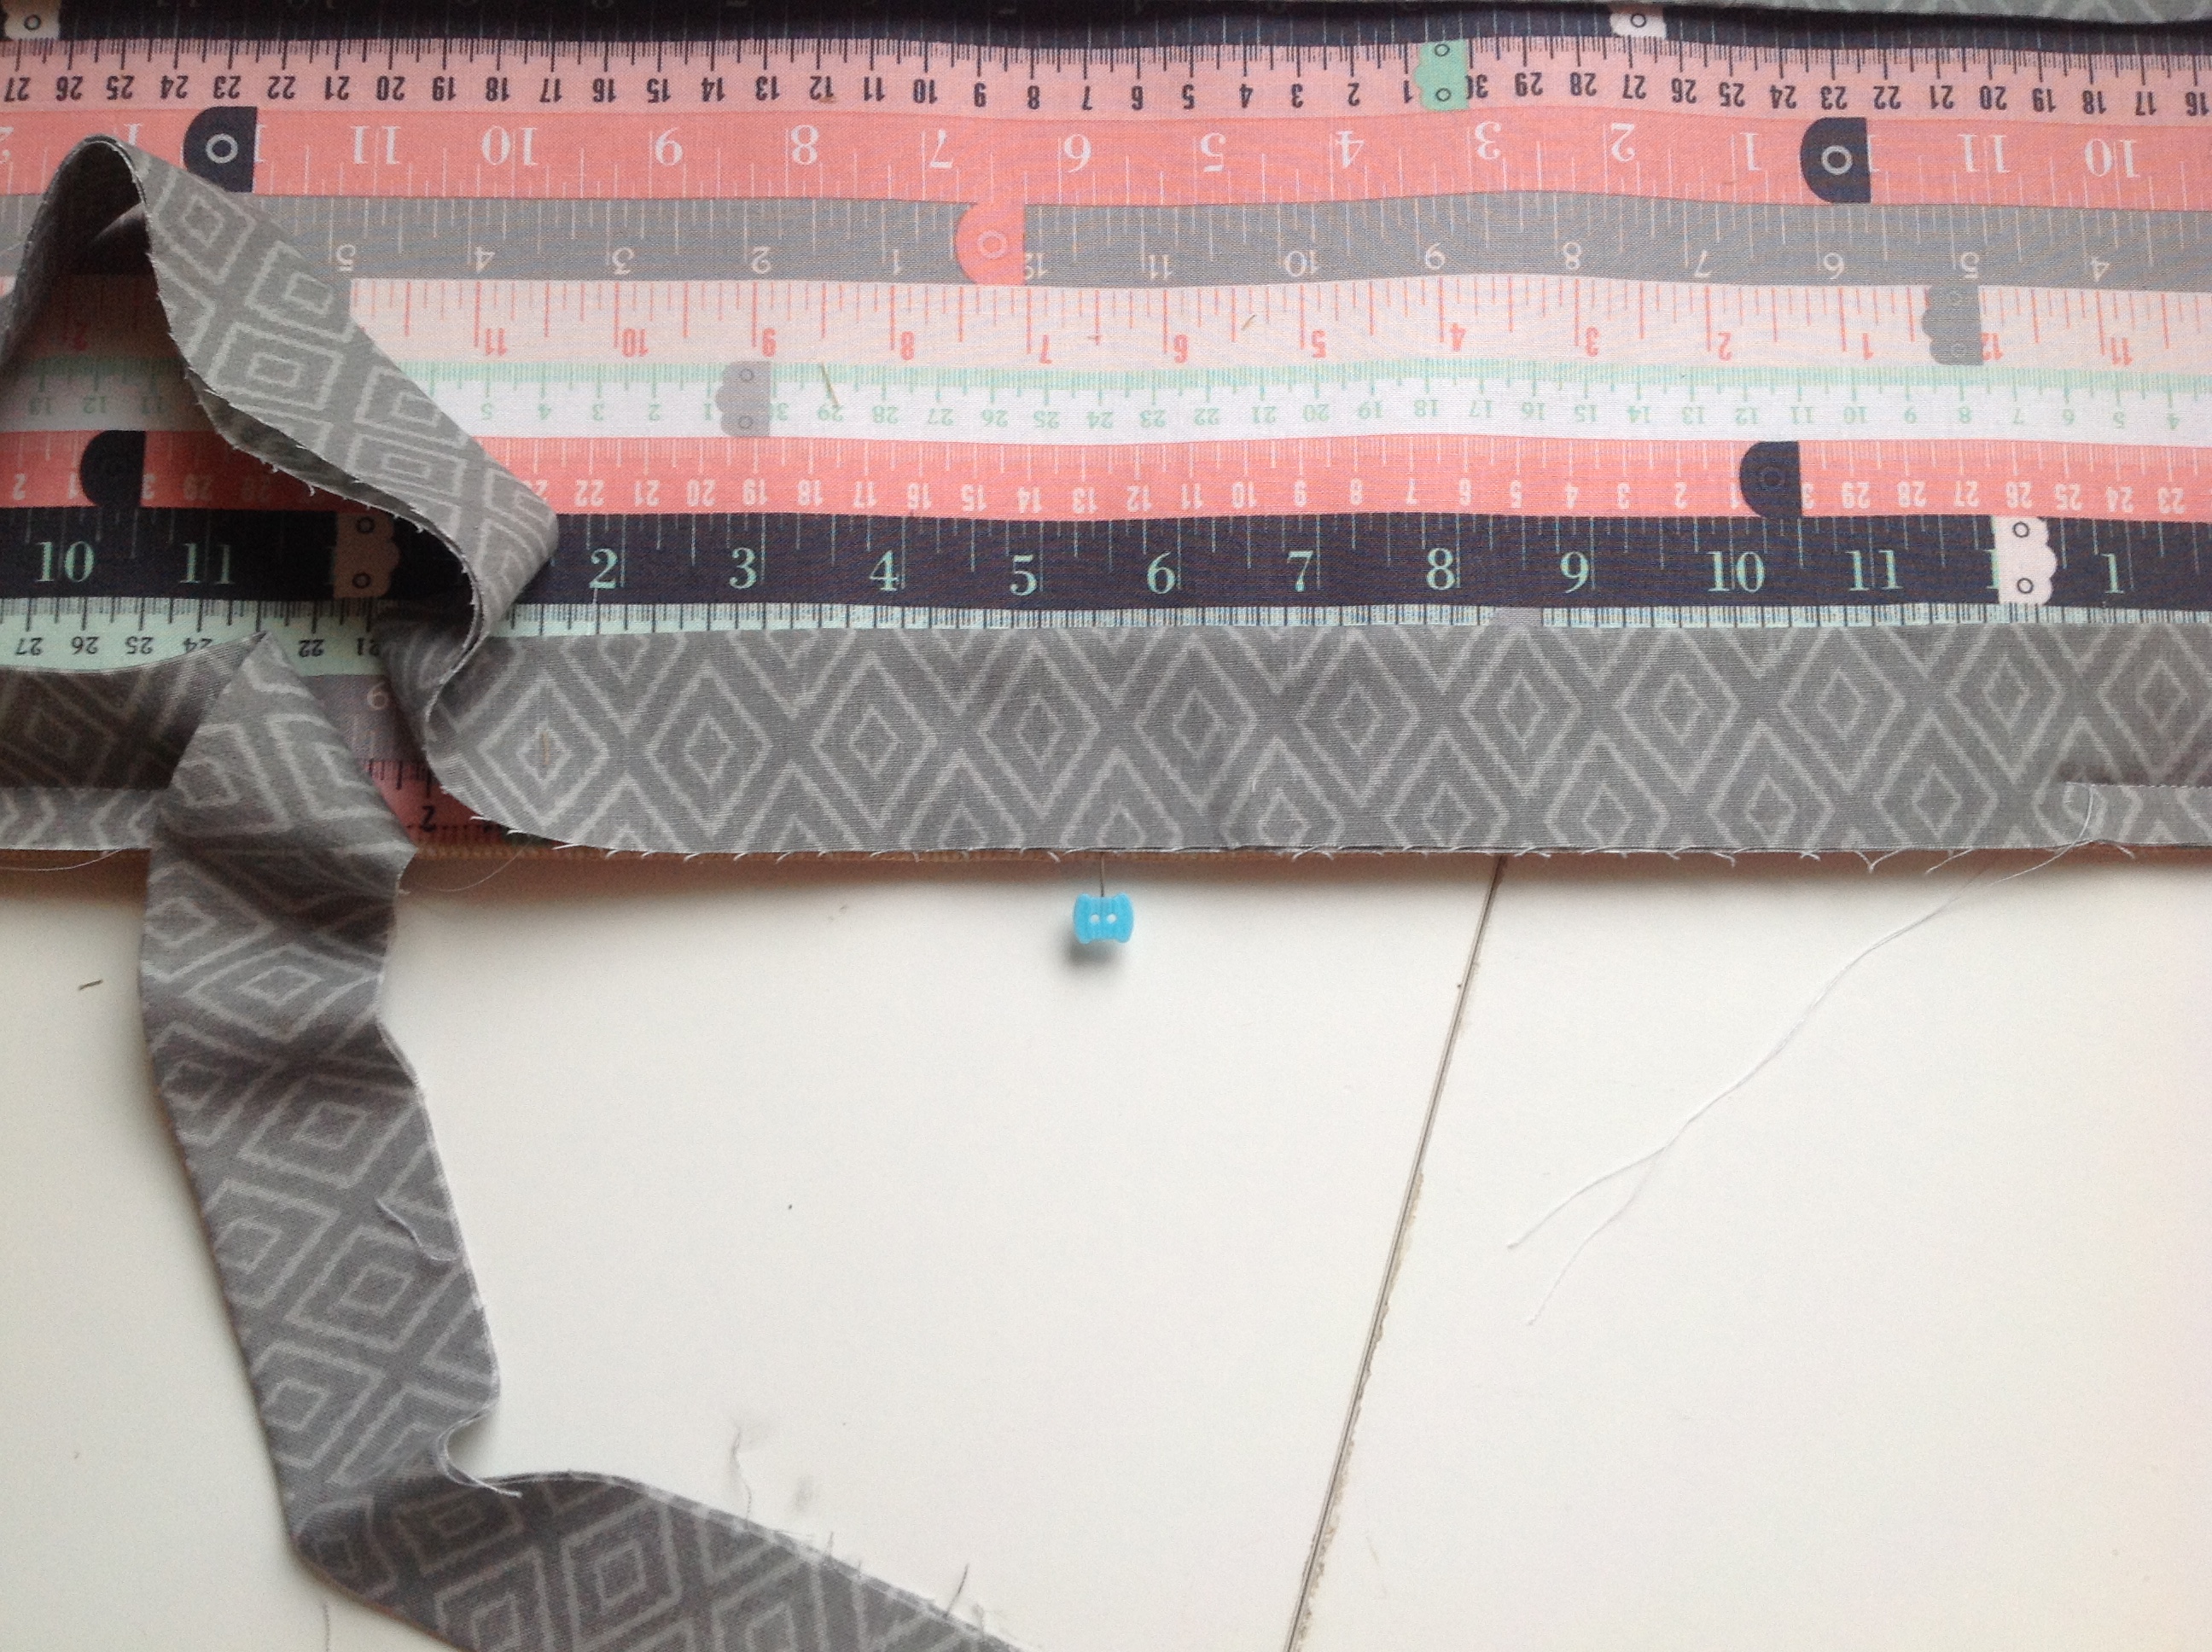
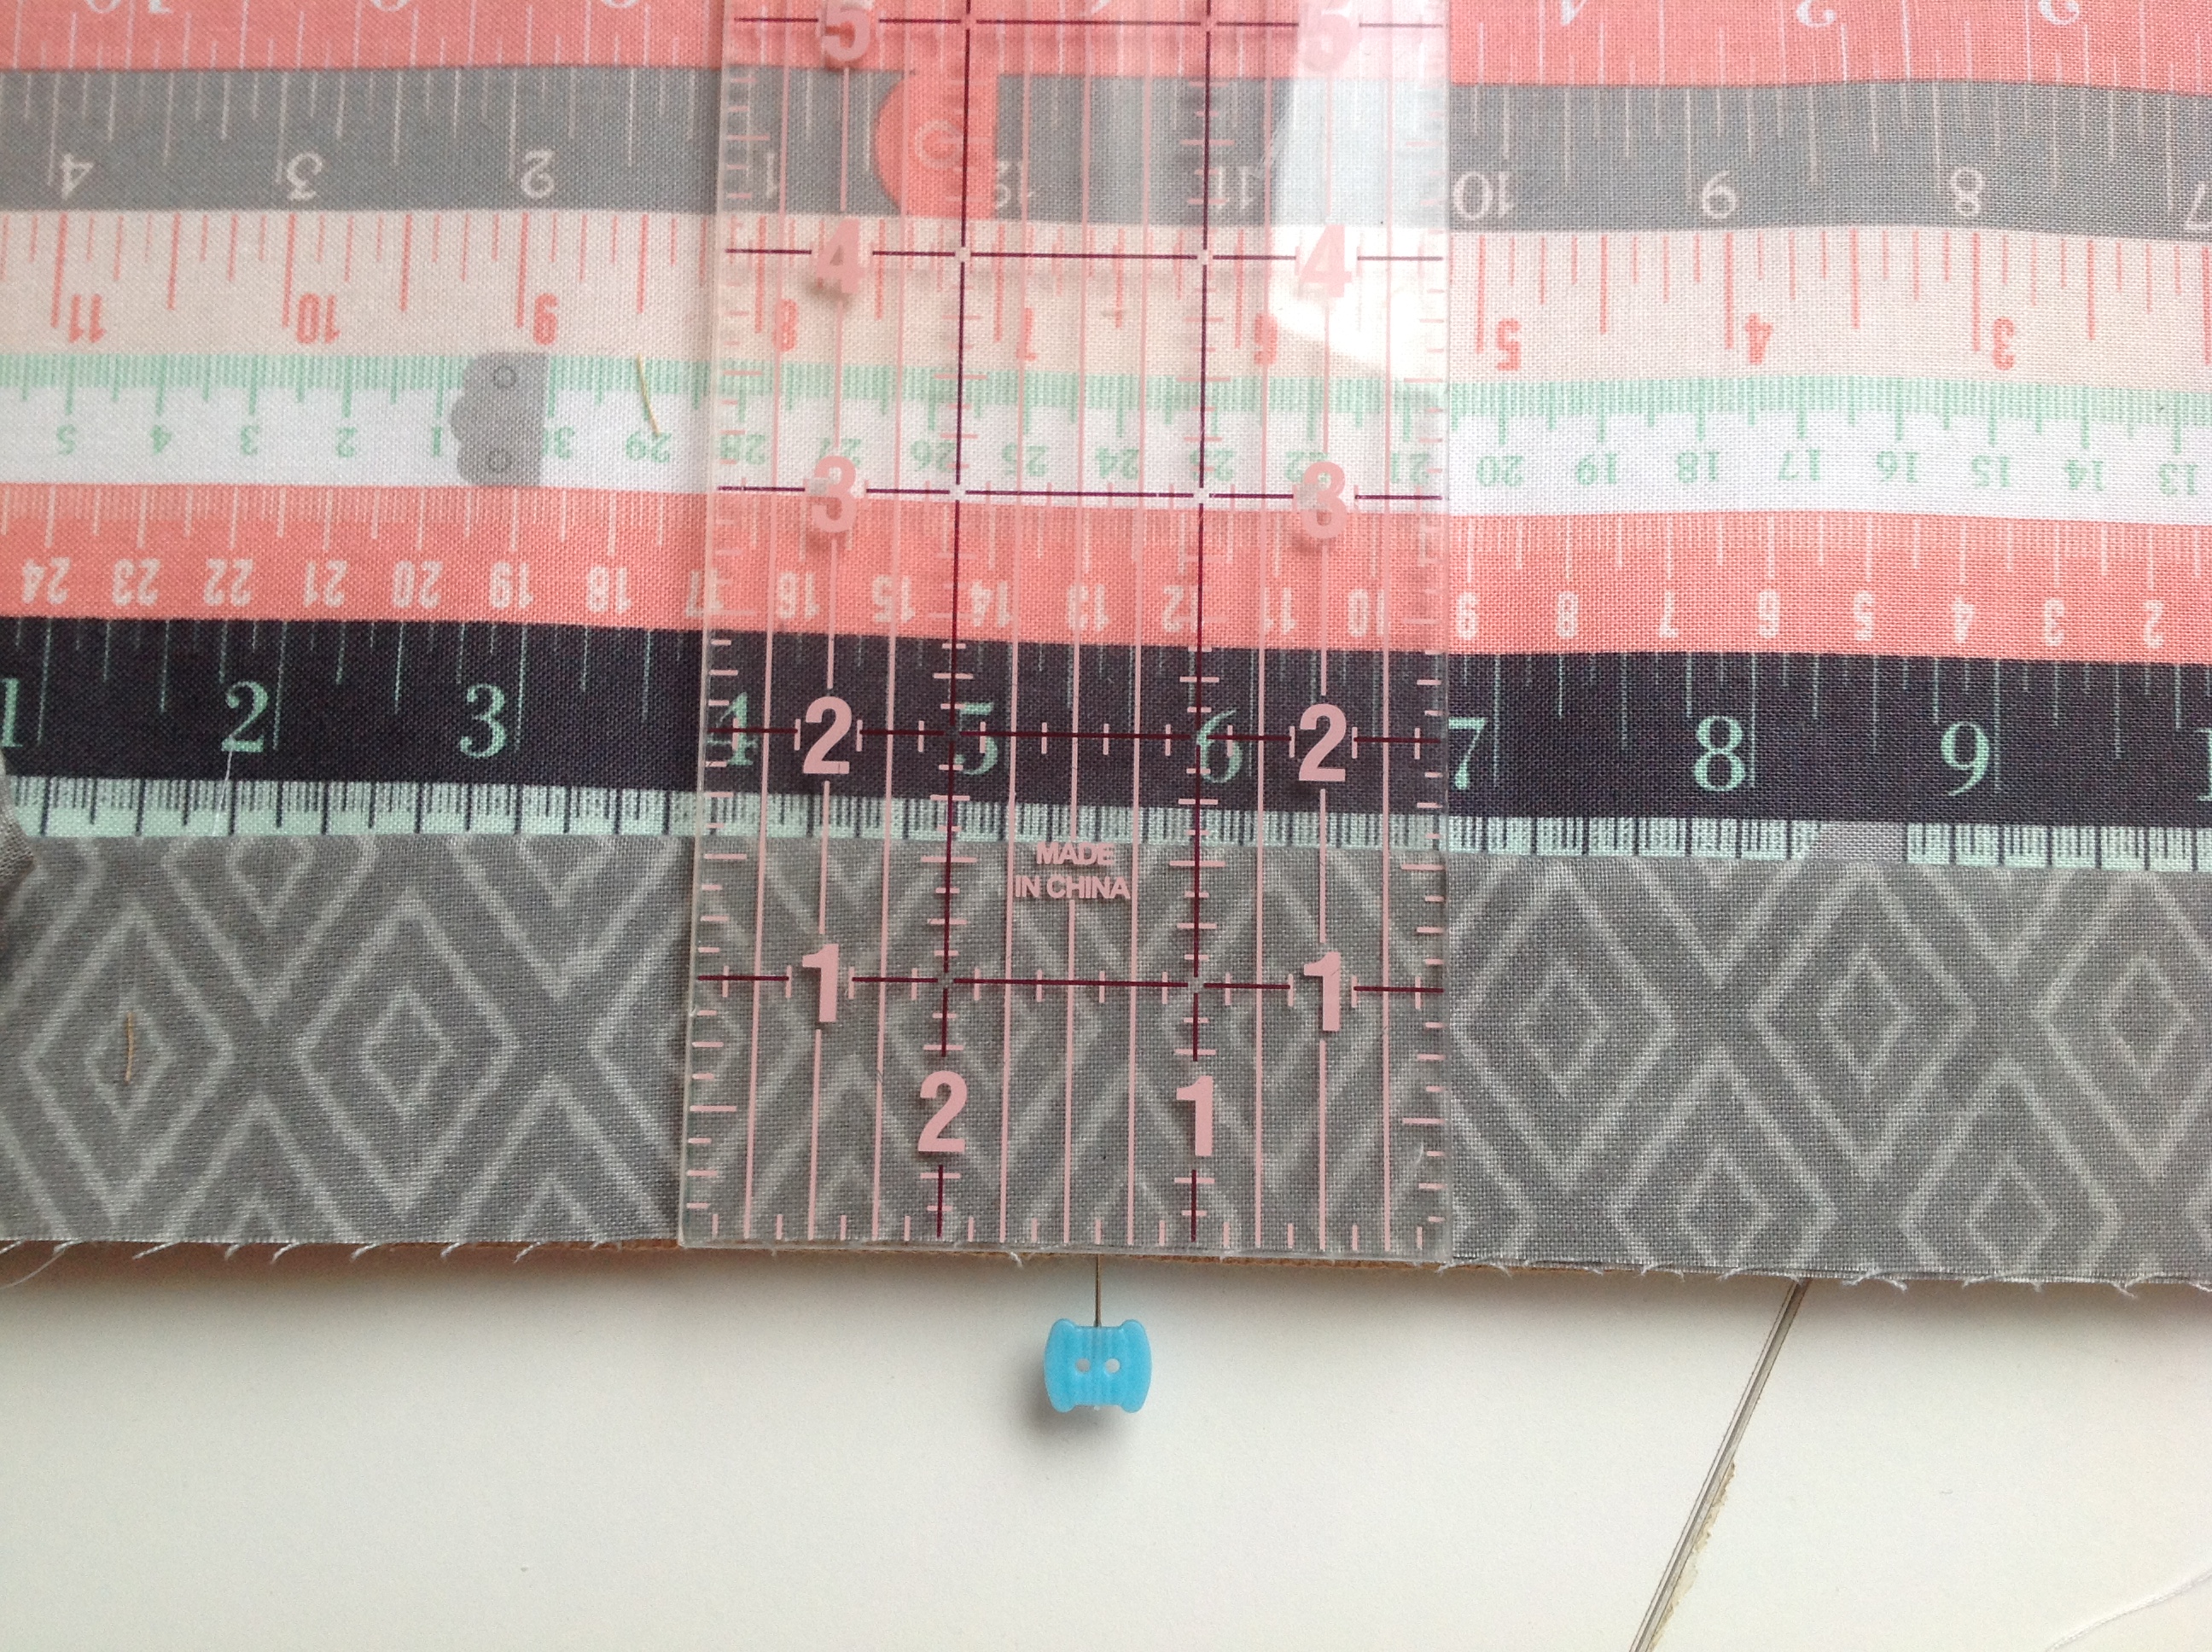
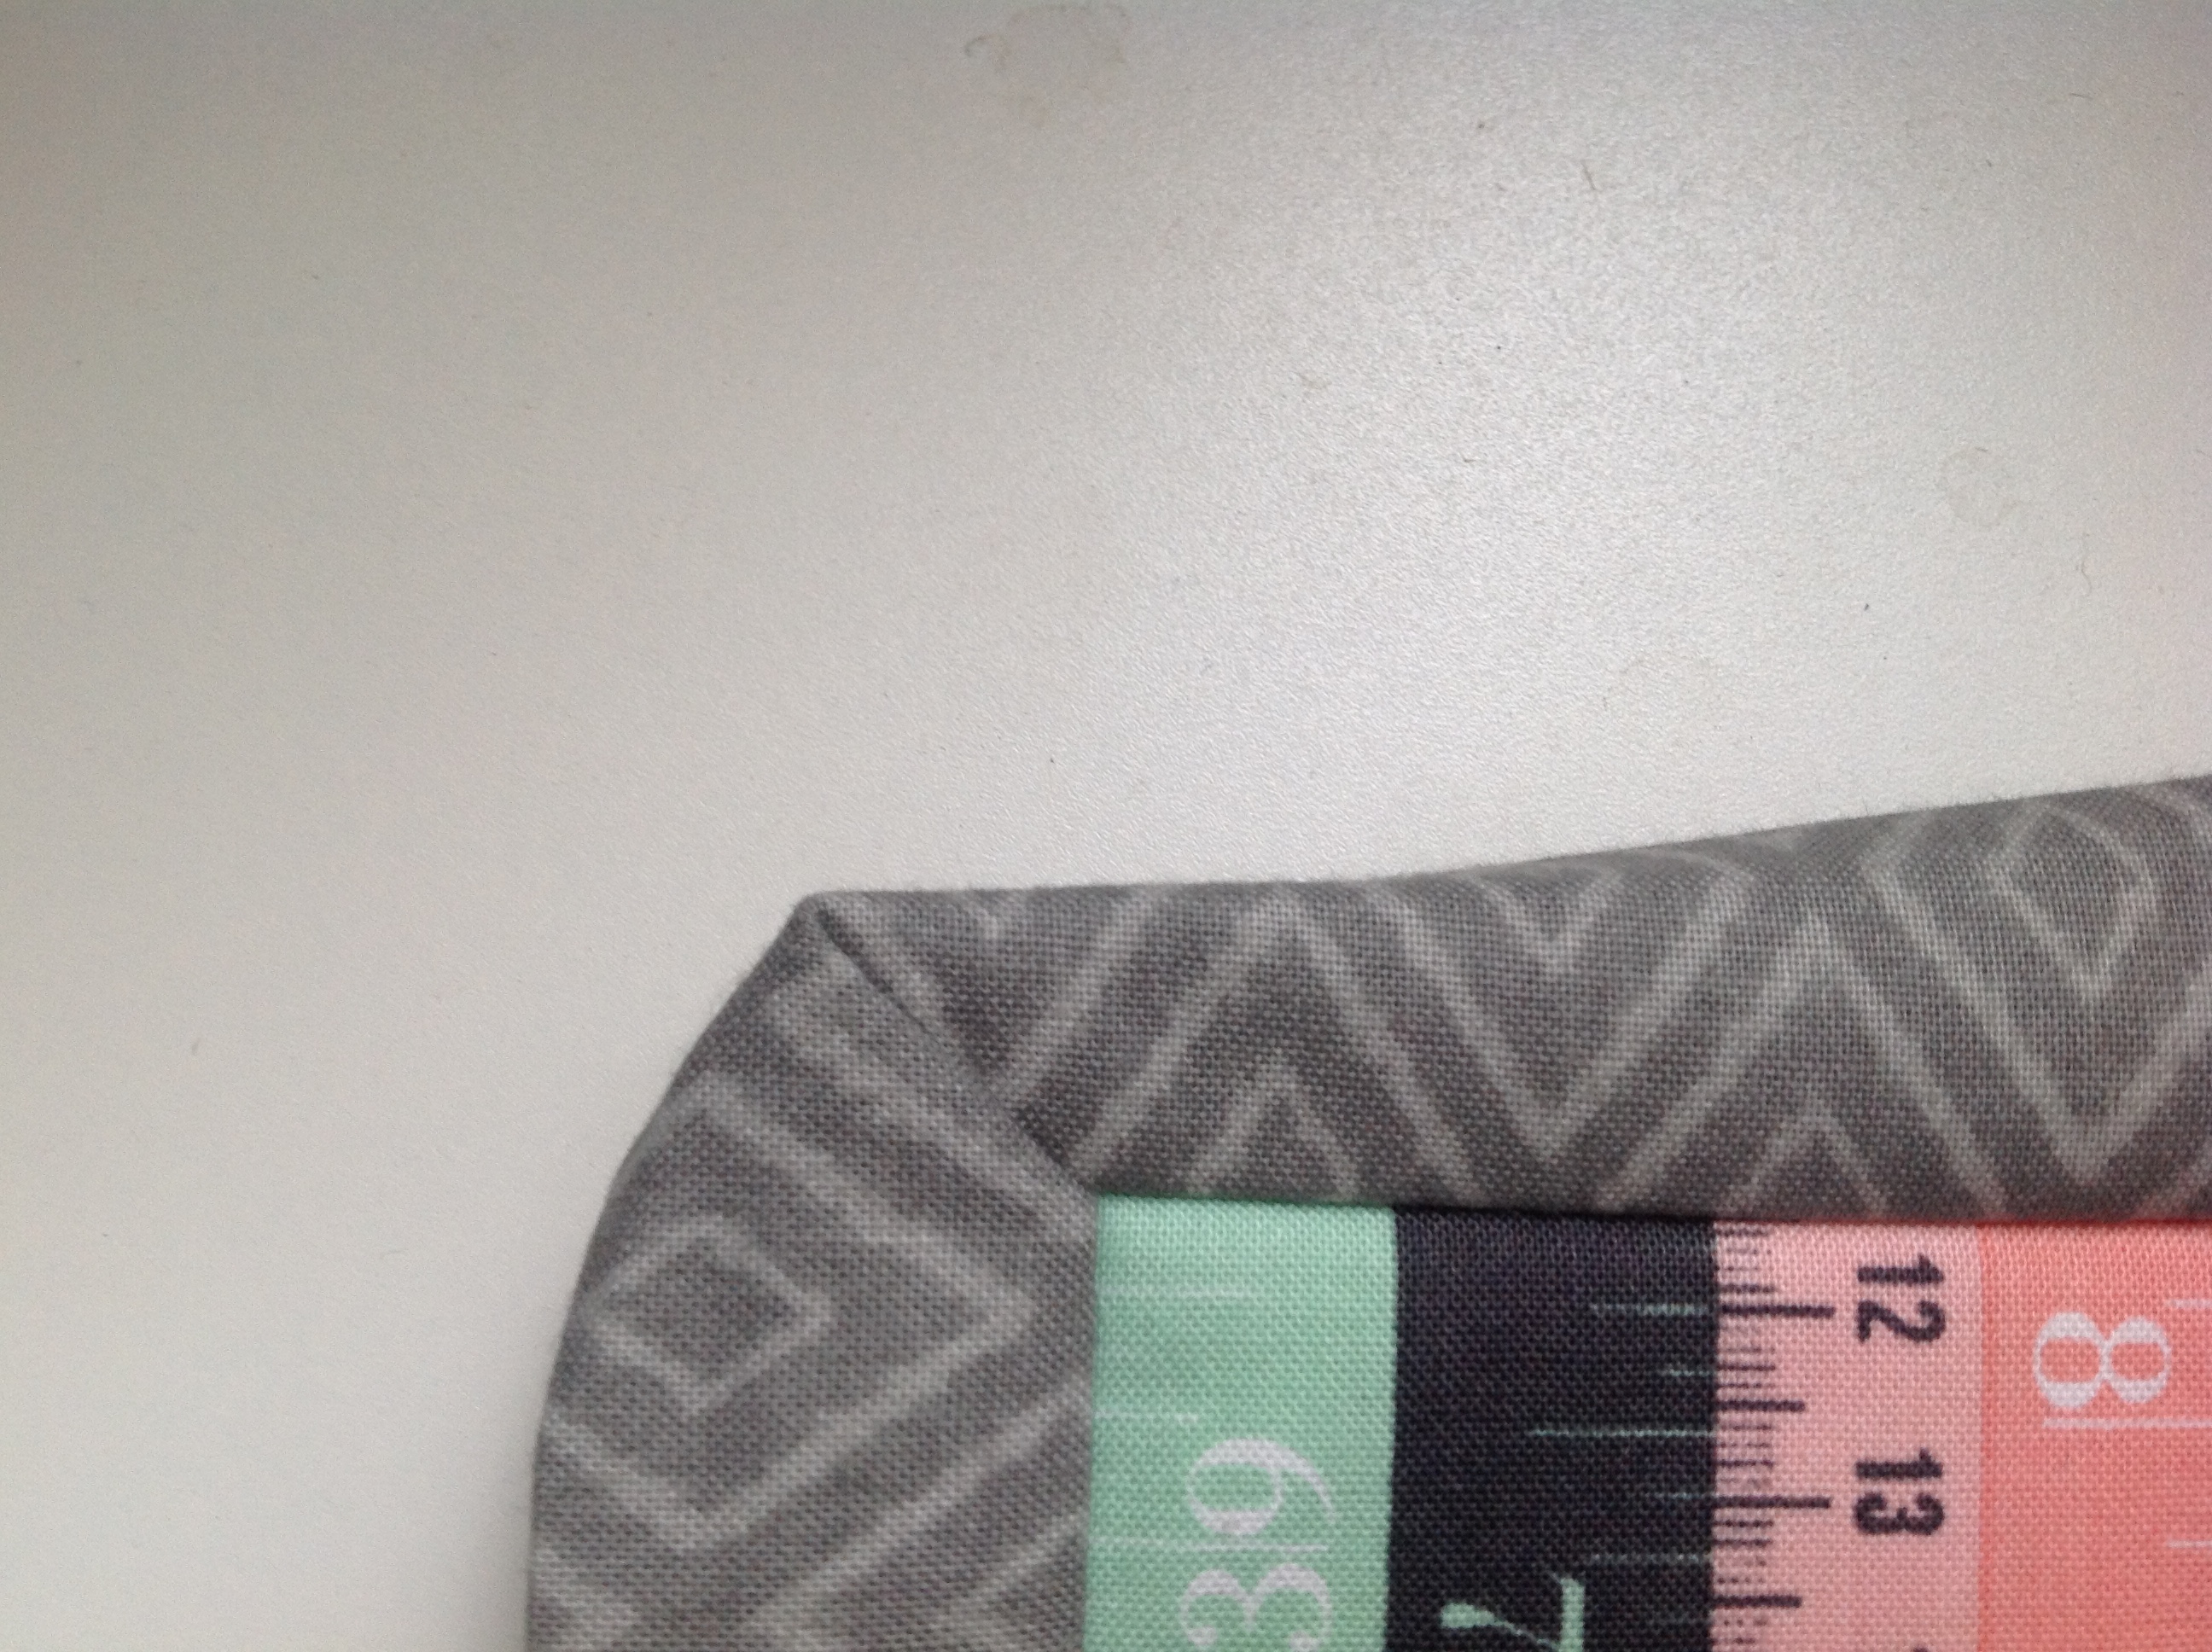
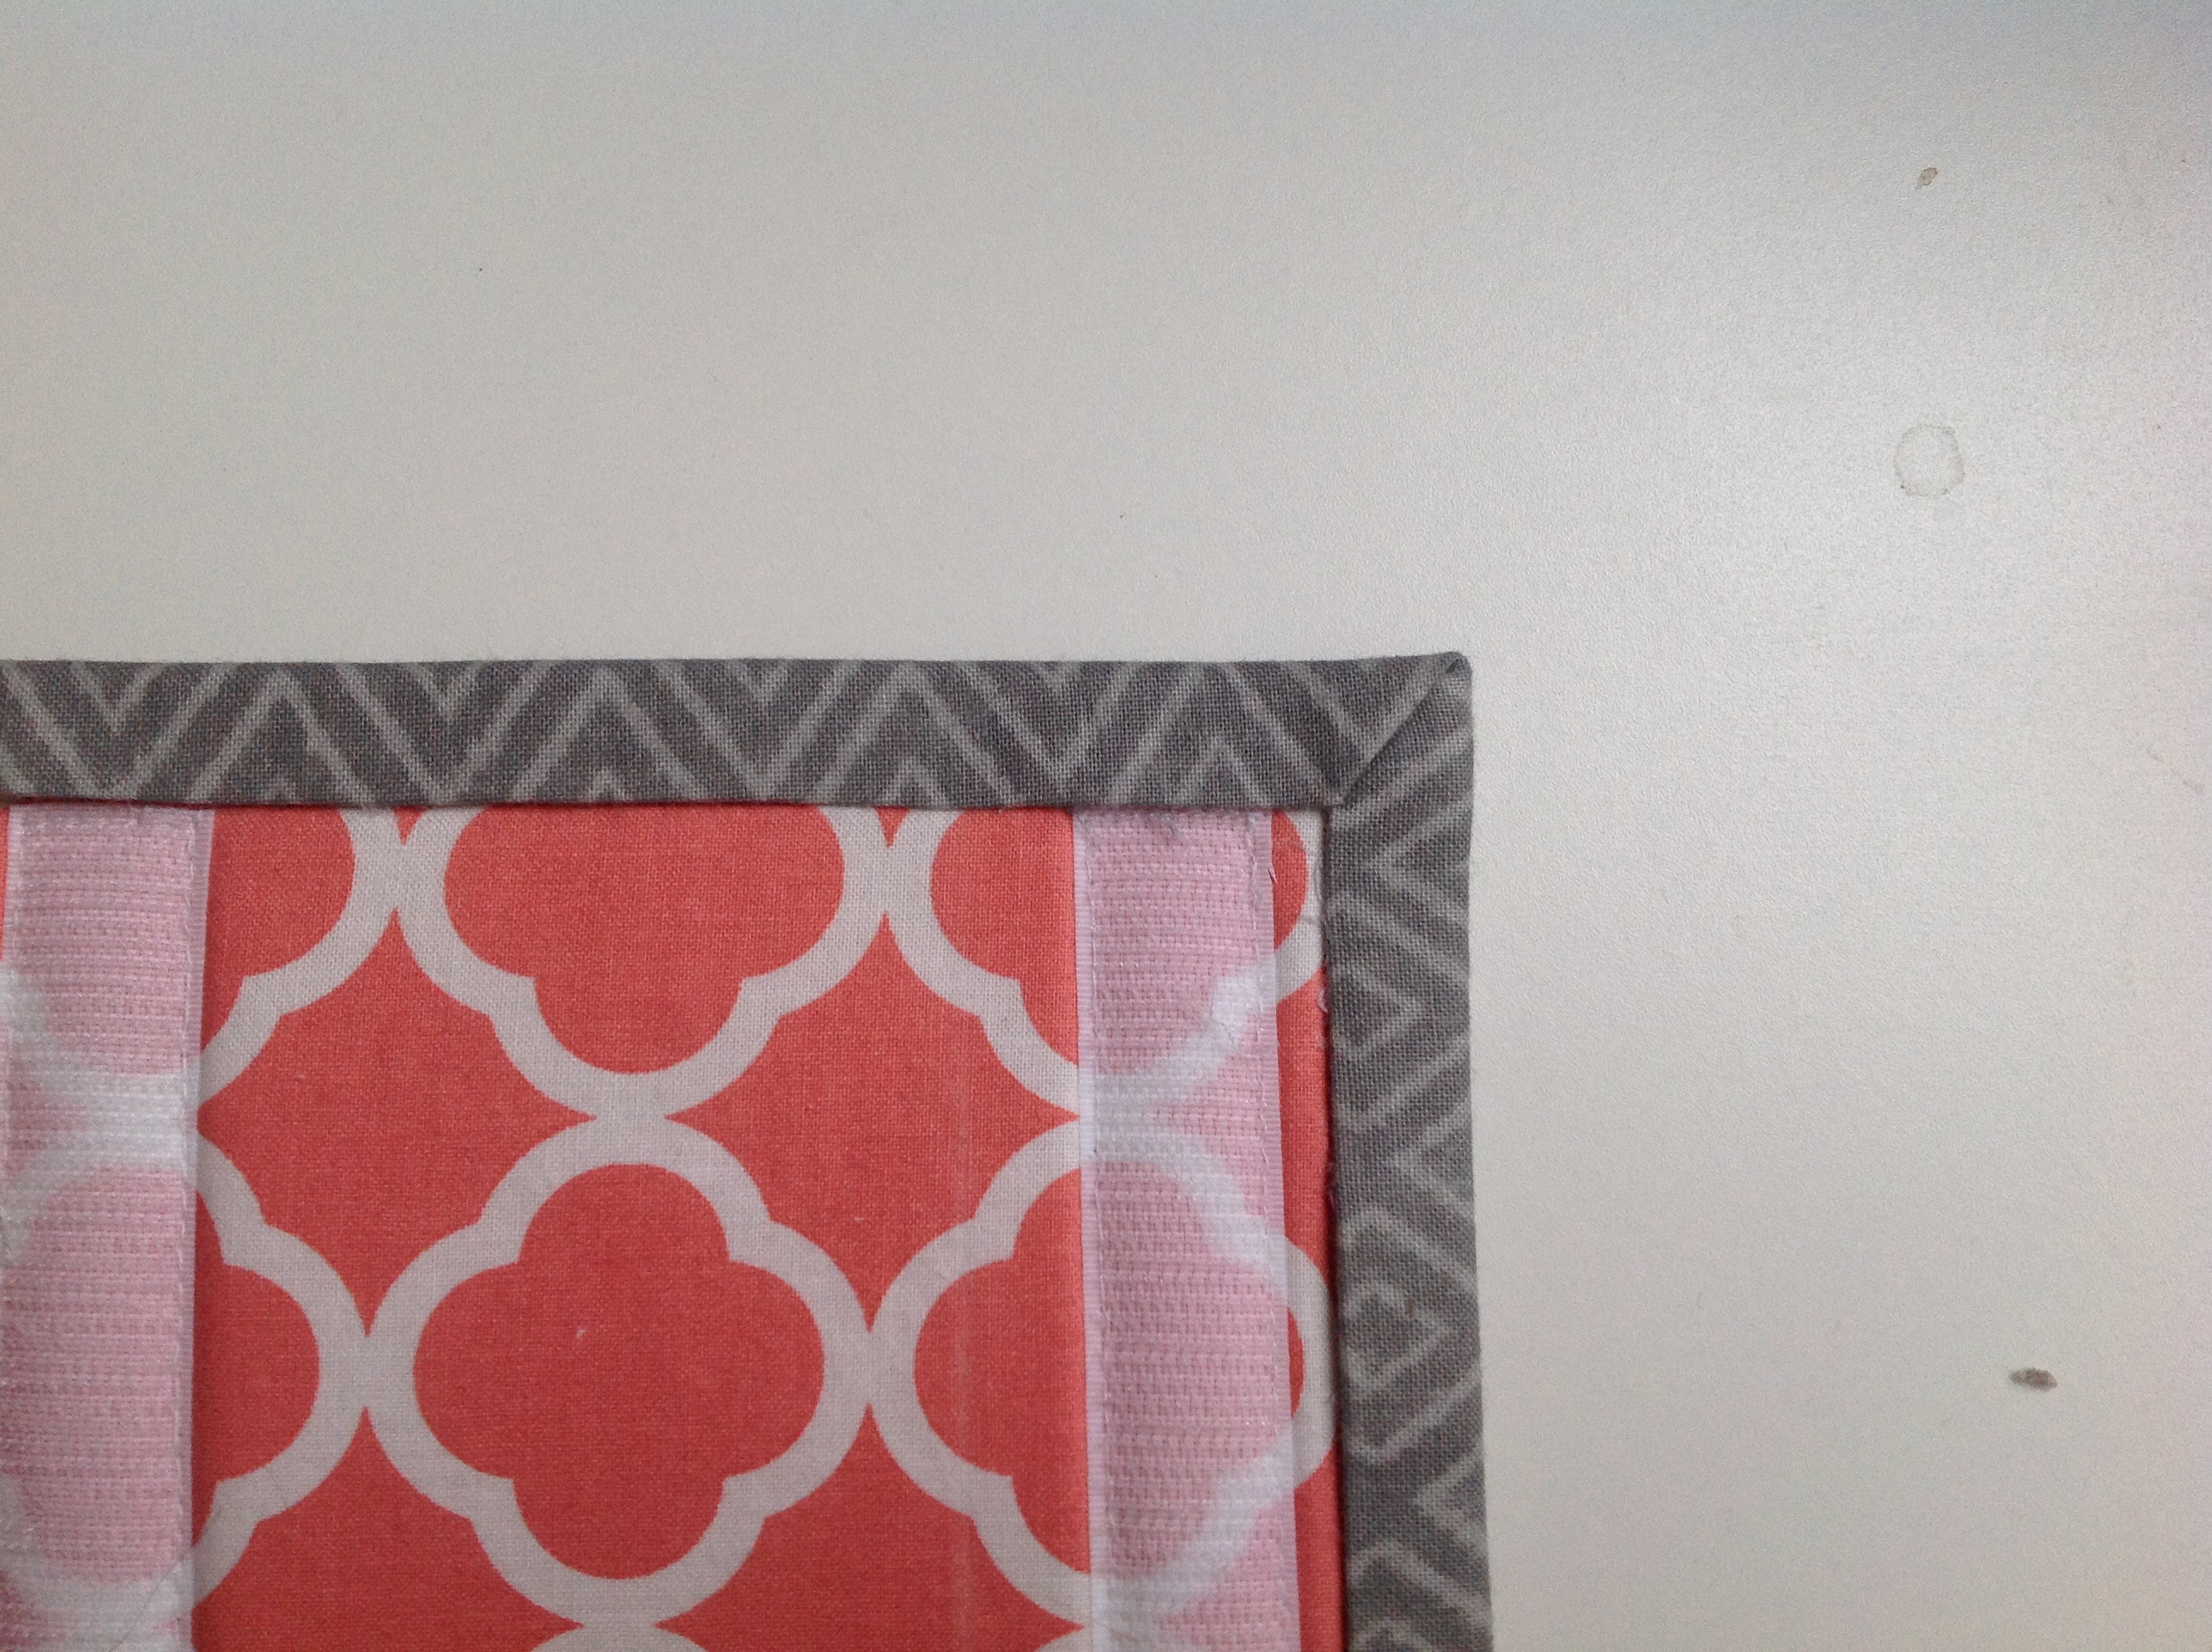
Find the Wrap panel and be sure the exterior side is facing up. Place your Binding on long edge of the Wrap and align the raw edges. Be sure the Binding covers about 3/4 of the long edge…
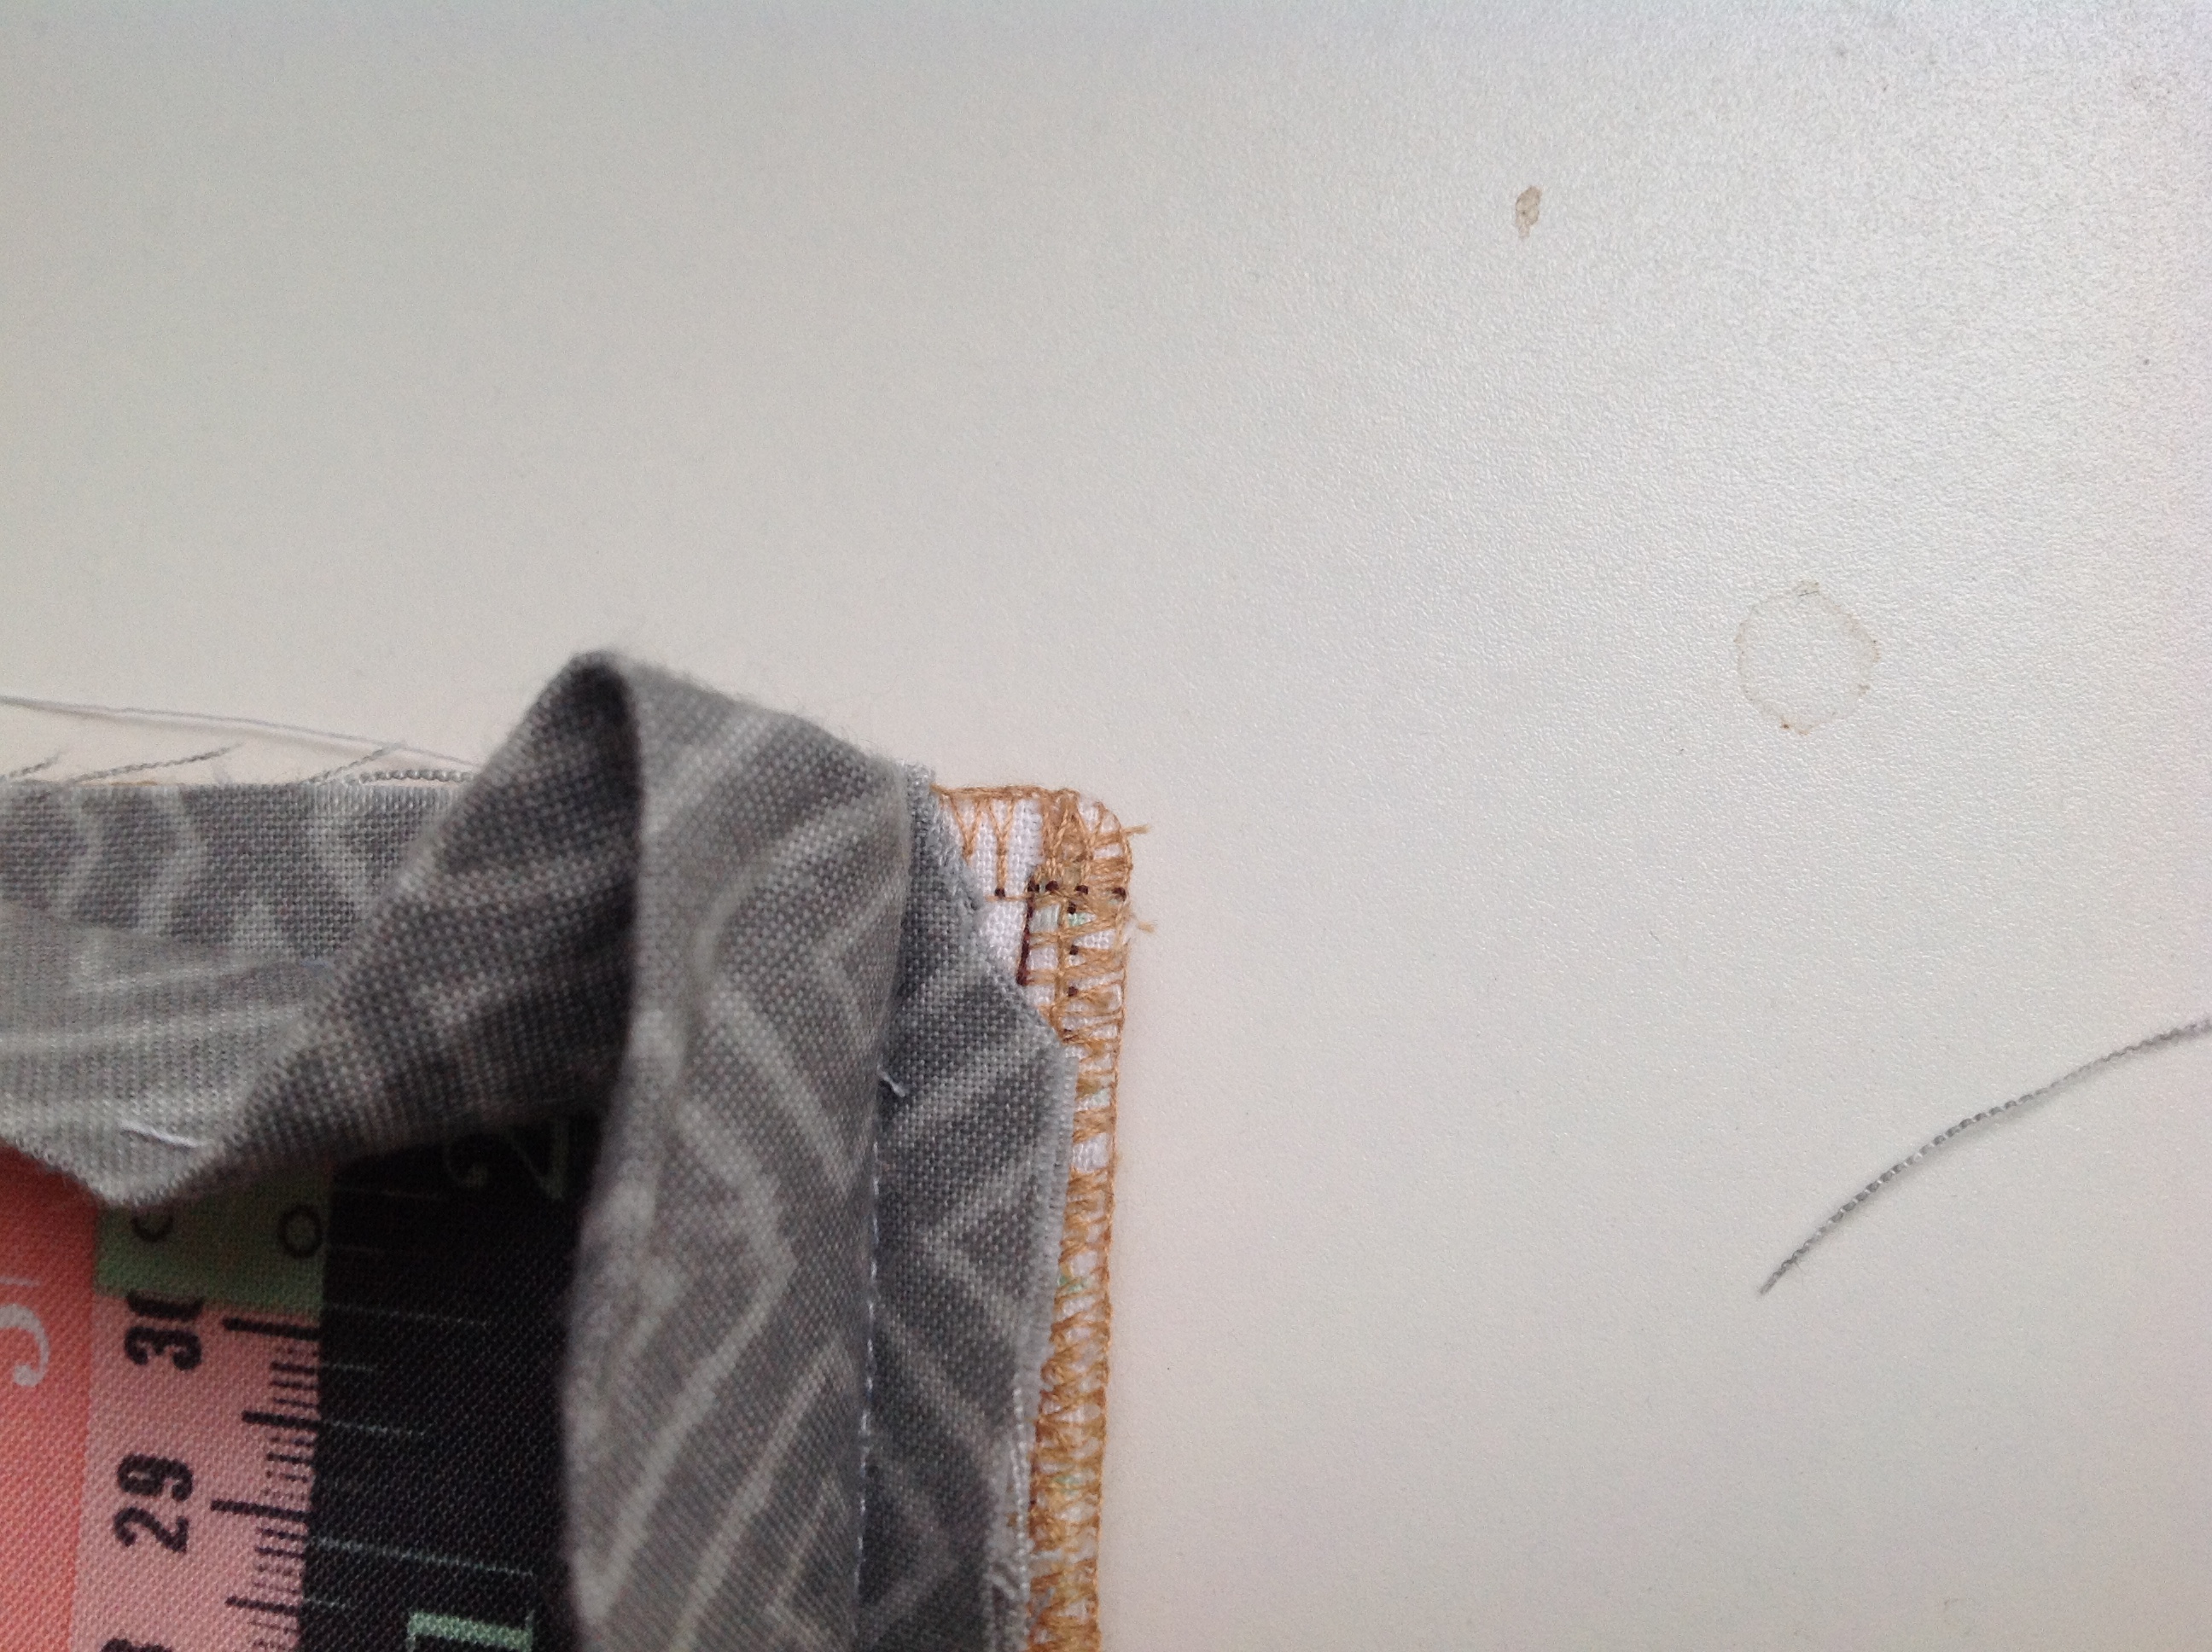
Now, start stitching about 3 or 4″ before that right corner pin. Stop stitching right at the pin and be sure to backstitch! Here’s how we are going to handle the corners…
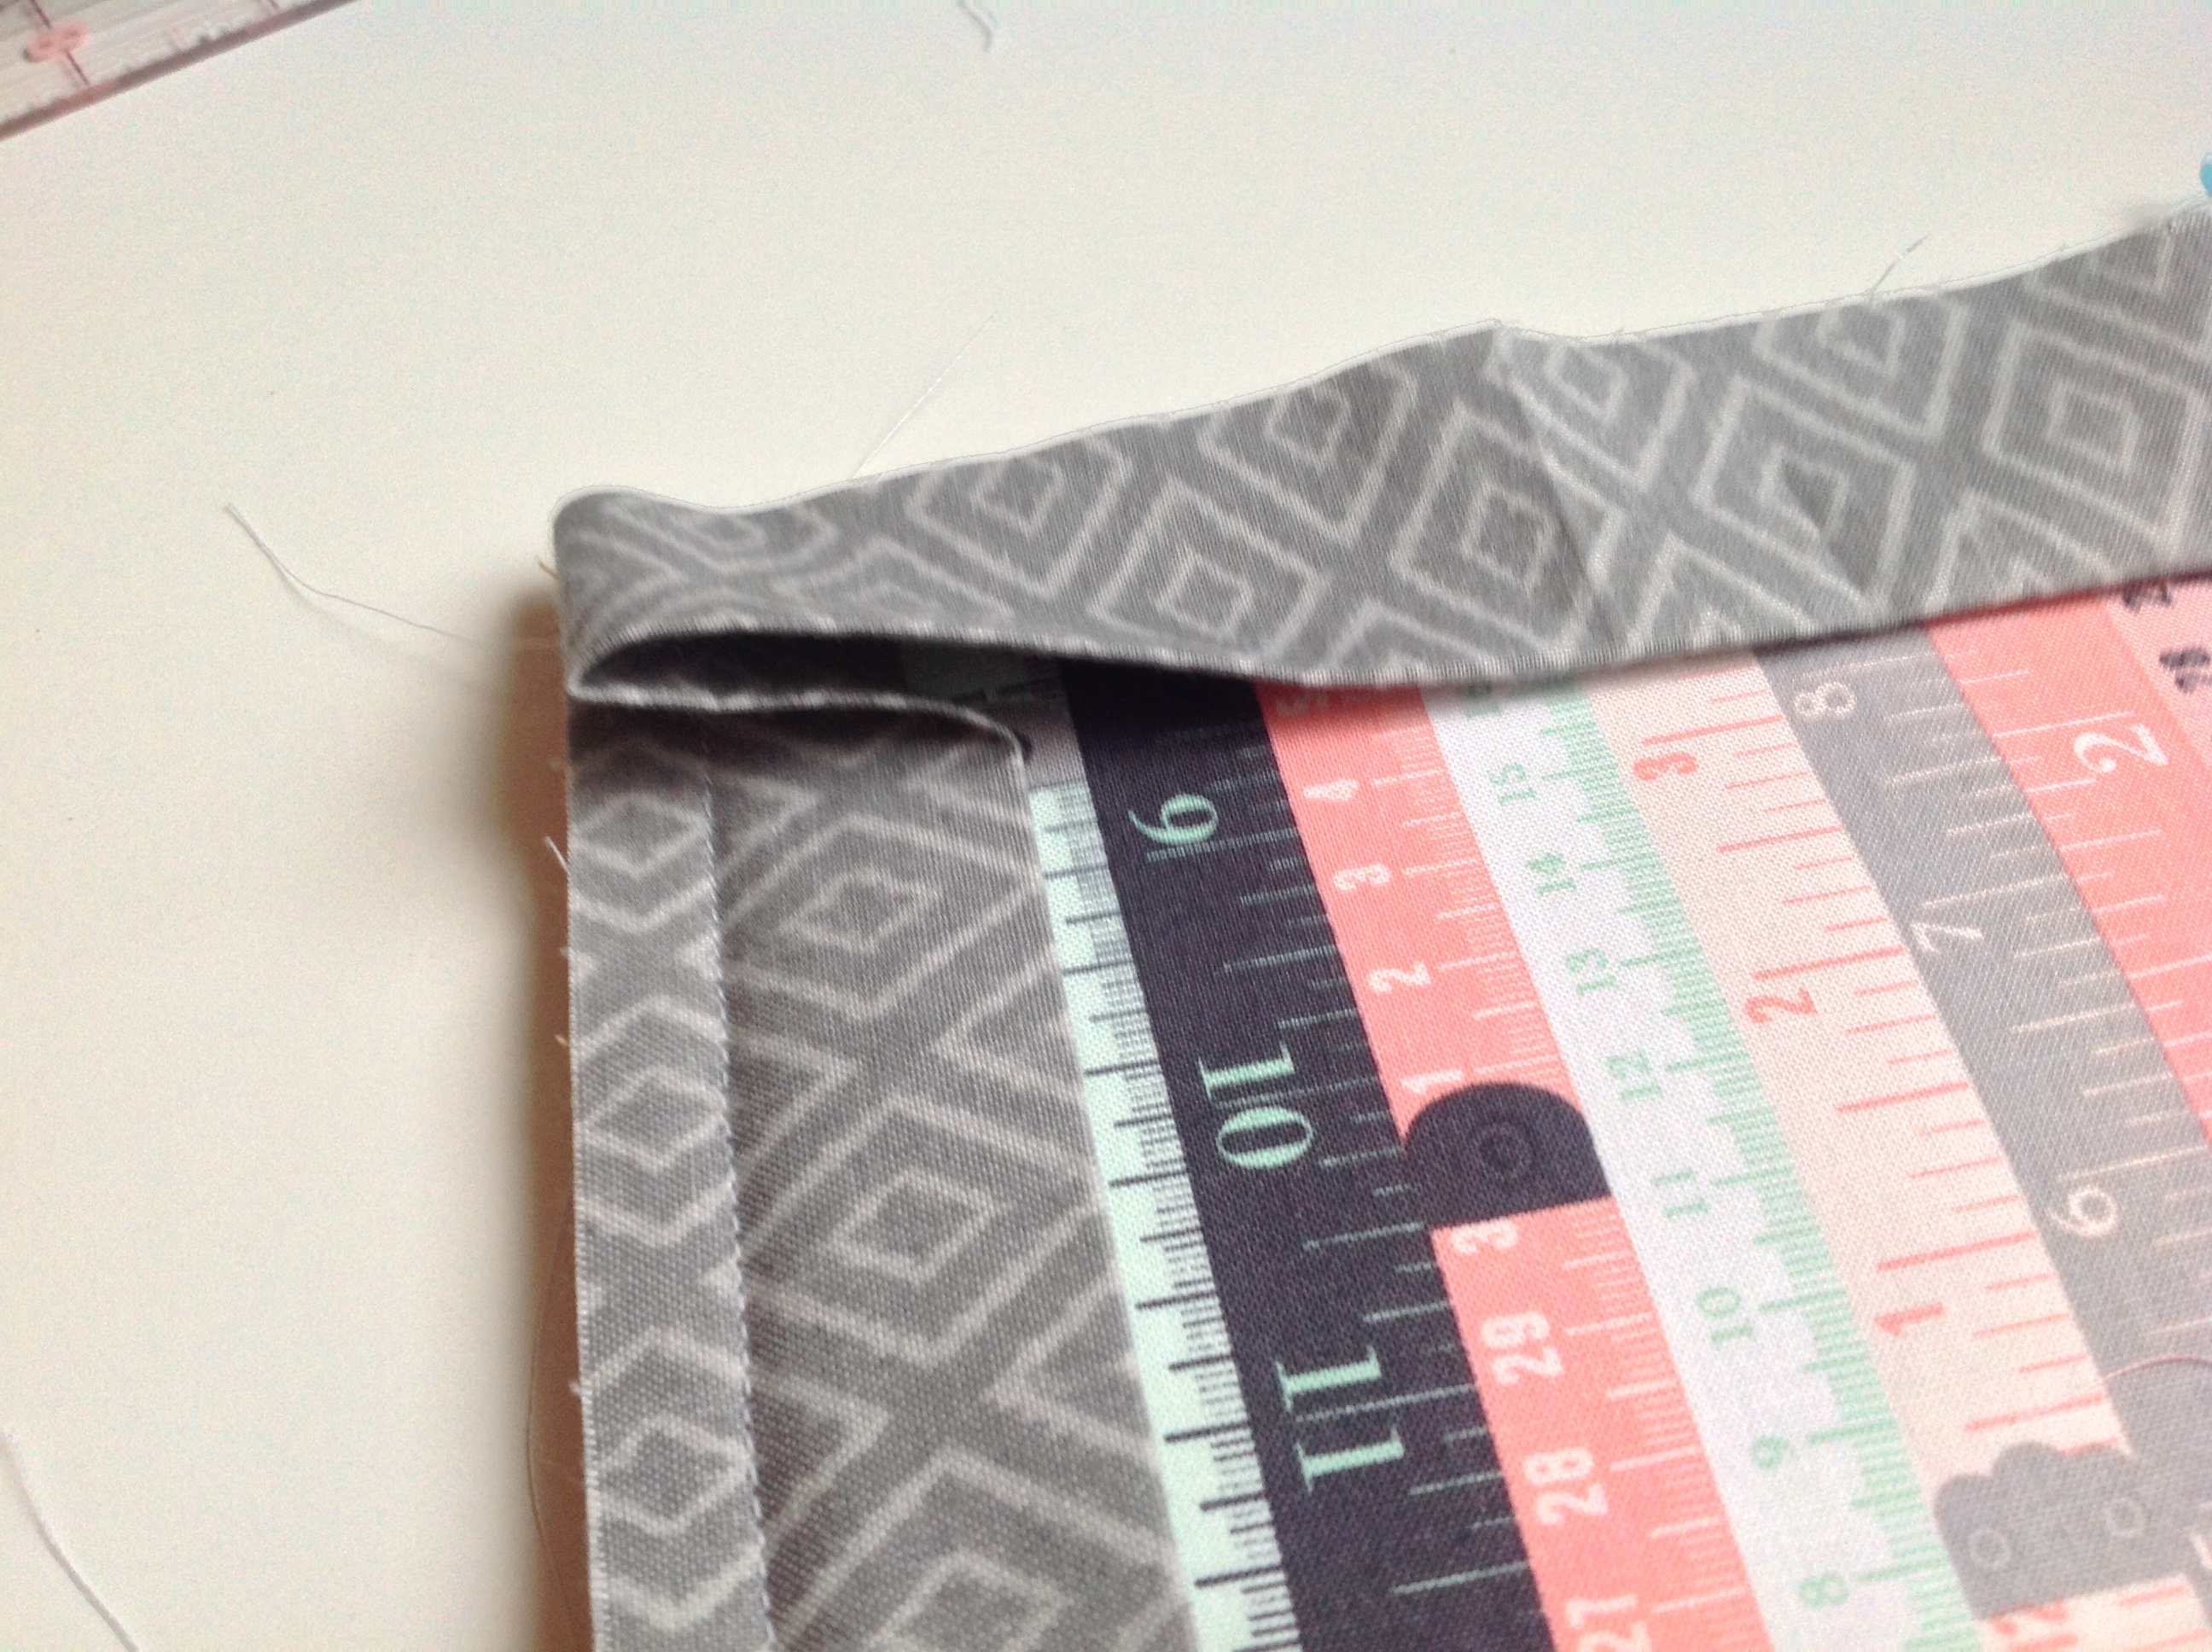
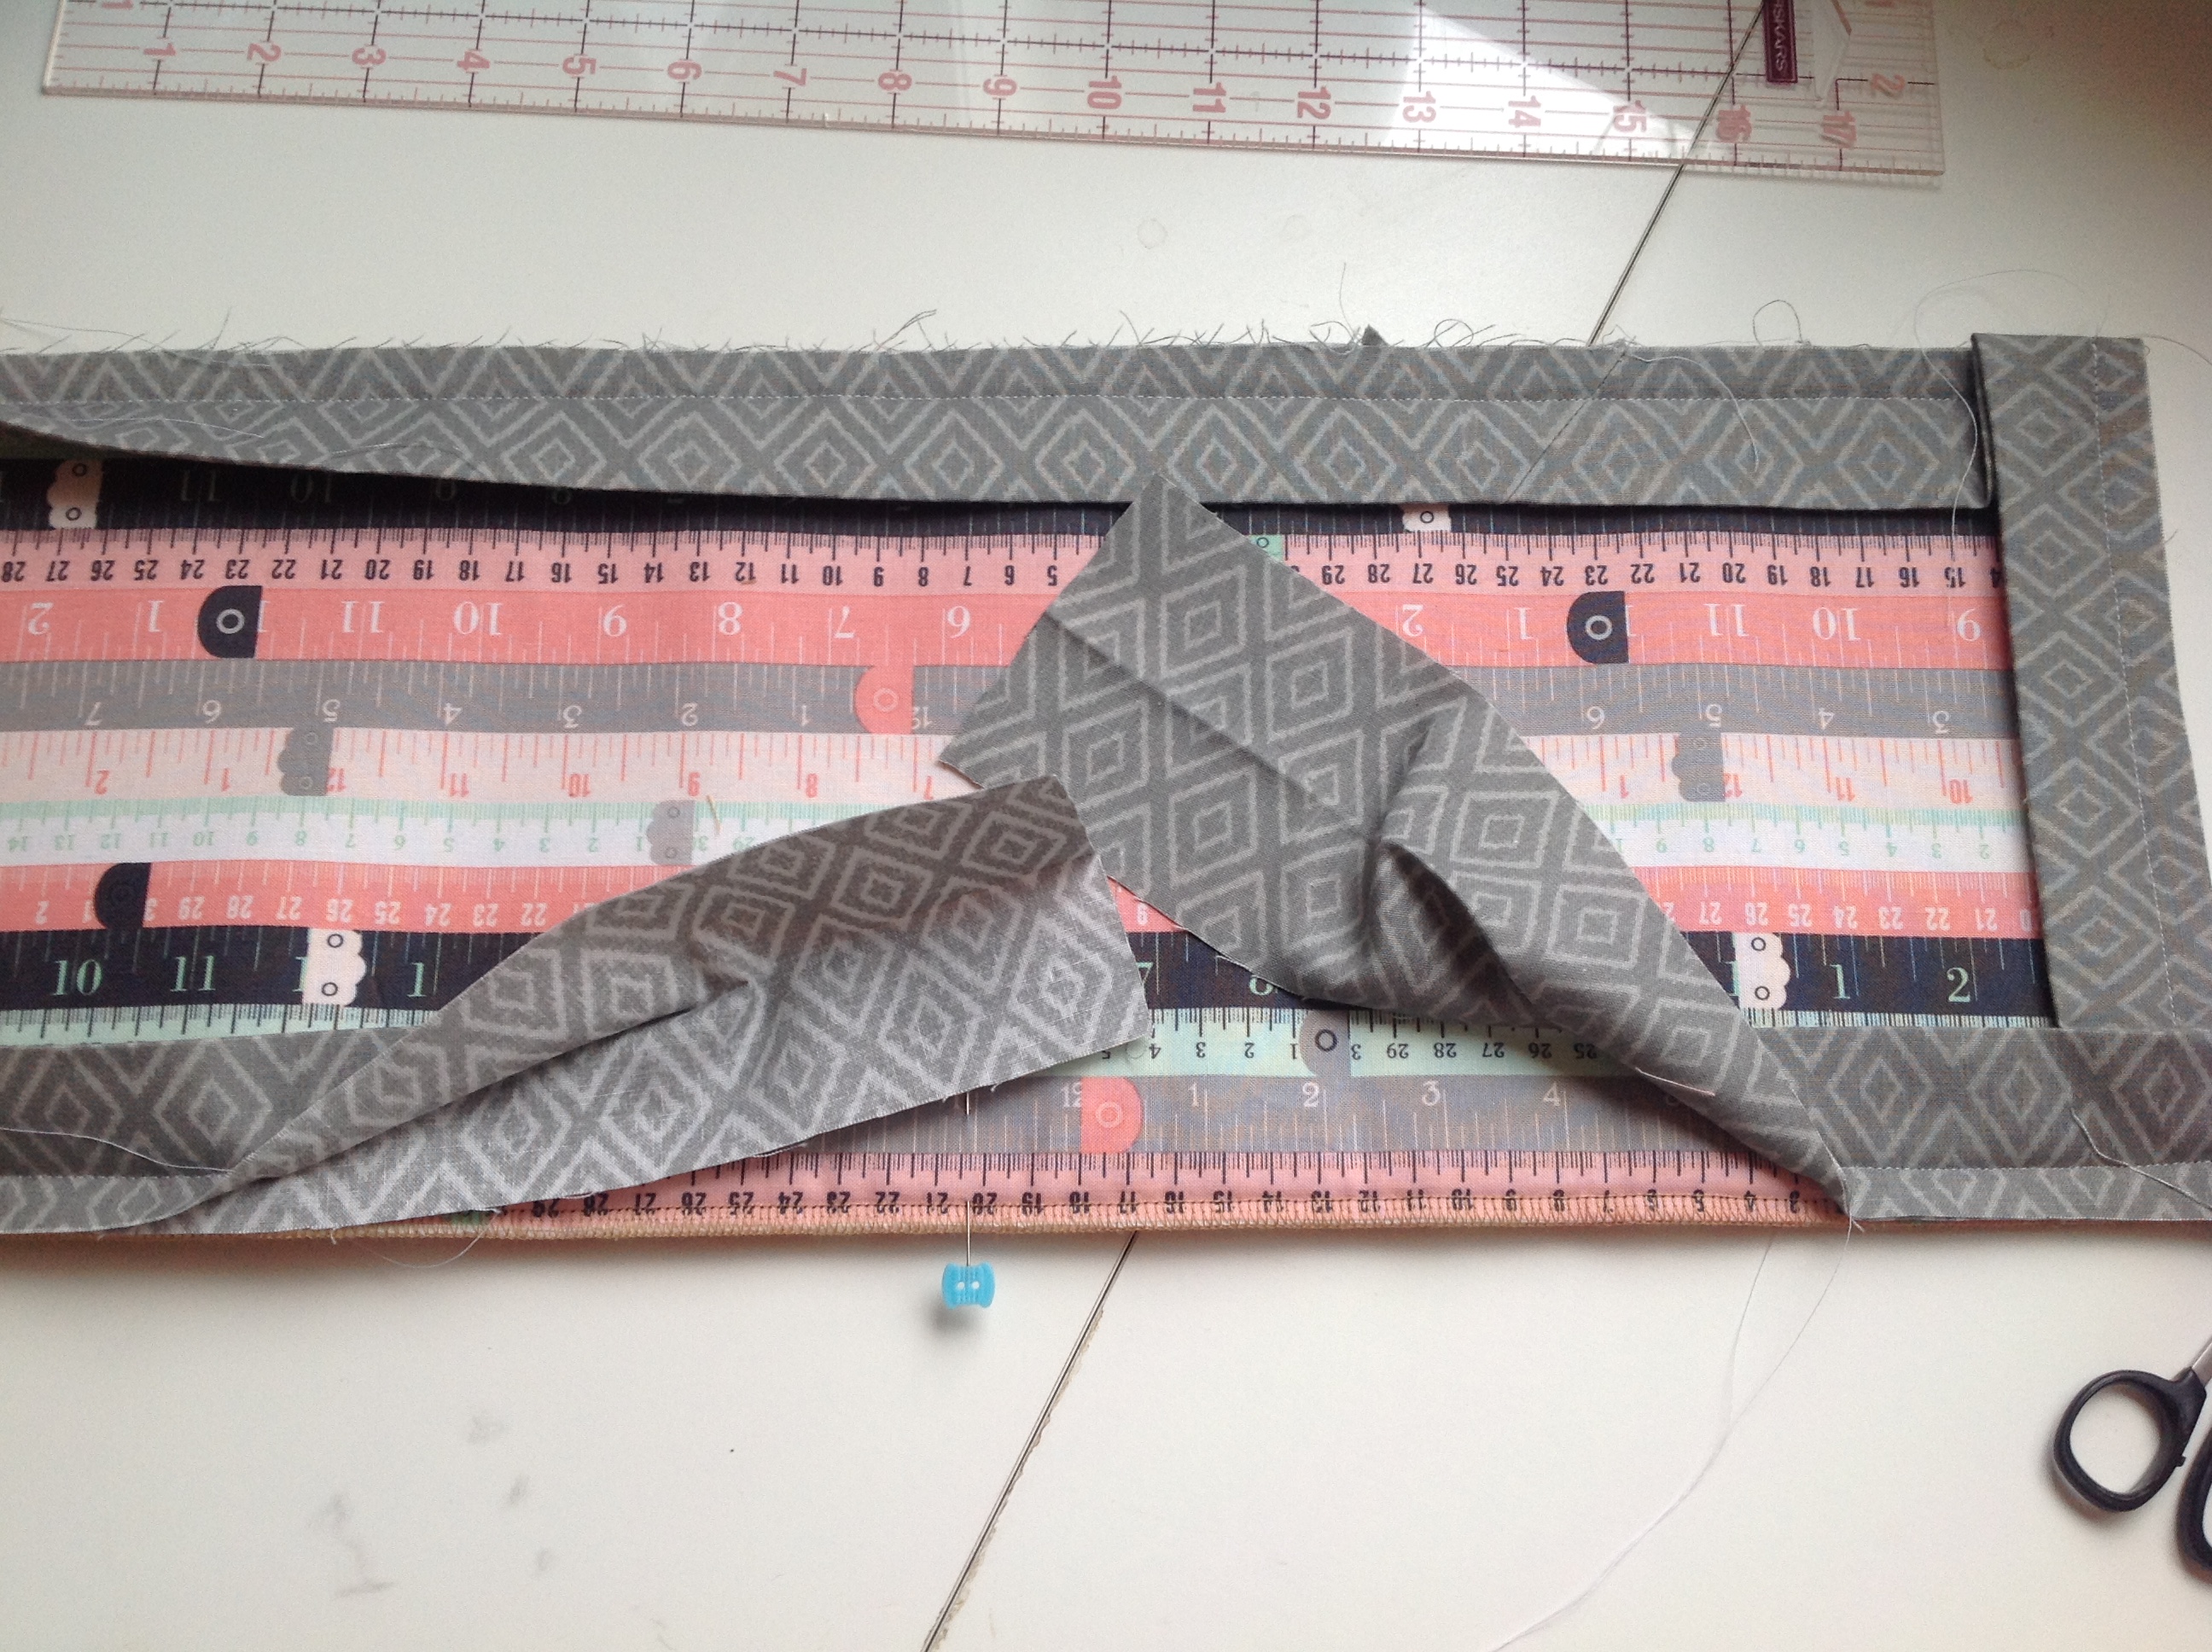
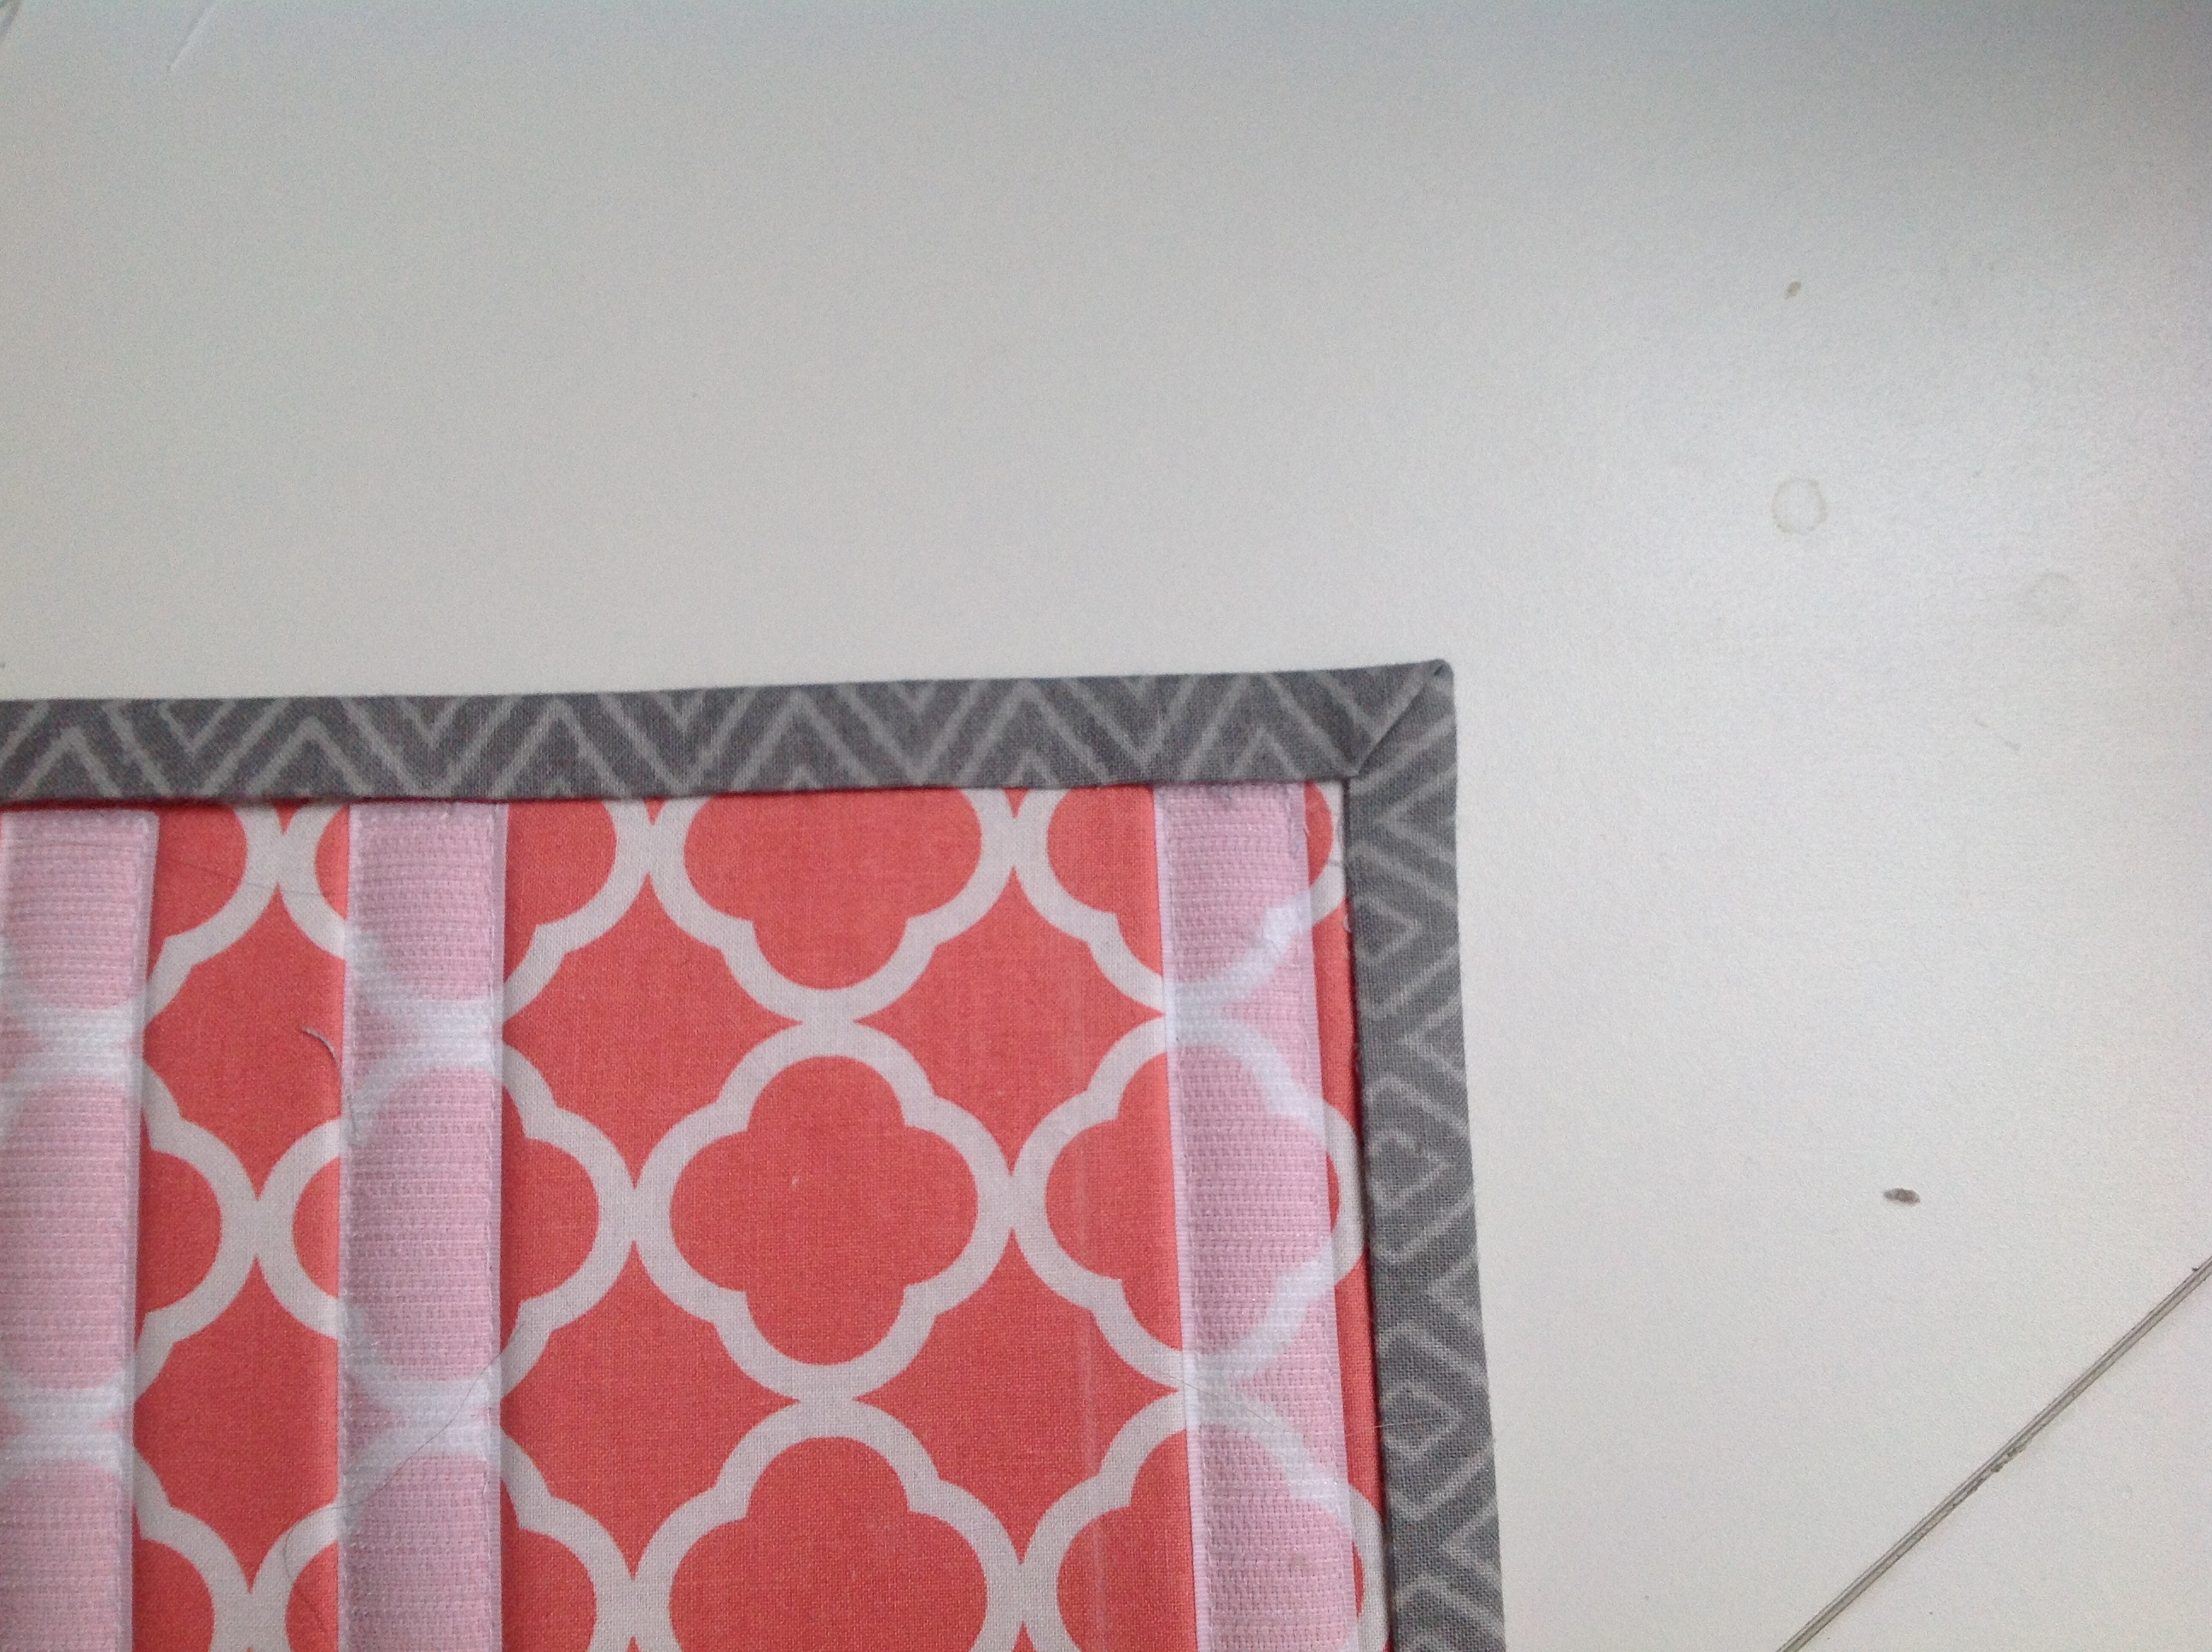
Flip the binding up and fold it so there is a 45º angle into the corner. The edges of the Binding and the Wrap should be on the same plane. You might want to put a pin to hand that angle down (sorry didn’t take a photo with a pin in there!)
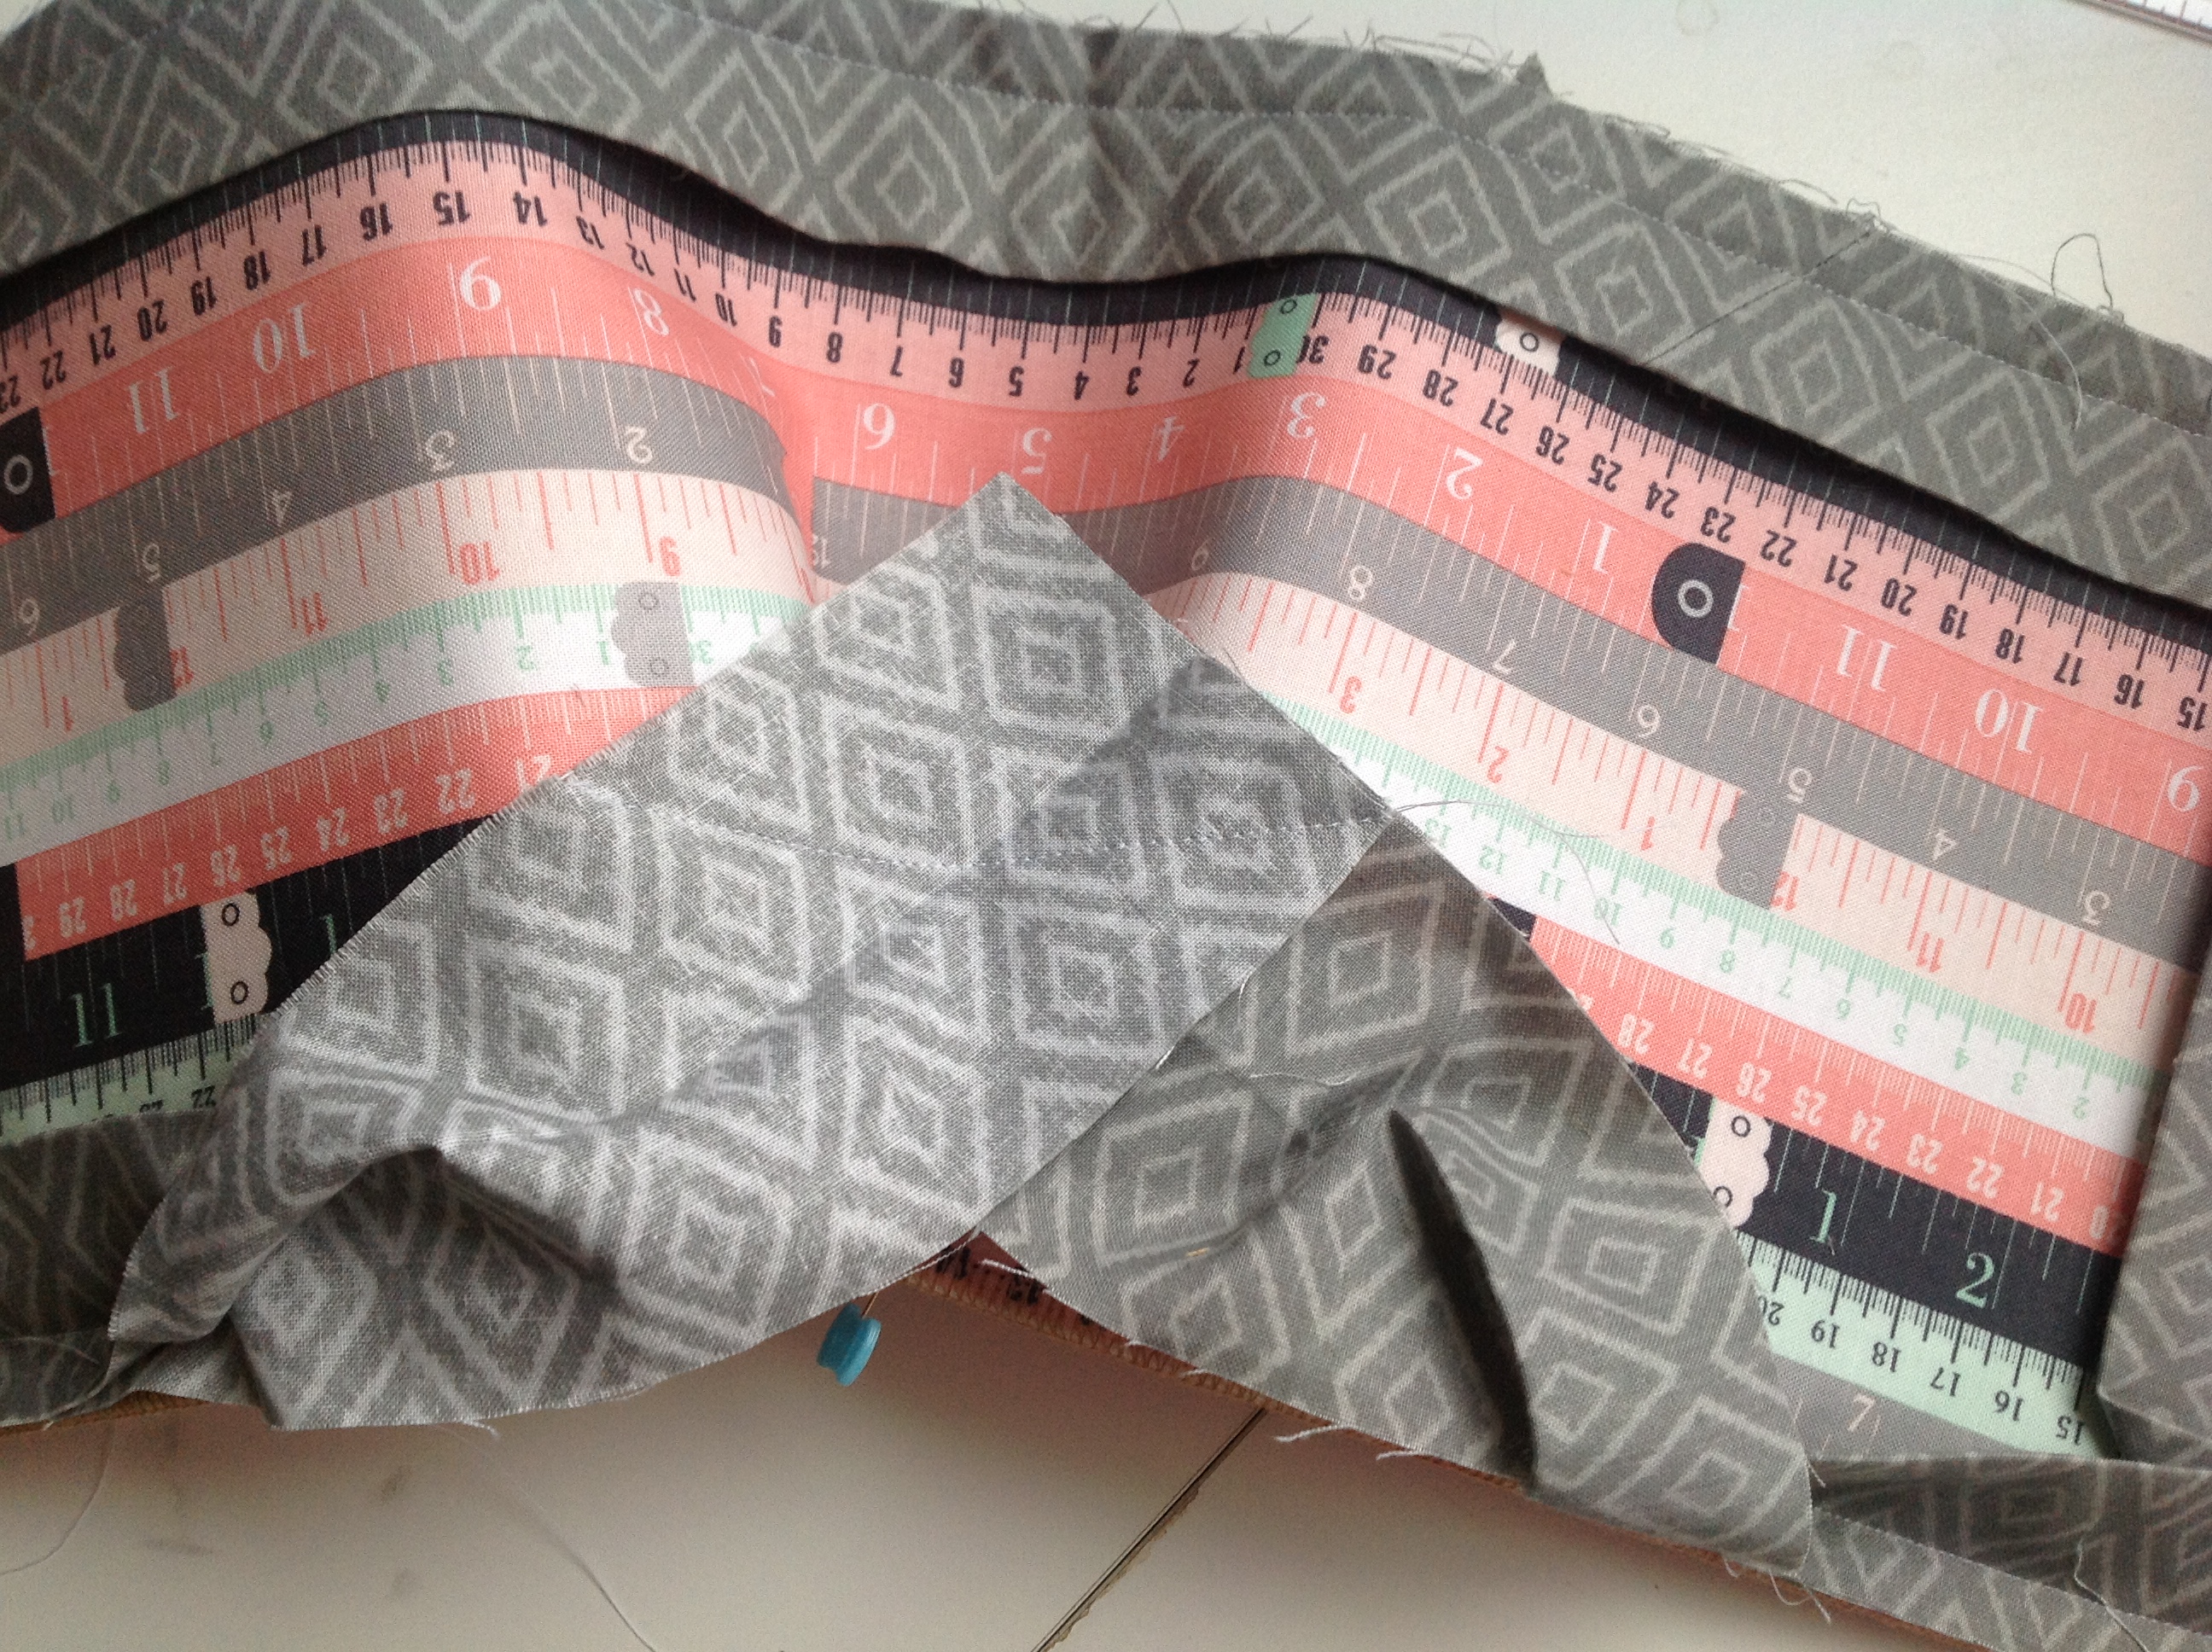
Flip the Binding back over itself so the new fold is aligned with the edge of the Wrap. Realign the raw edge of the Binding with the next edge of the Wrap. 

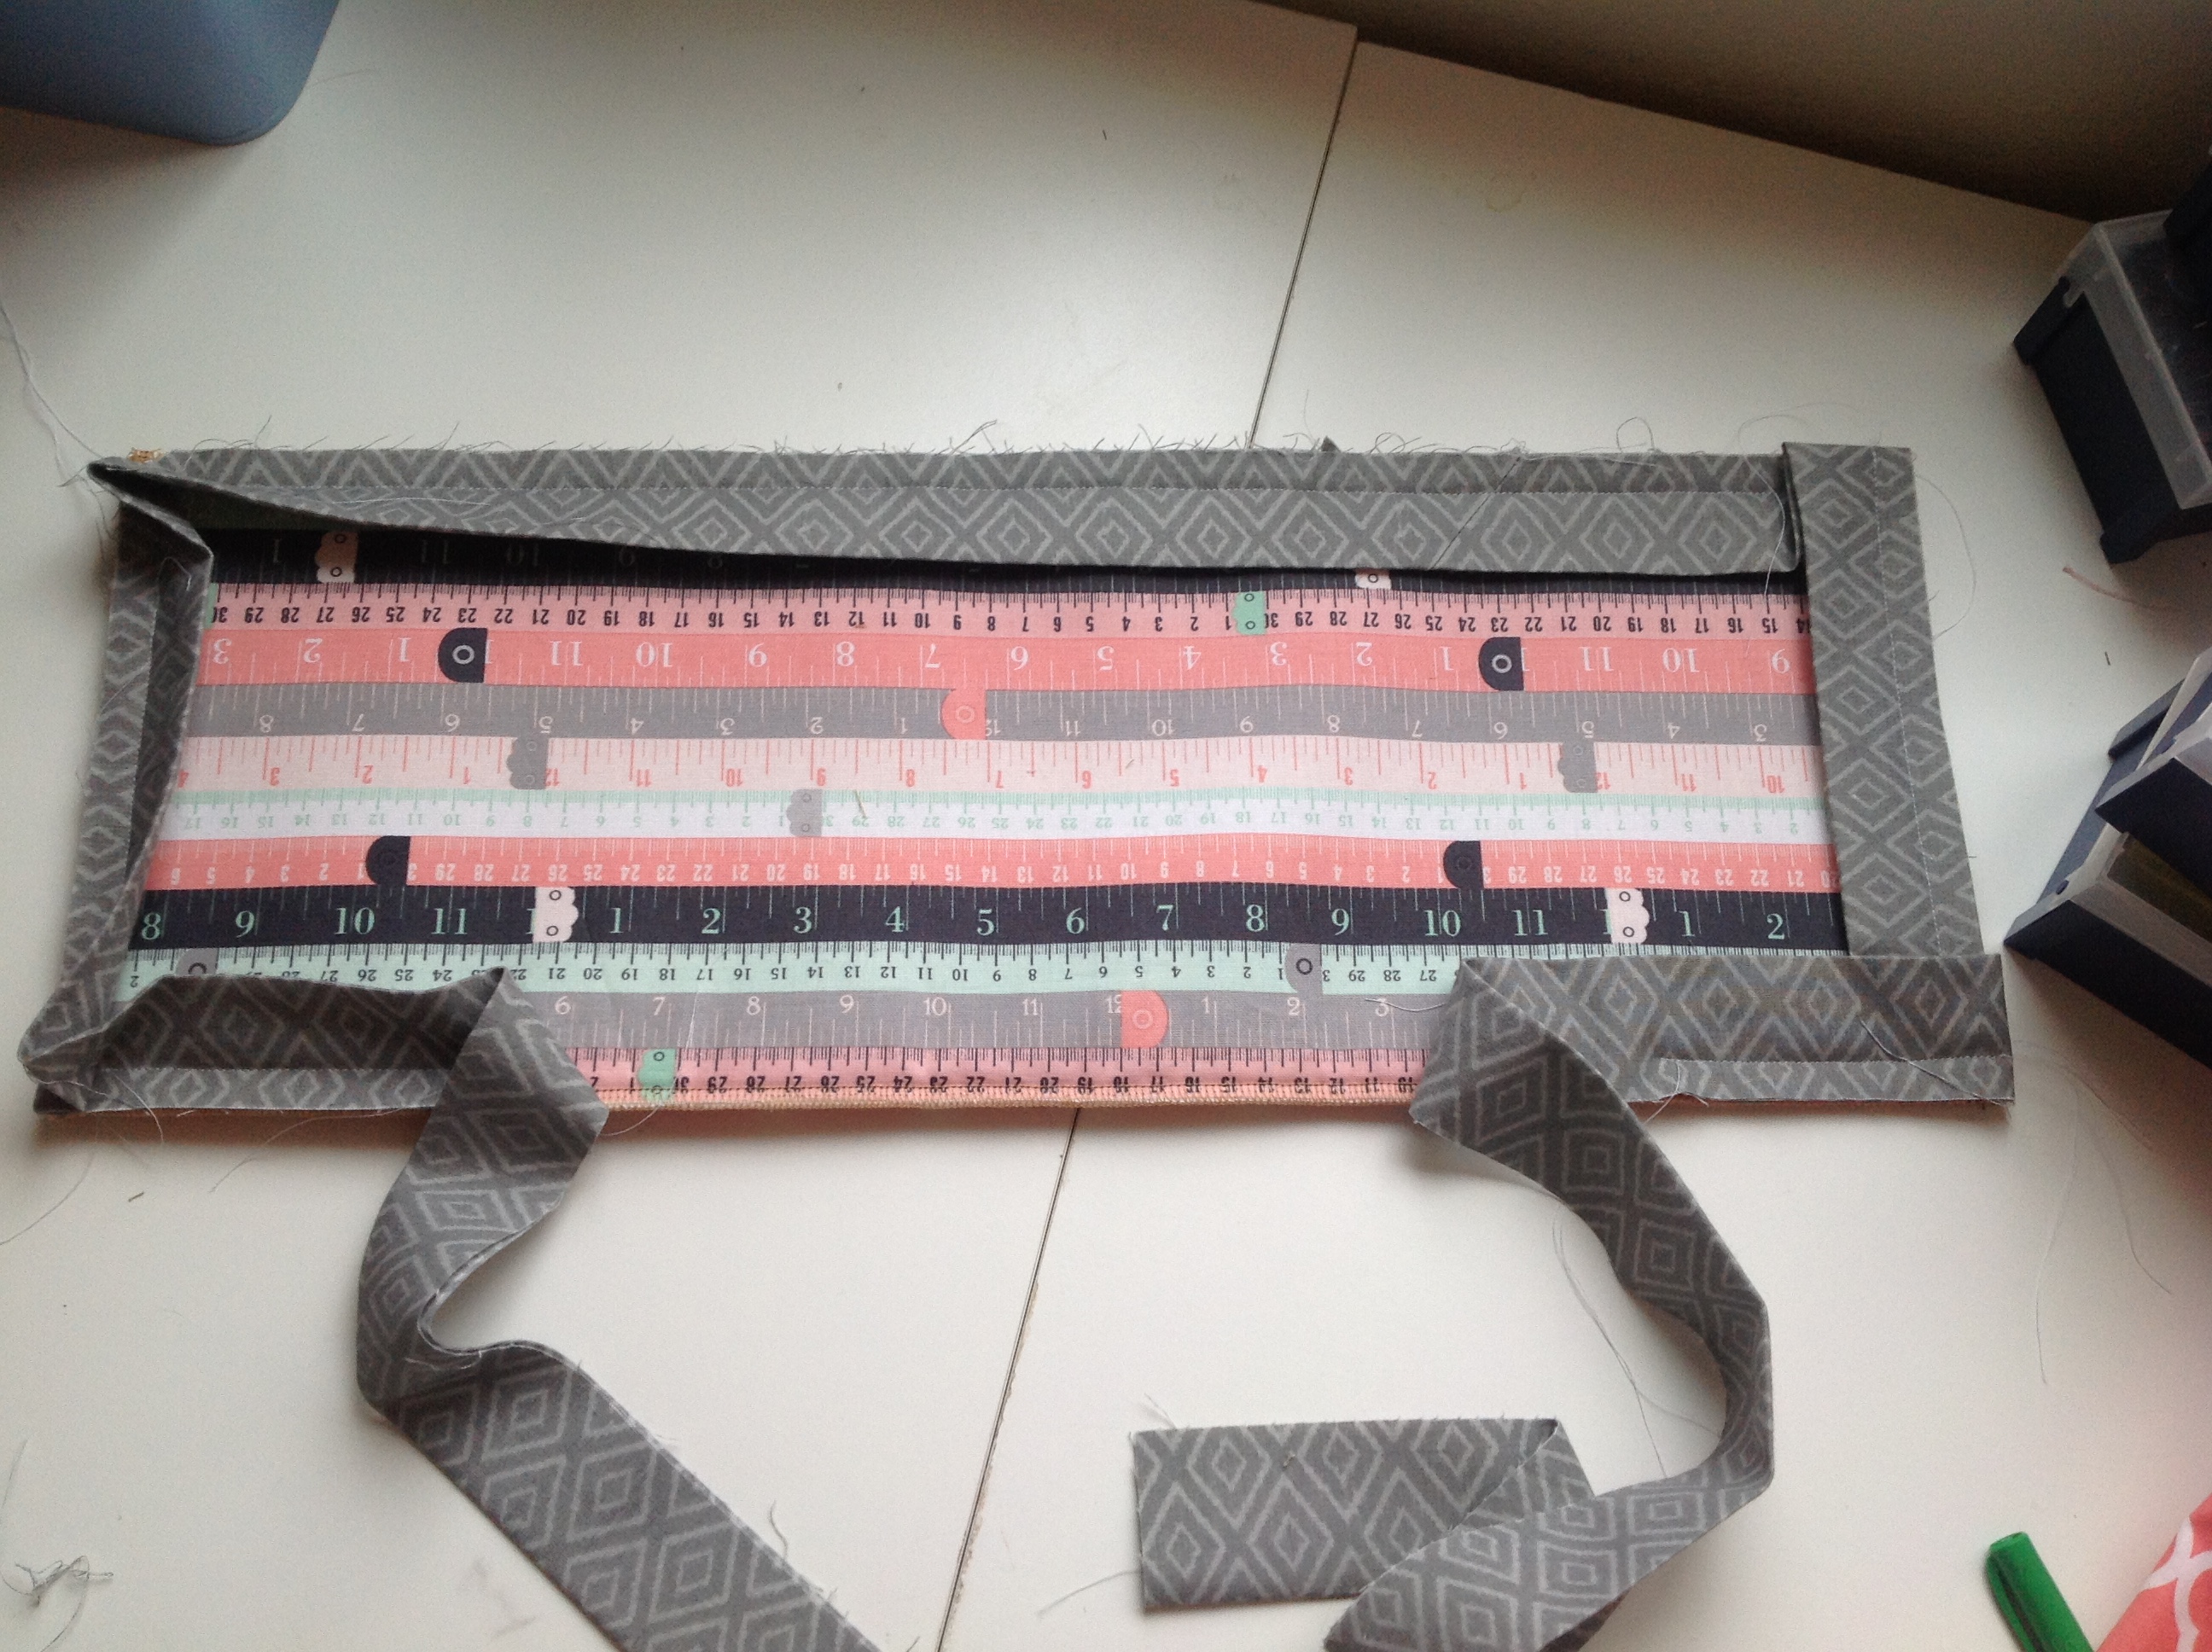
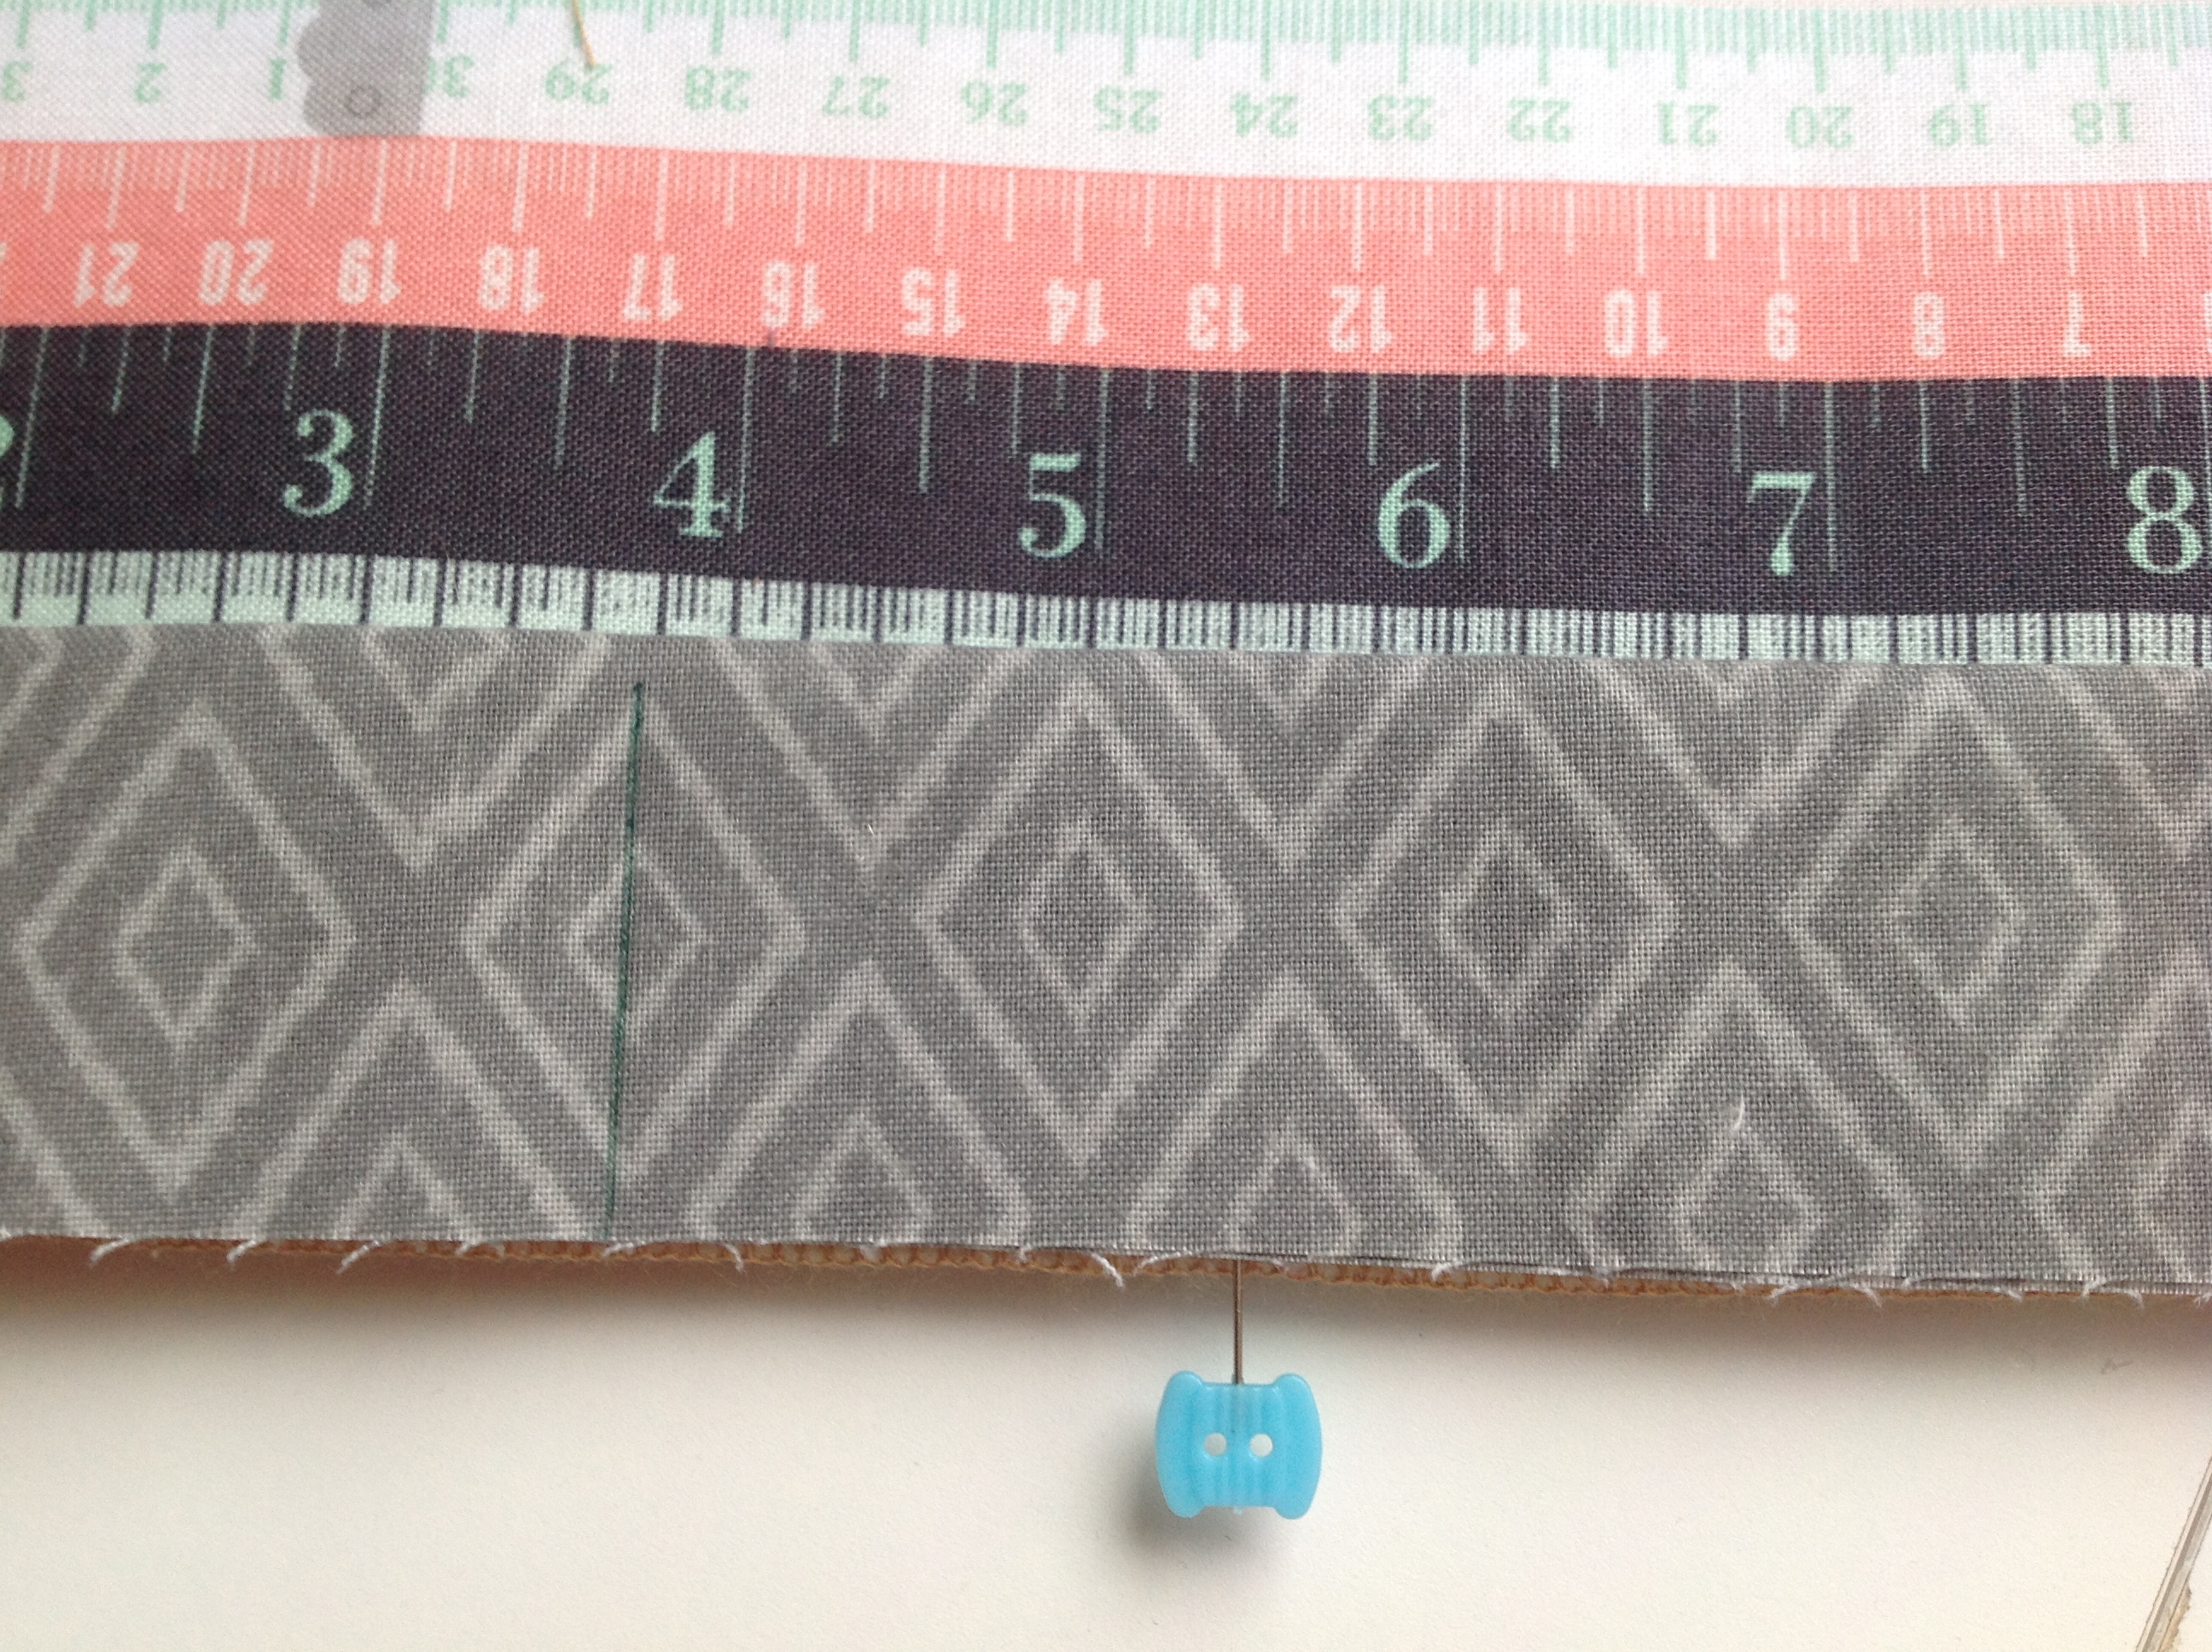
Draw a line and then cut the Binding along the line.
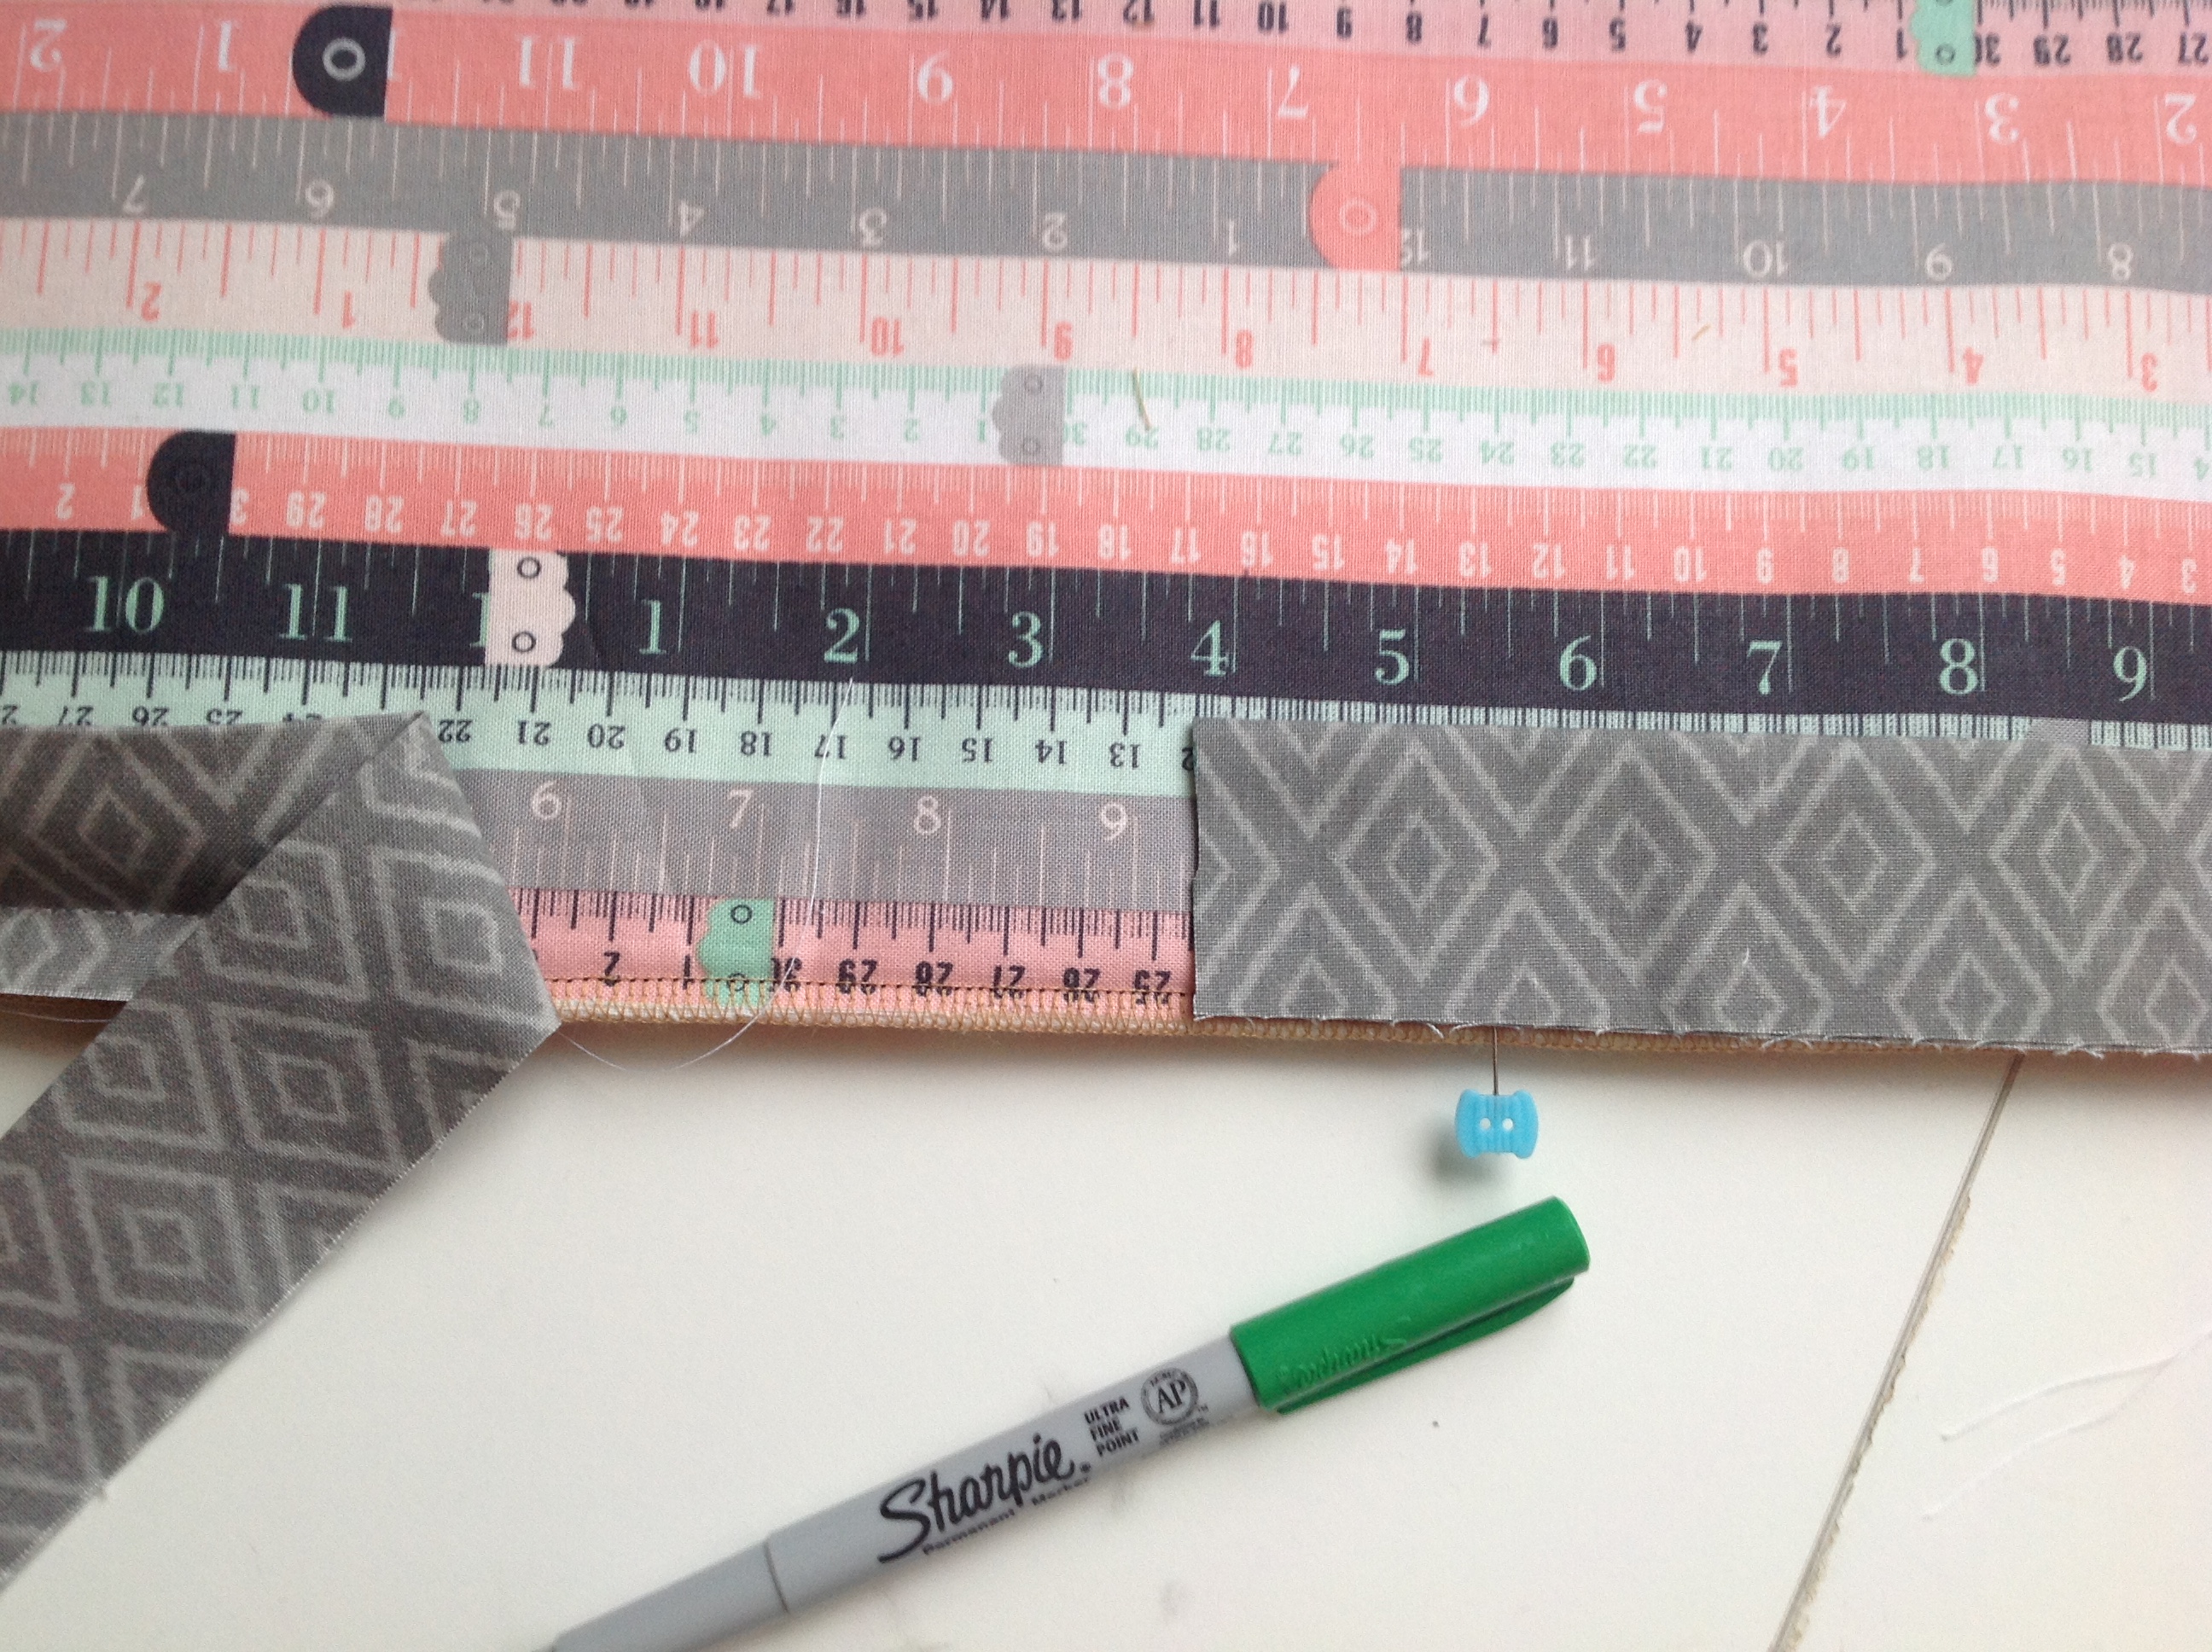
Repeat on the left side tail. 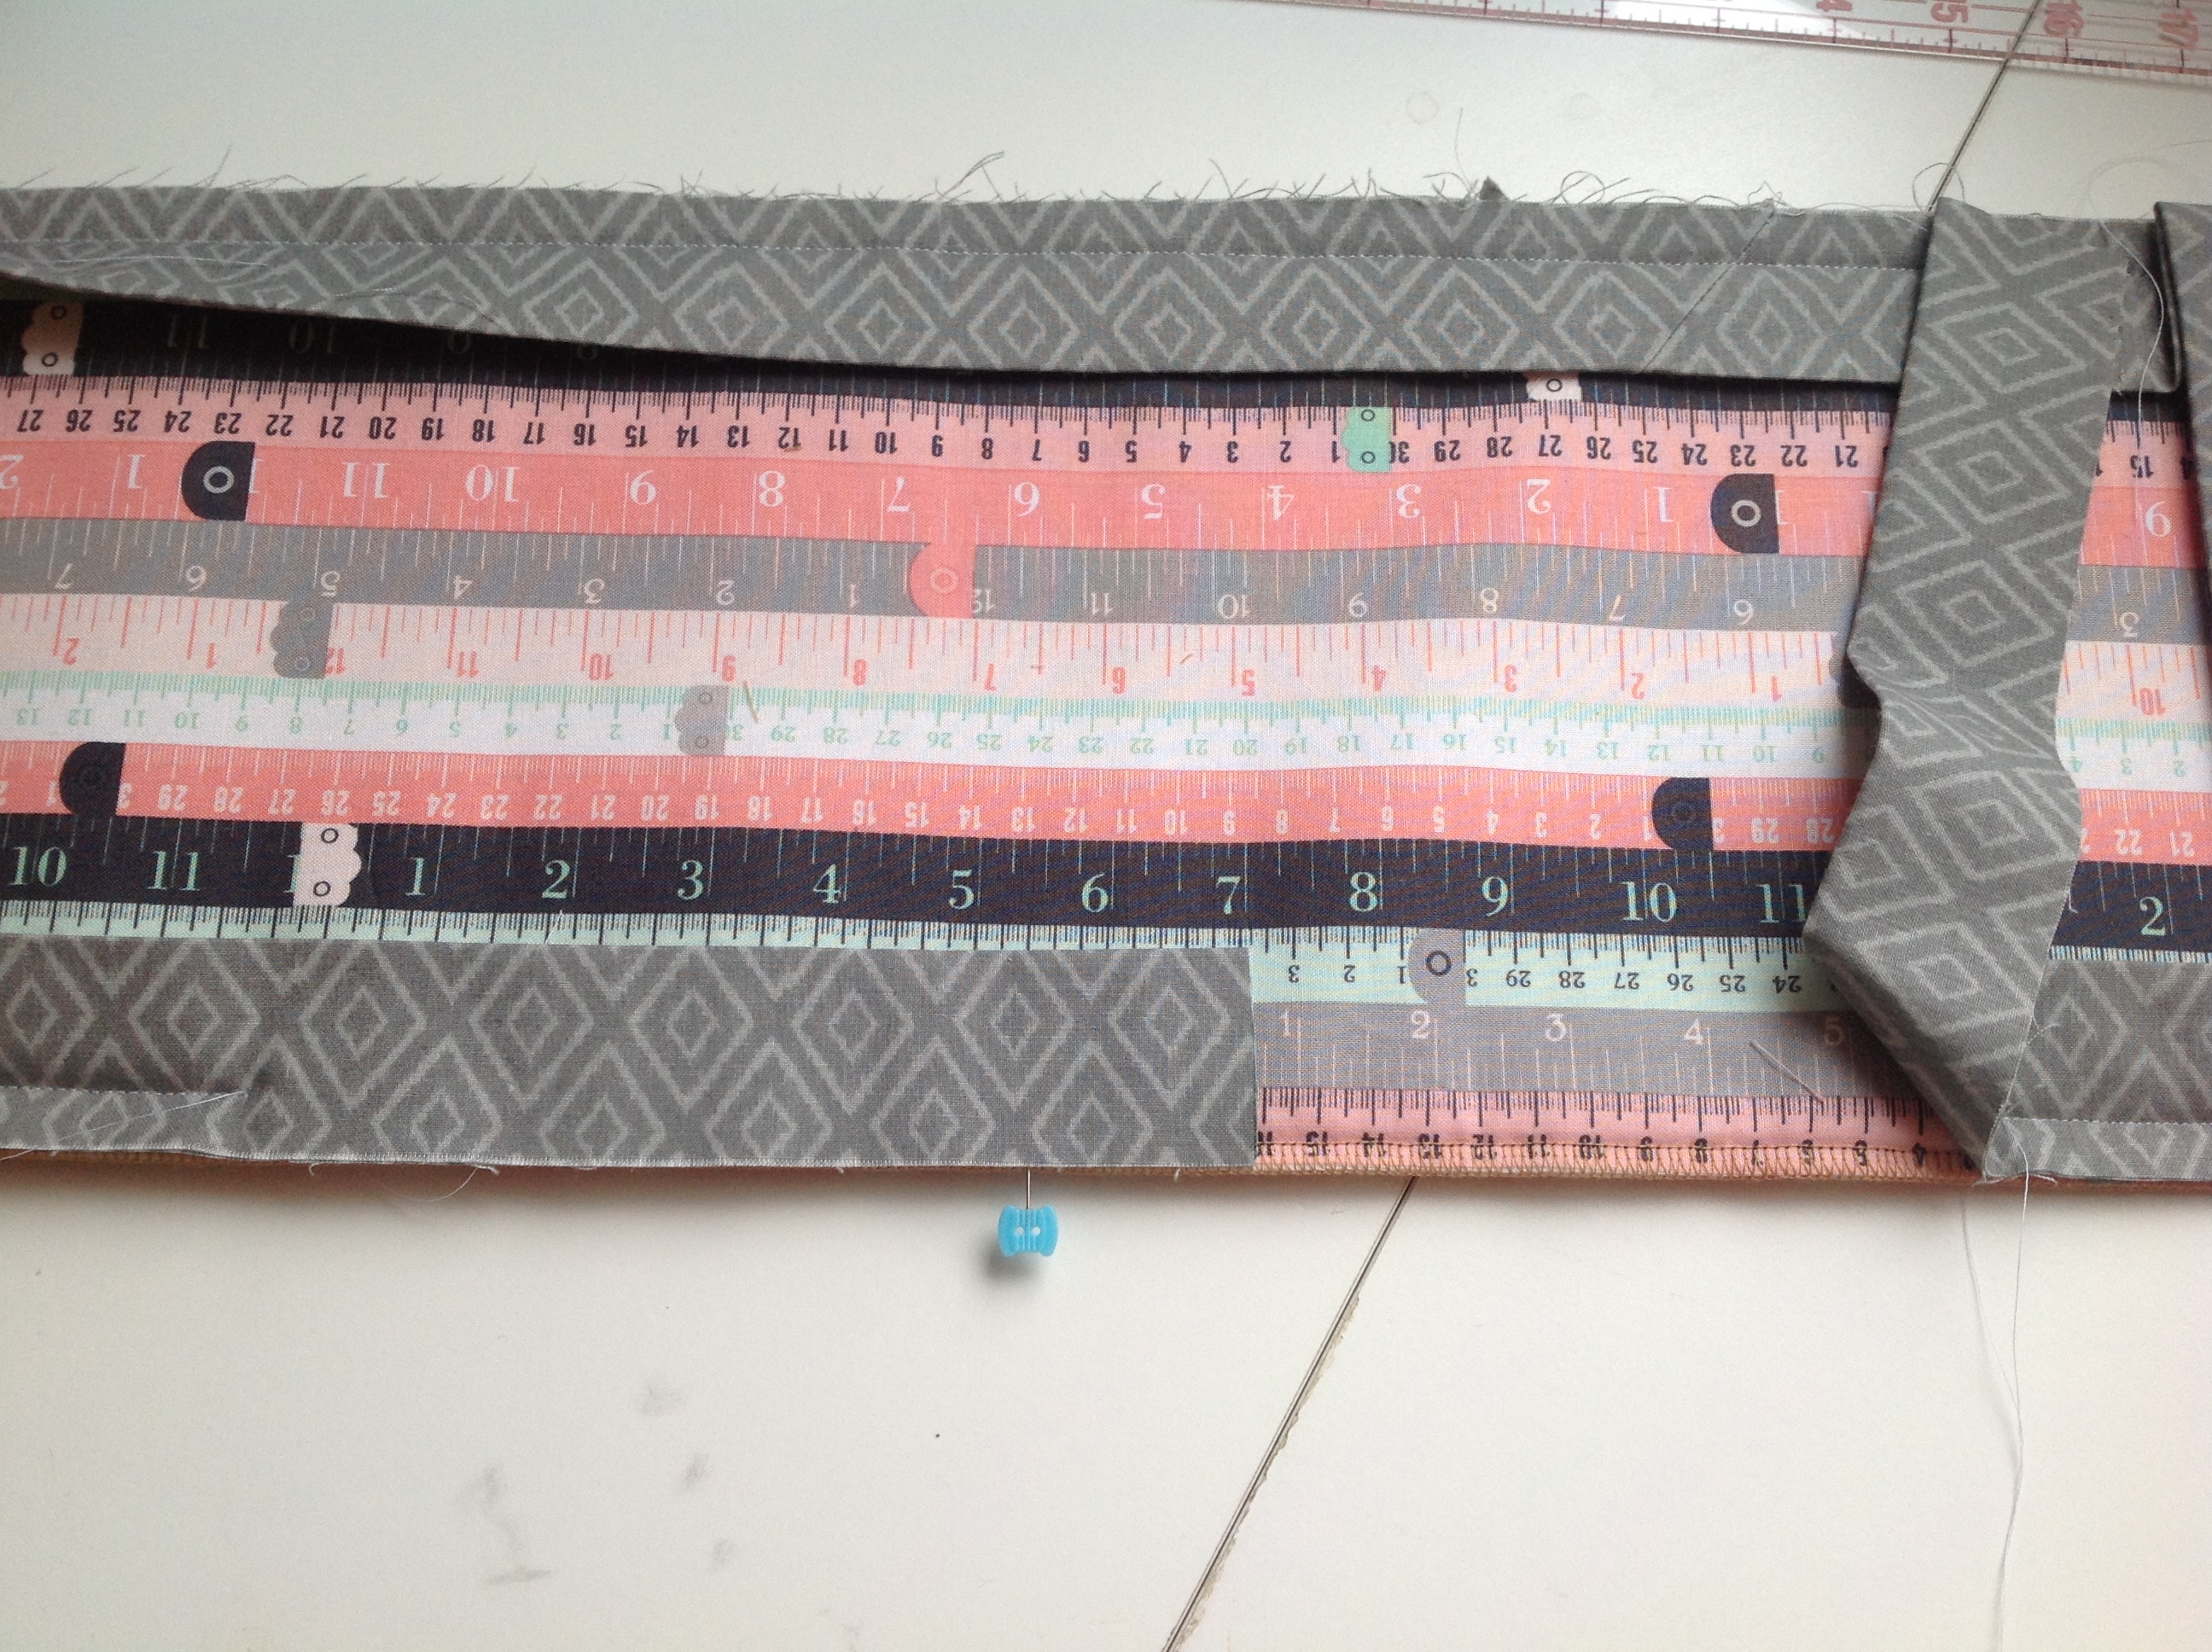

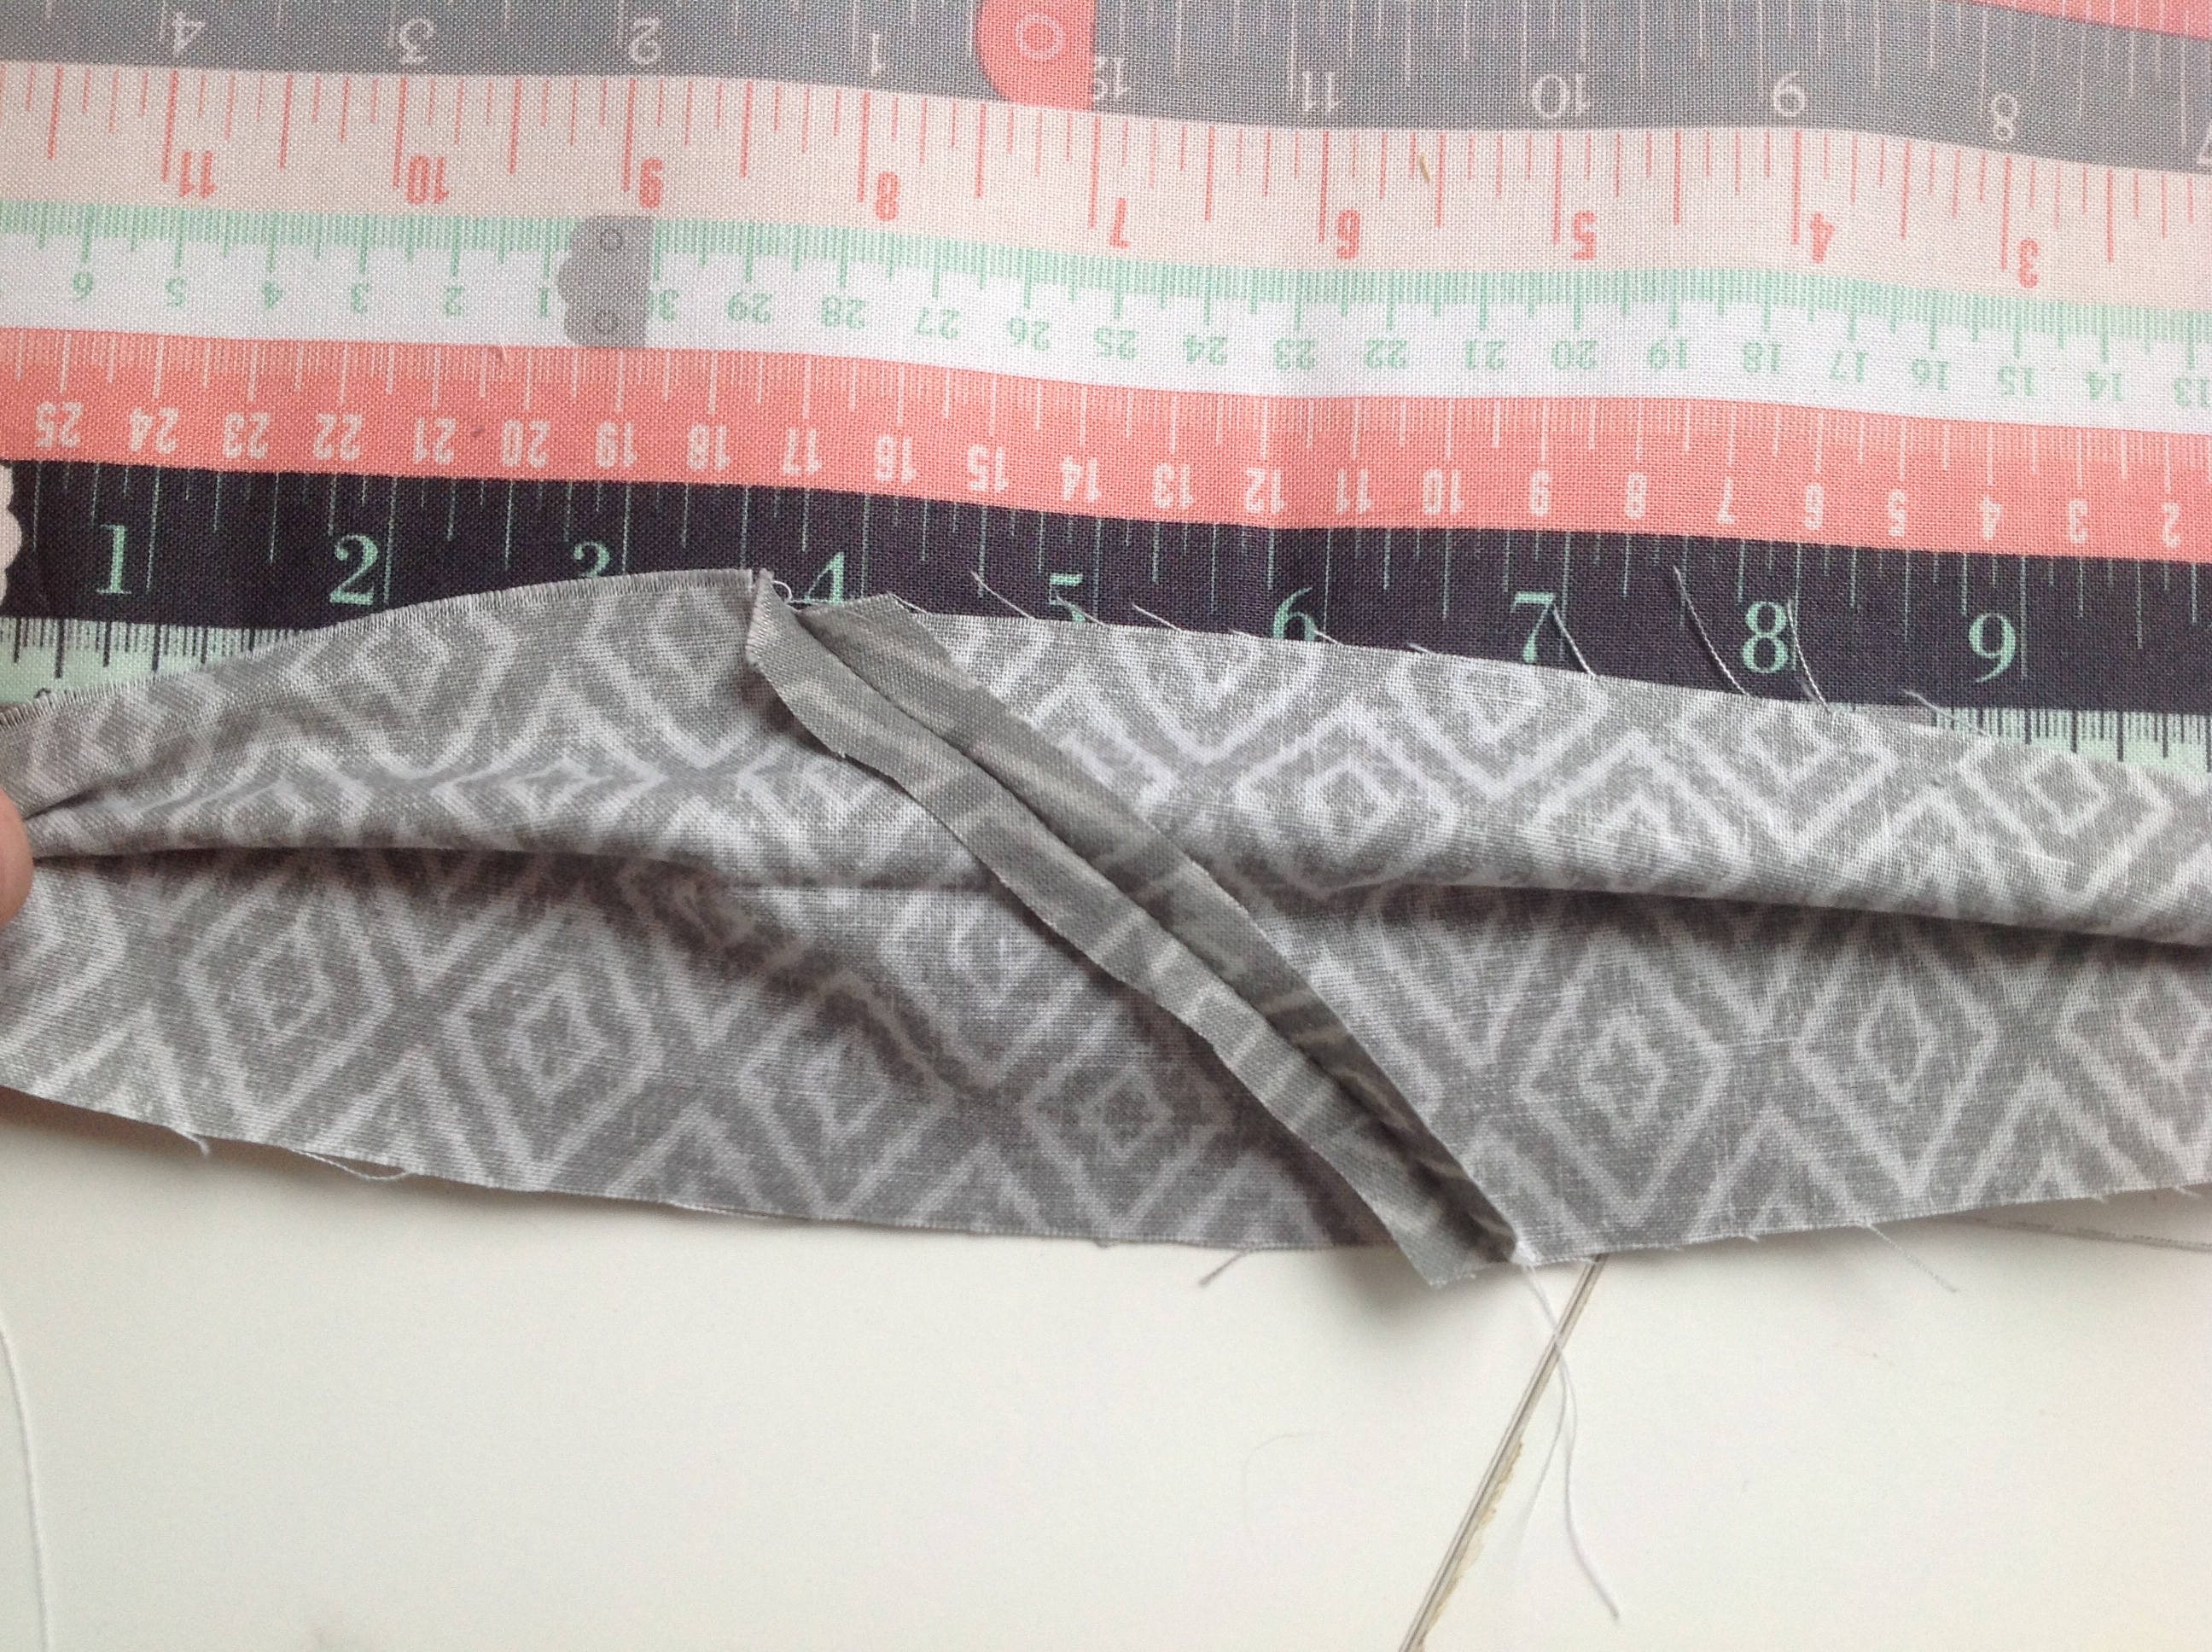
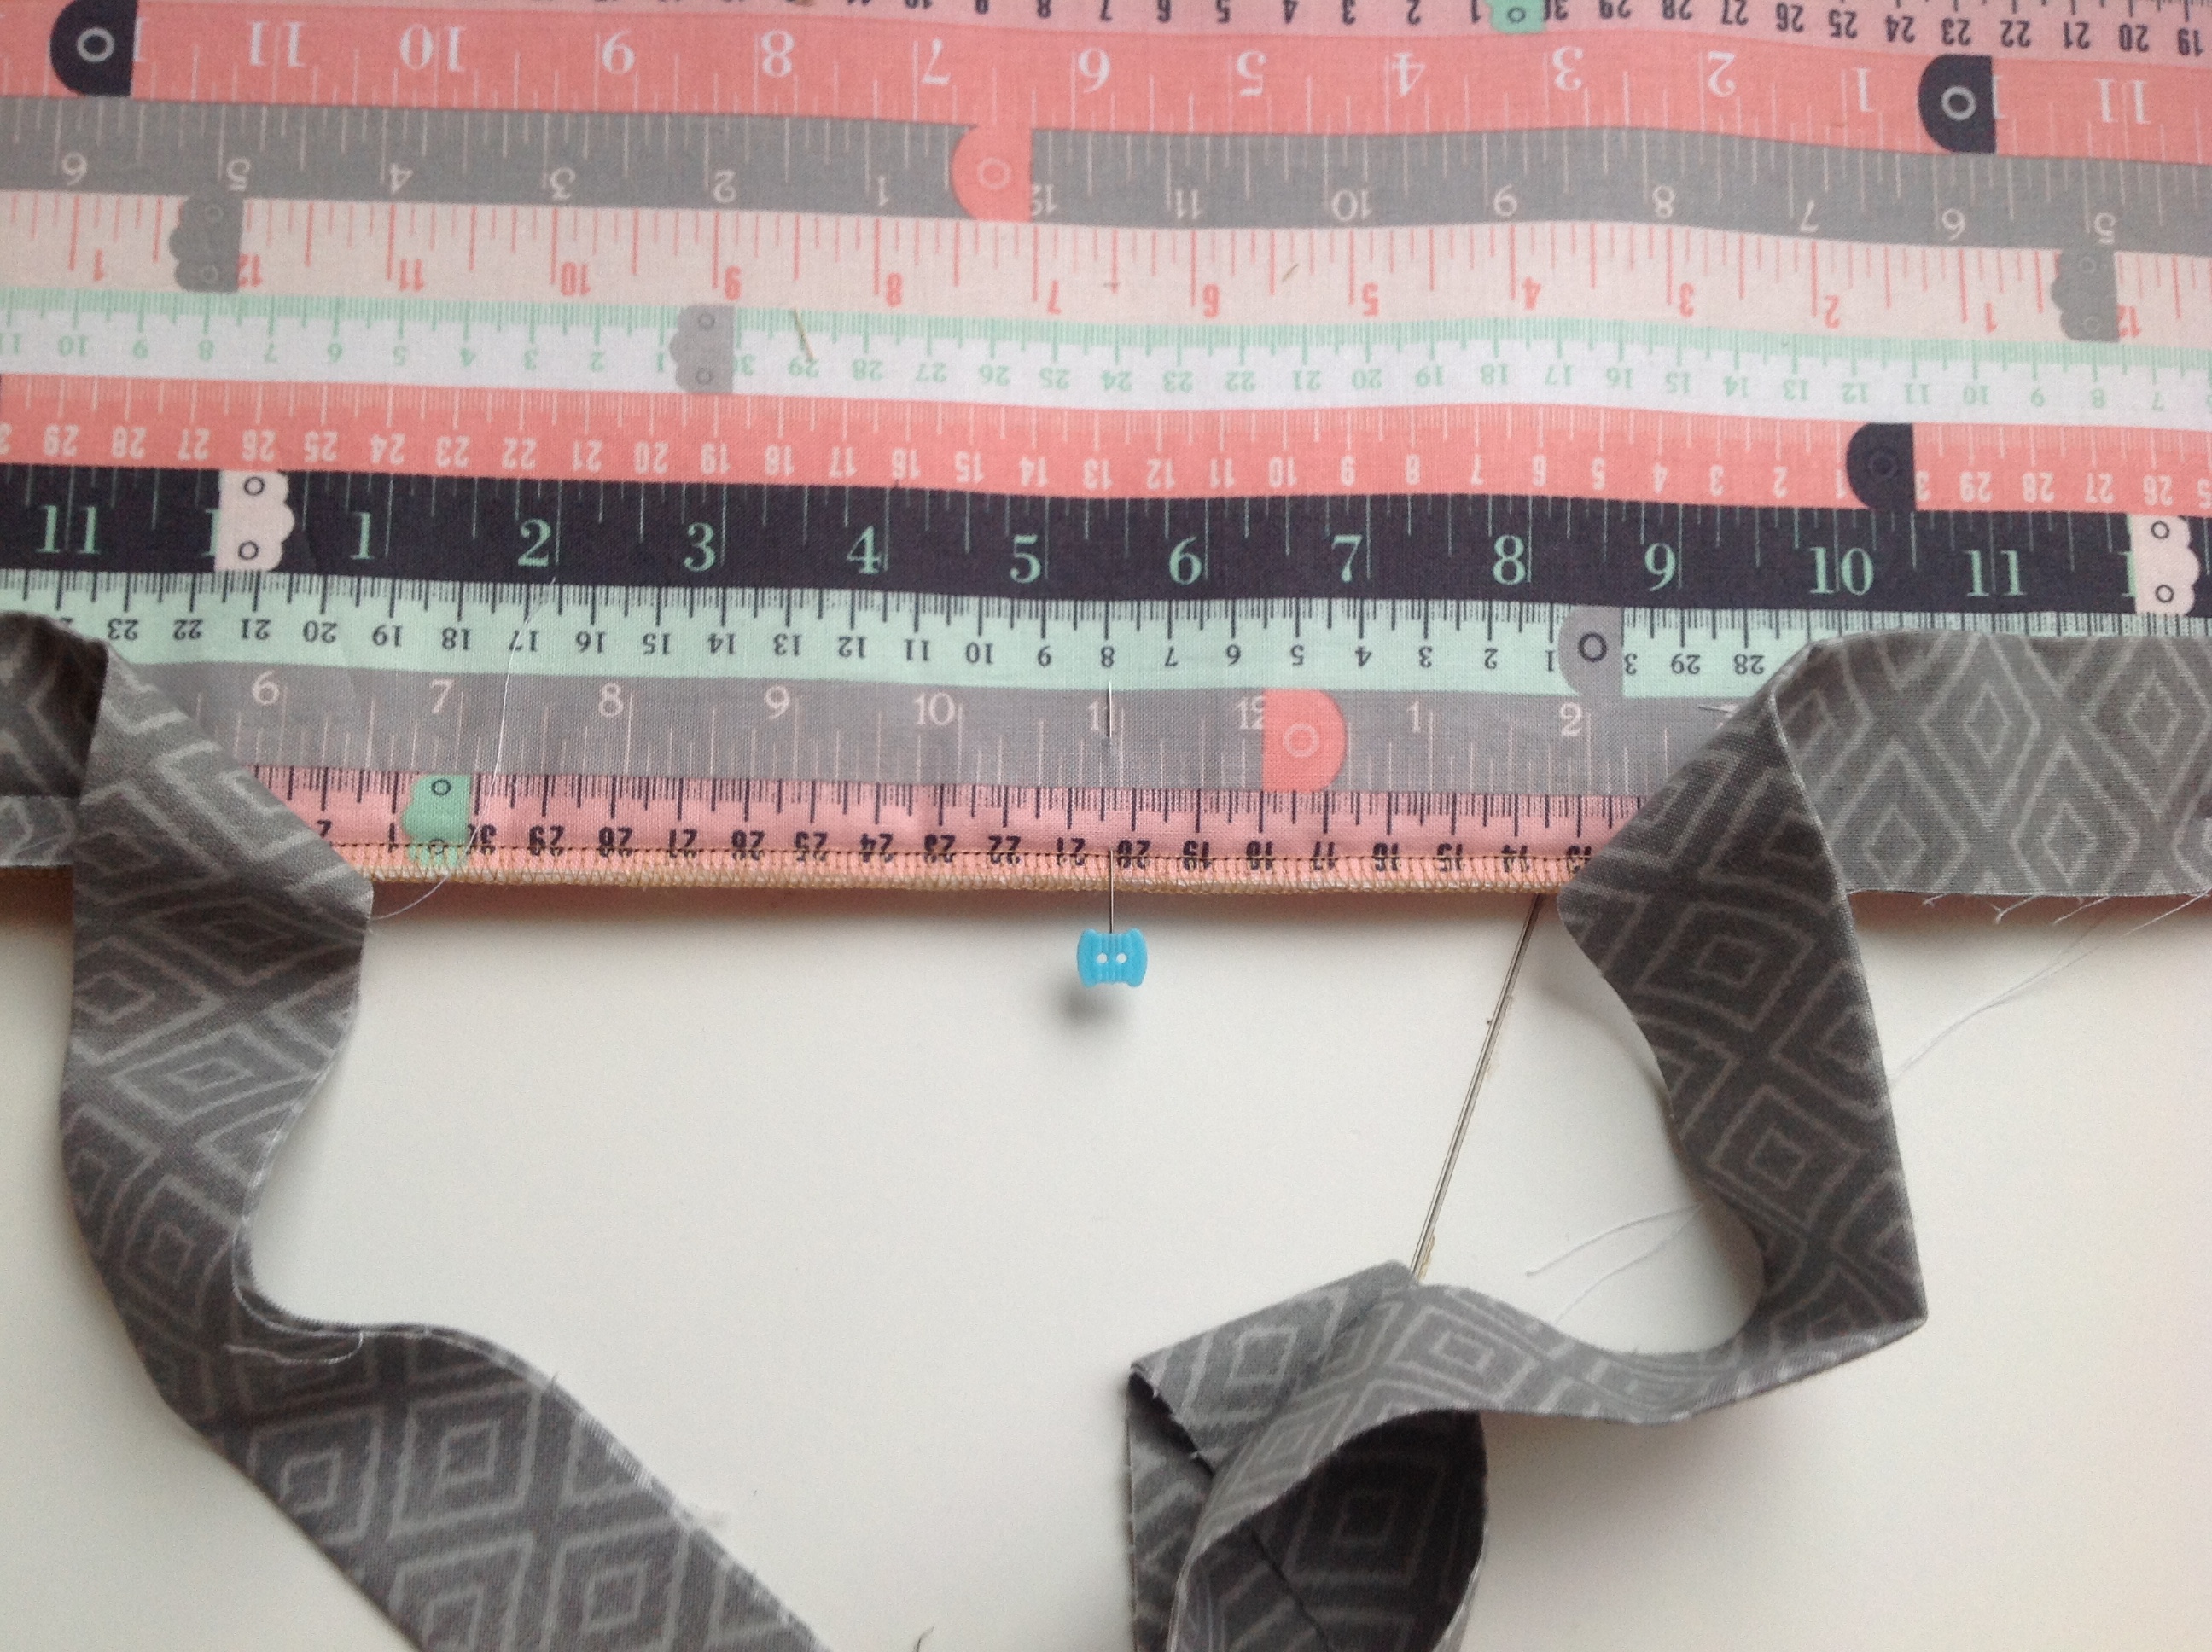
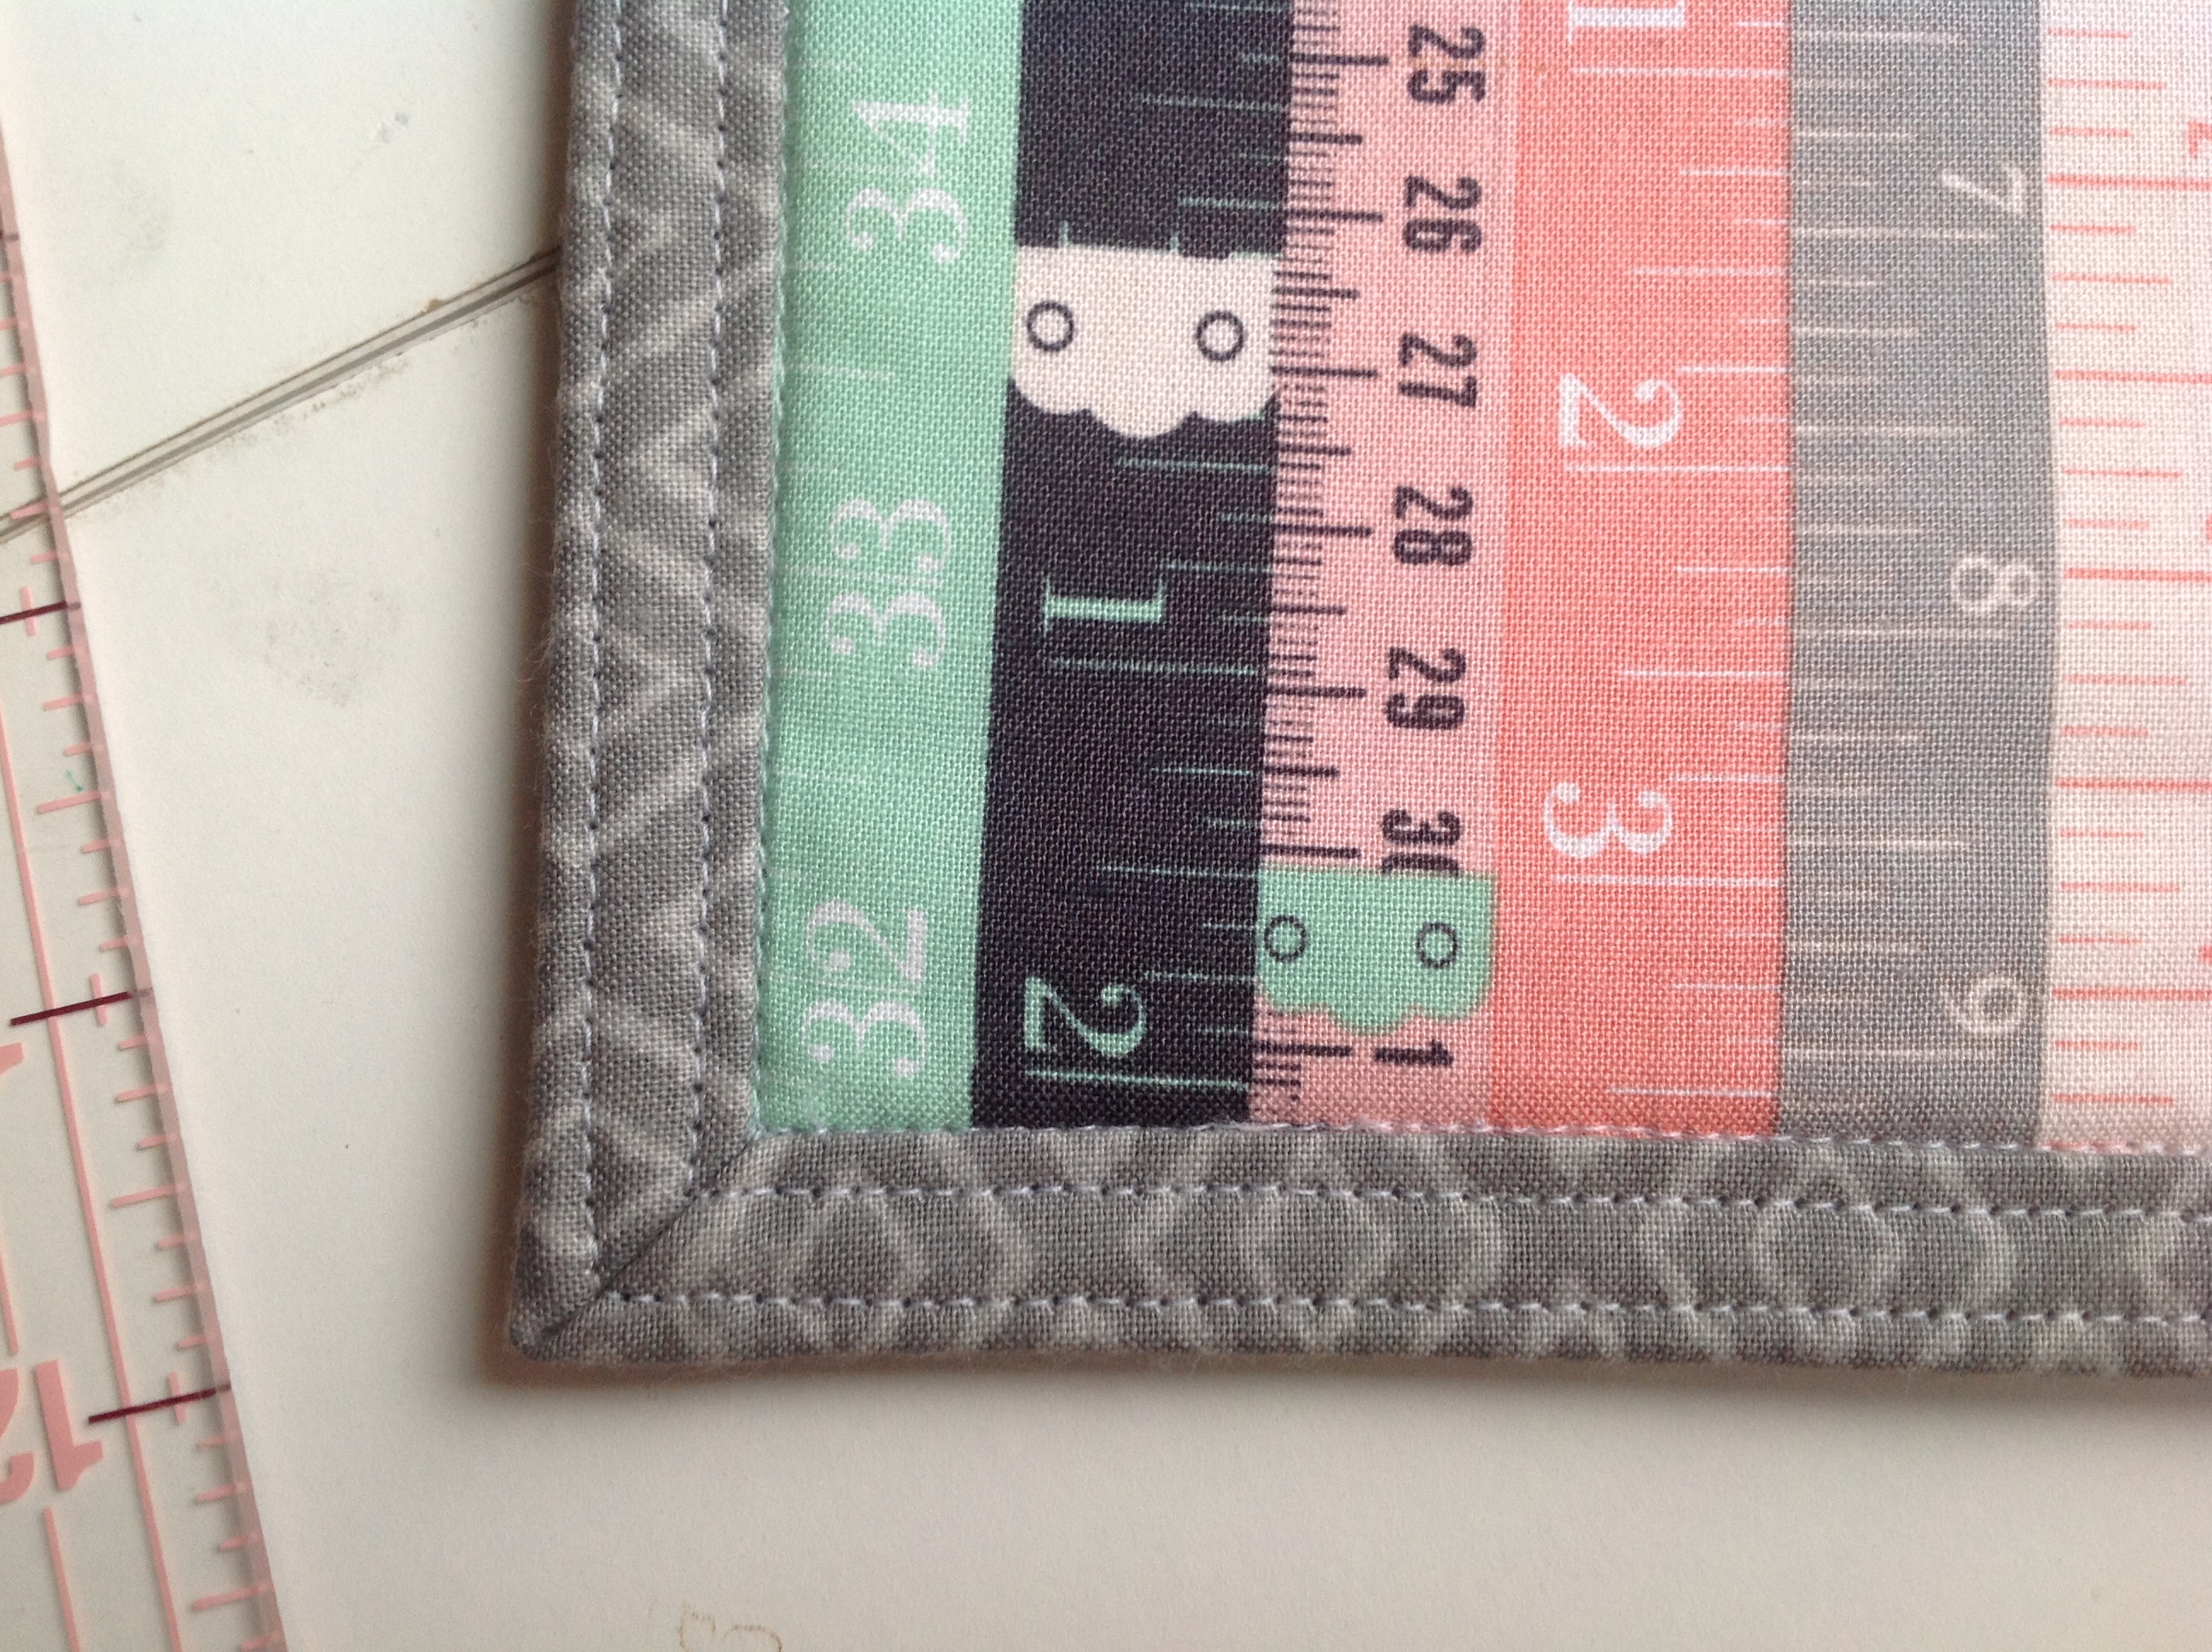
On the right side of the panel, stitch in the ditch (that’s the seamline where the Binding is stitched to the Wrap) all the way around. The idea here is to catch the Binding on the opposite side within the seam. Before you do that though, scroll down and read my next thought. 
