Hello!
This tutorial will cover how to attach the Side Pouch pieces on your Rollie Pollie Organizer; steps 13-16.
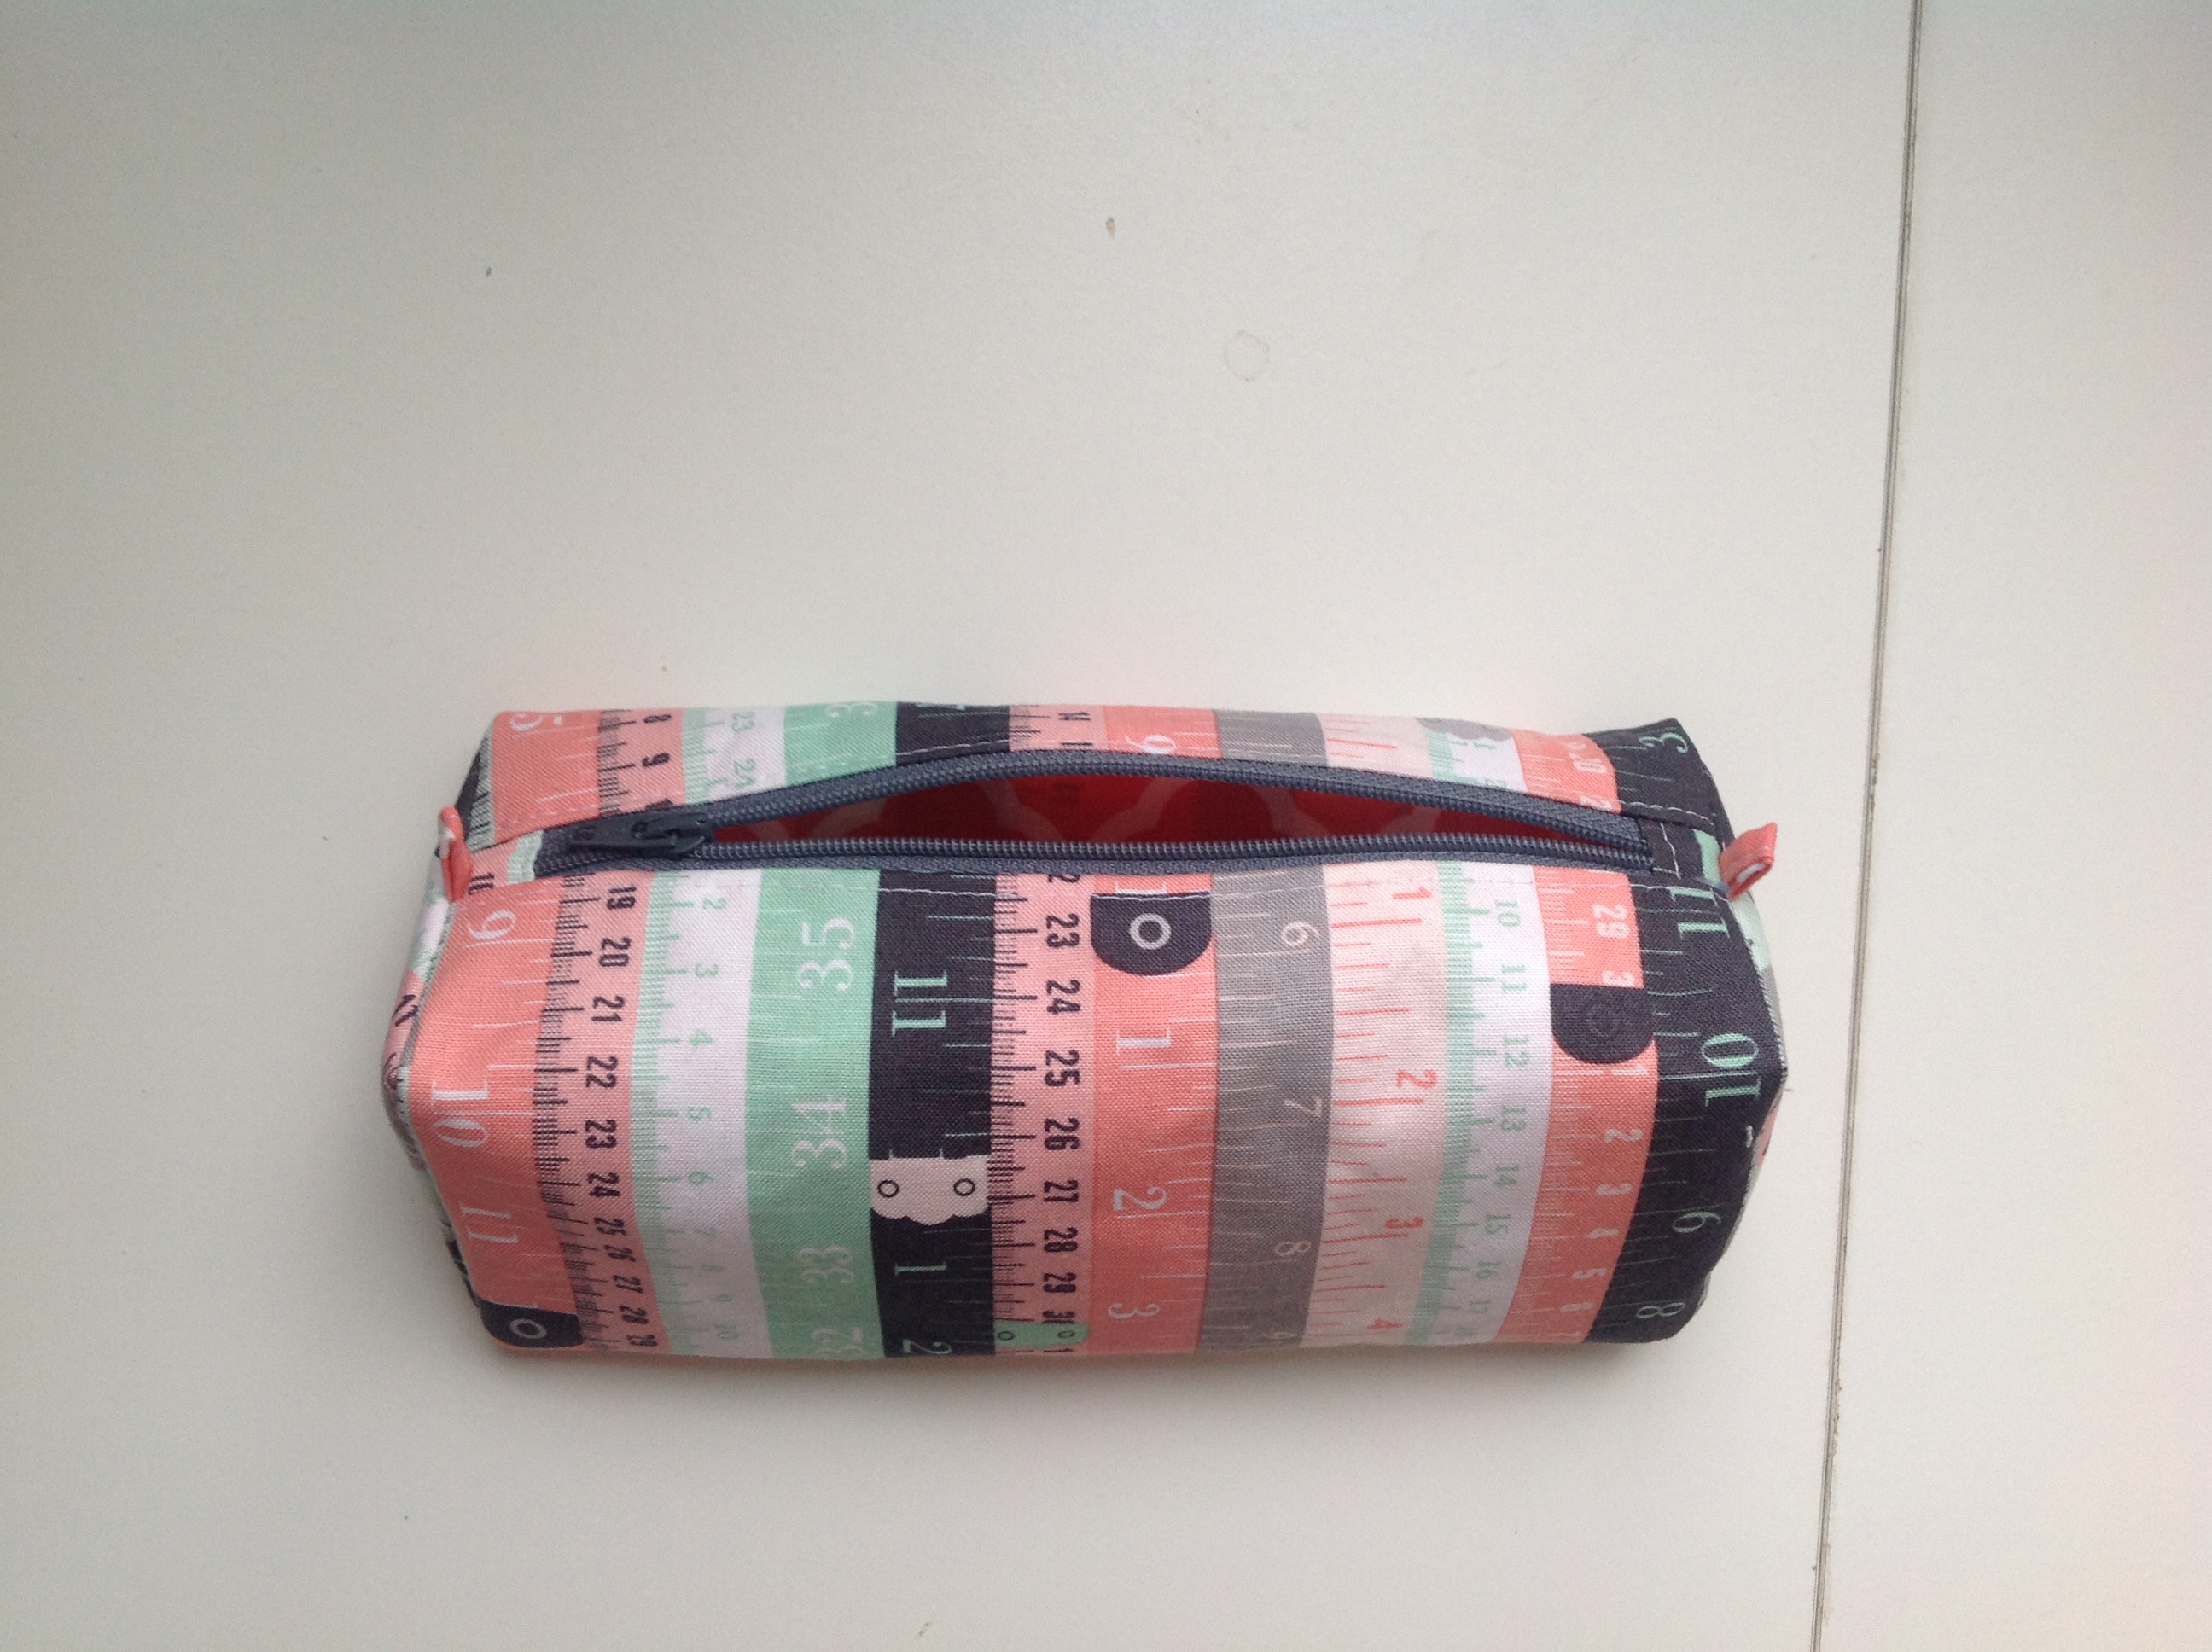
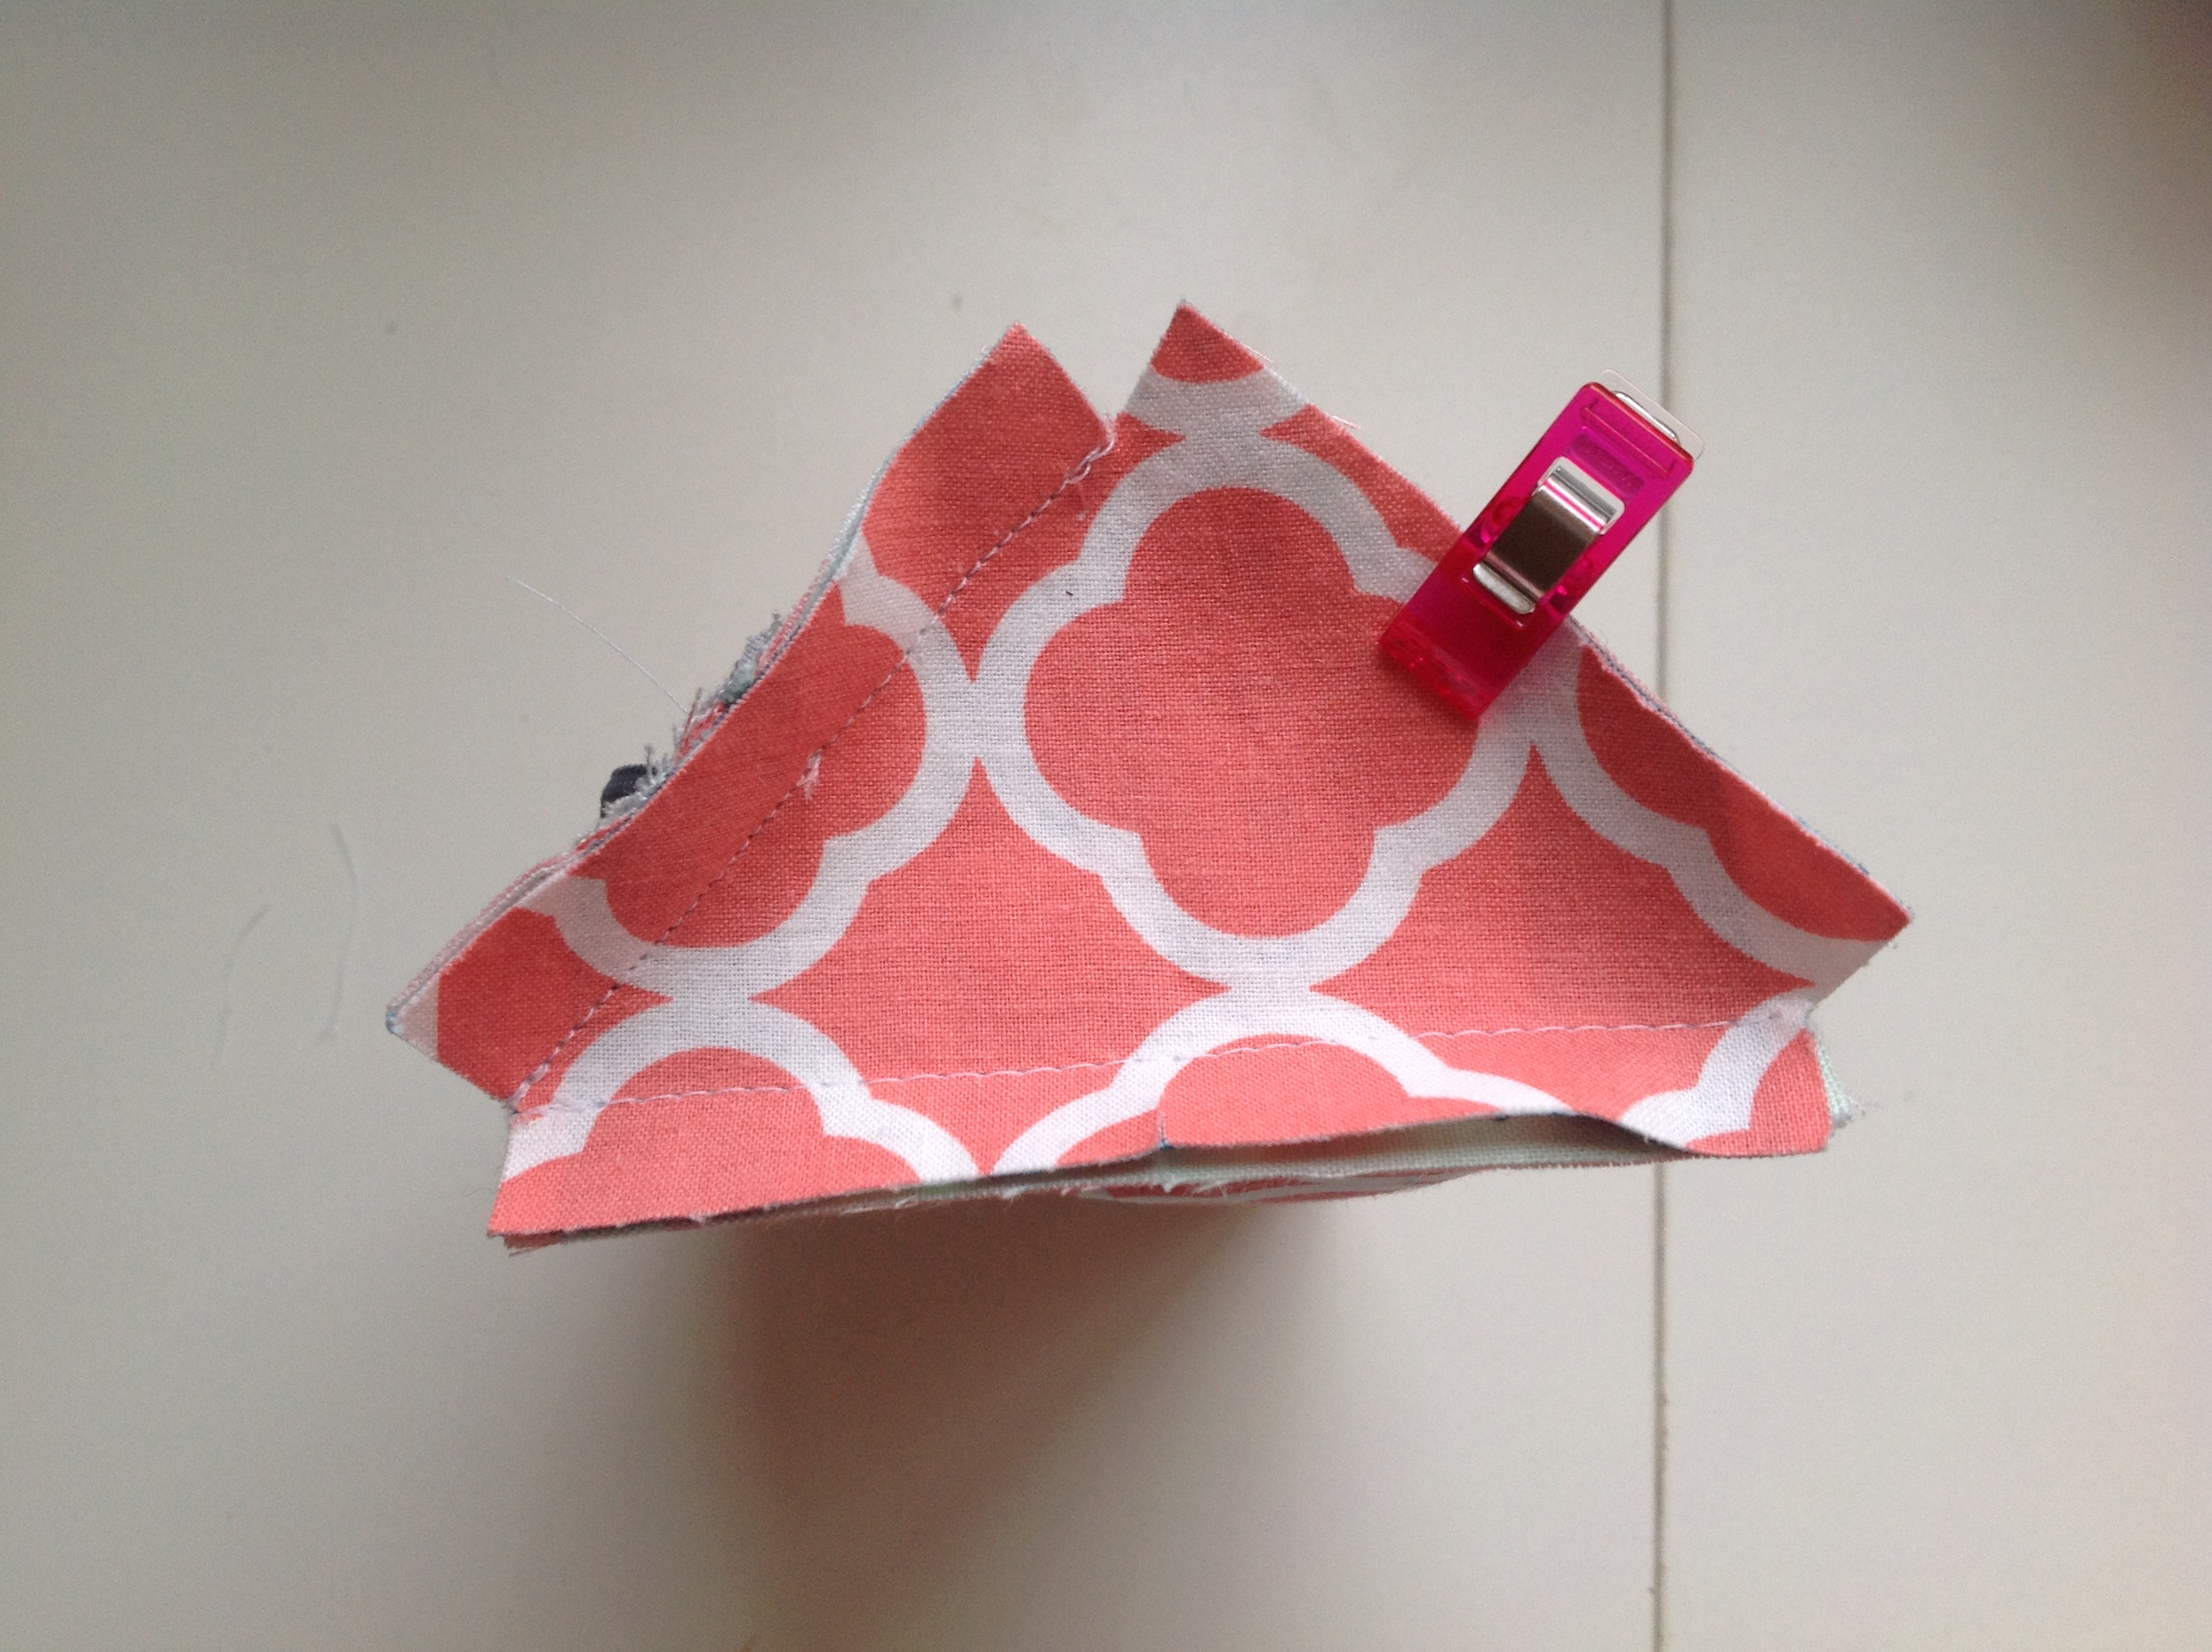
At this point you should have both sides of the zippers attached to the Main Pouch pieces – so it’s basically sewn into a tube. 
Your Side Pouch pieces are sewn on at their bottom edges. You have to peek inside to see them laying in there. 
Here they are pulled out…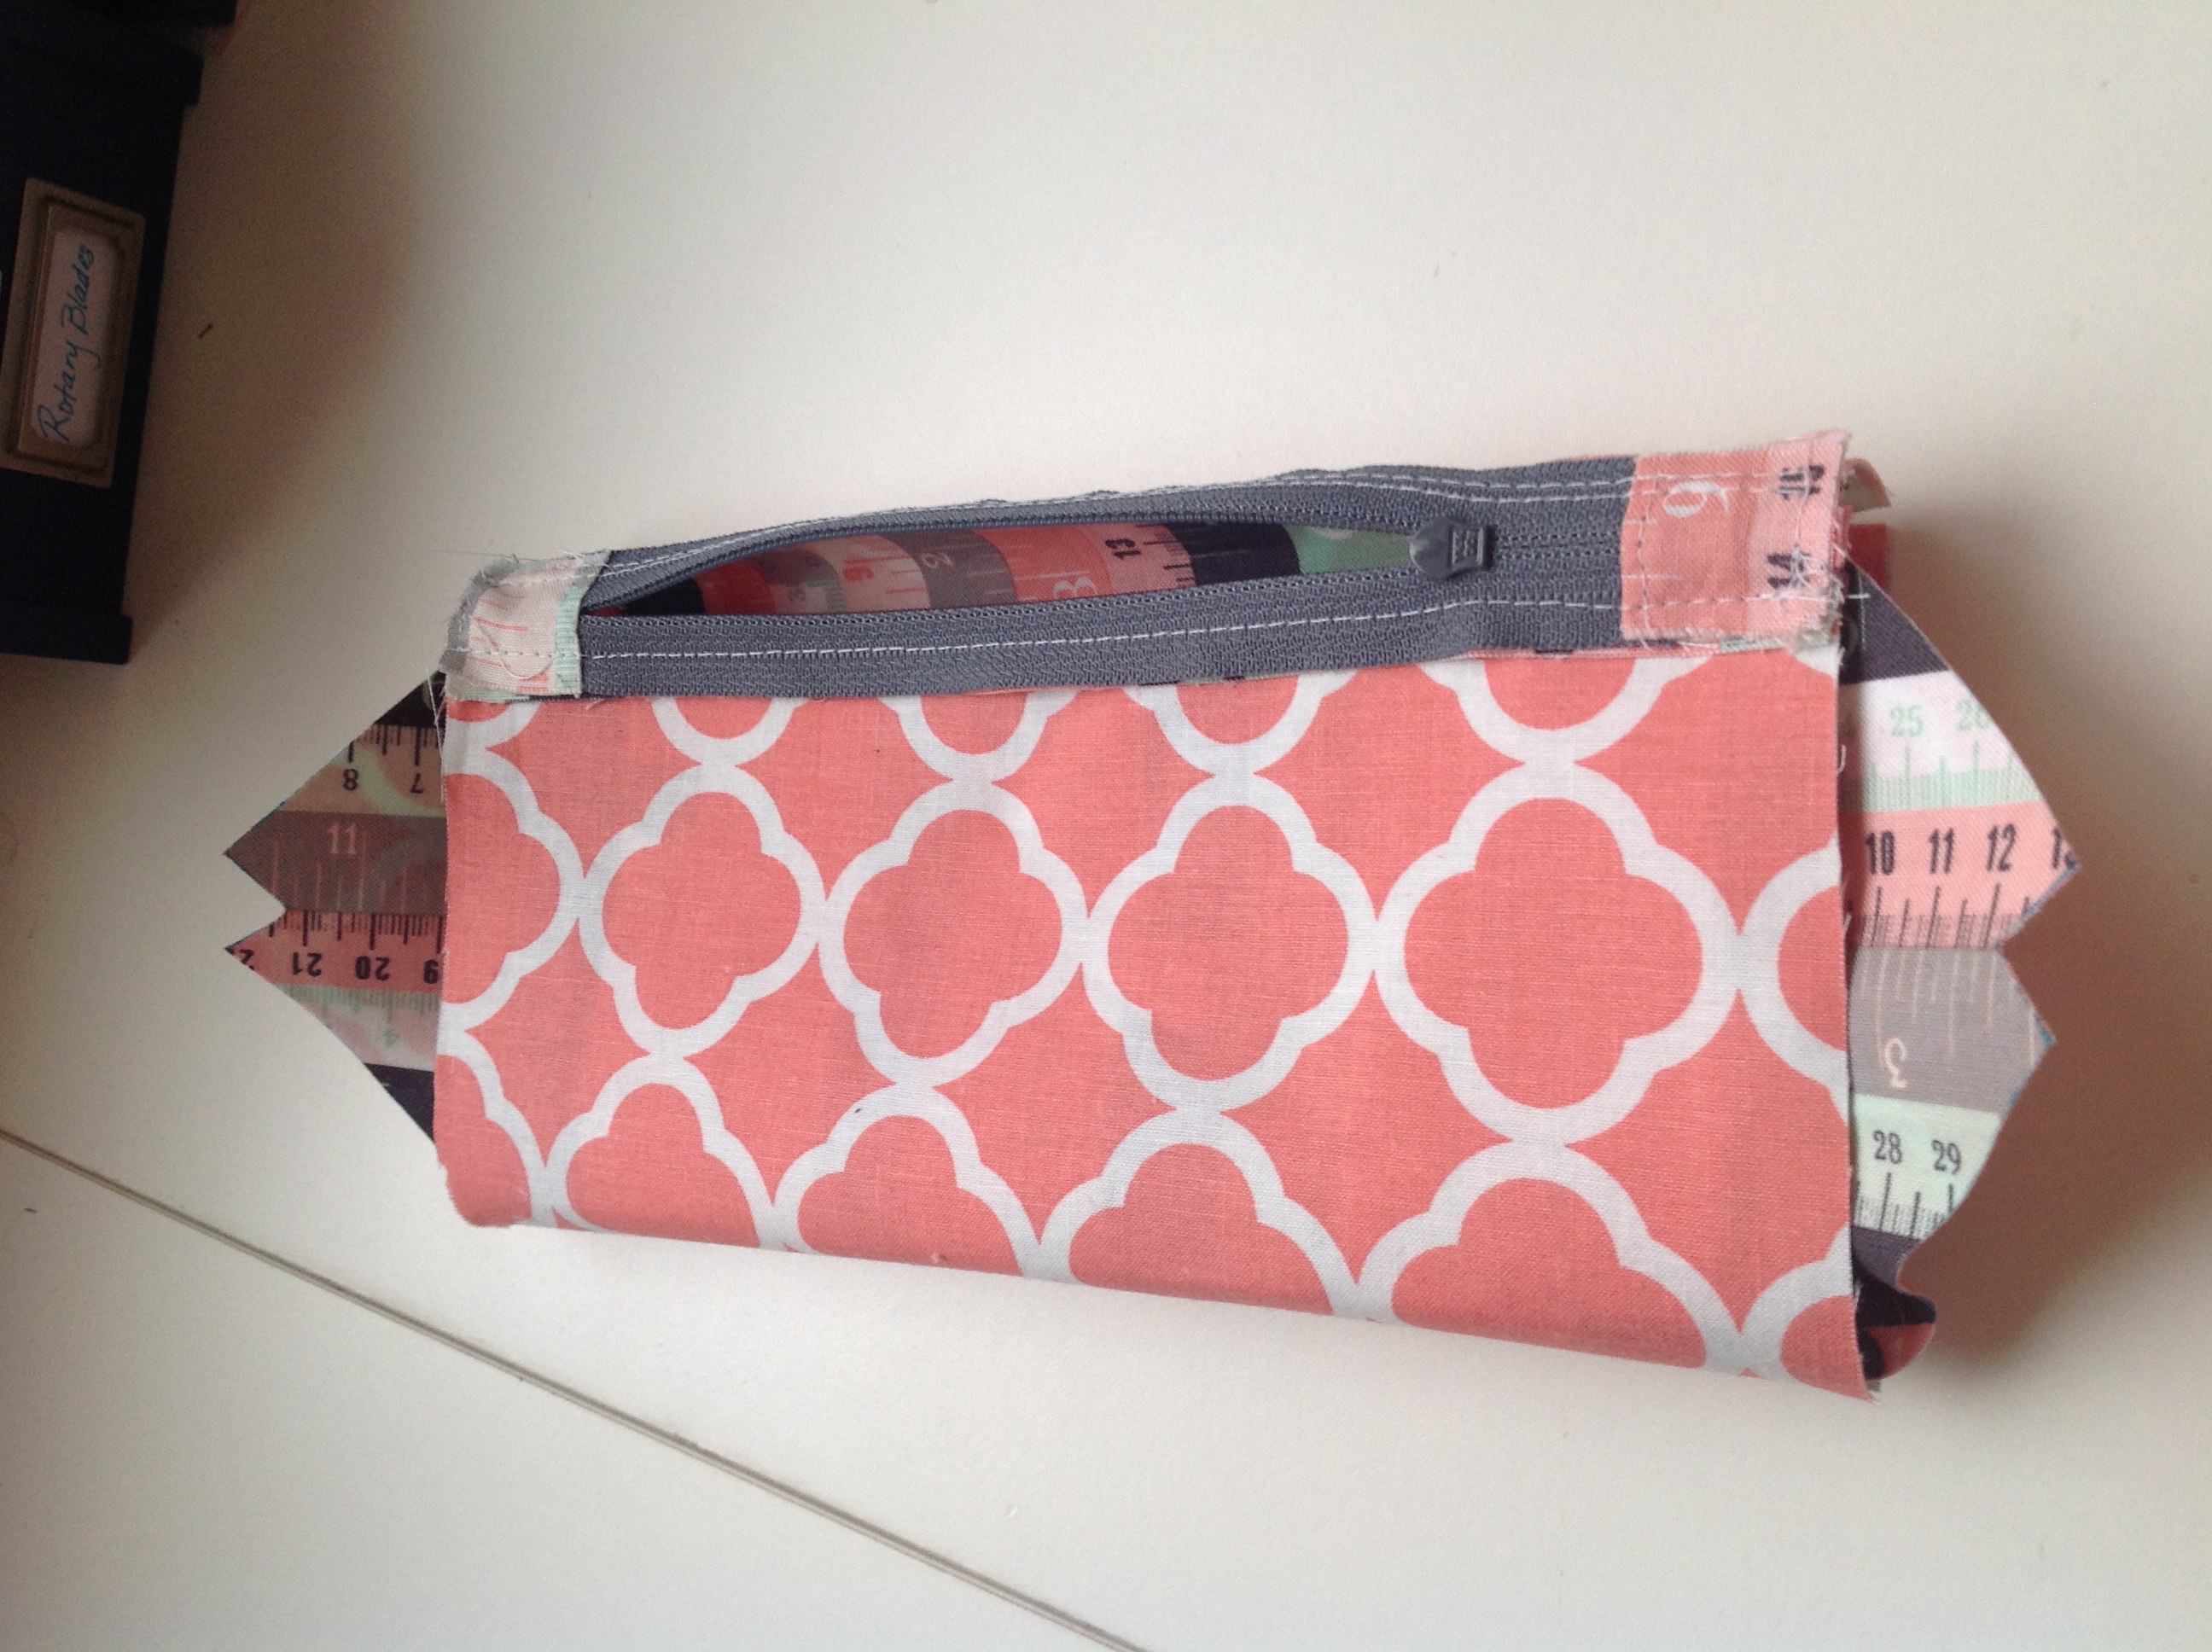

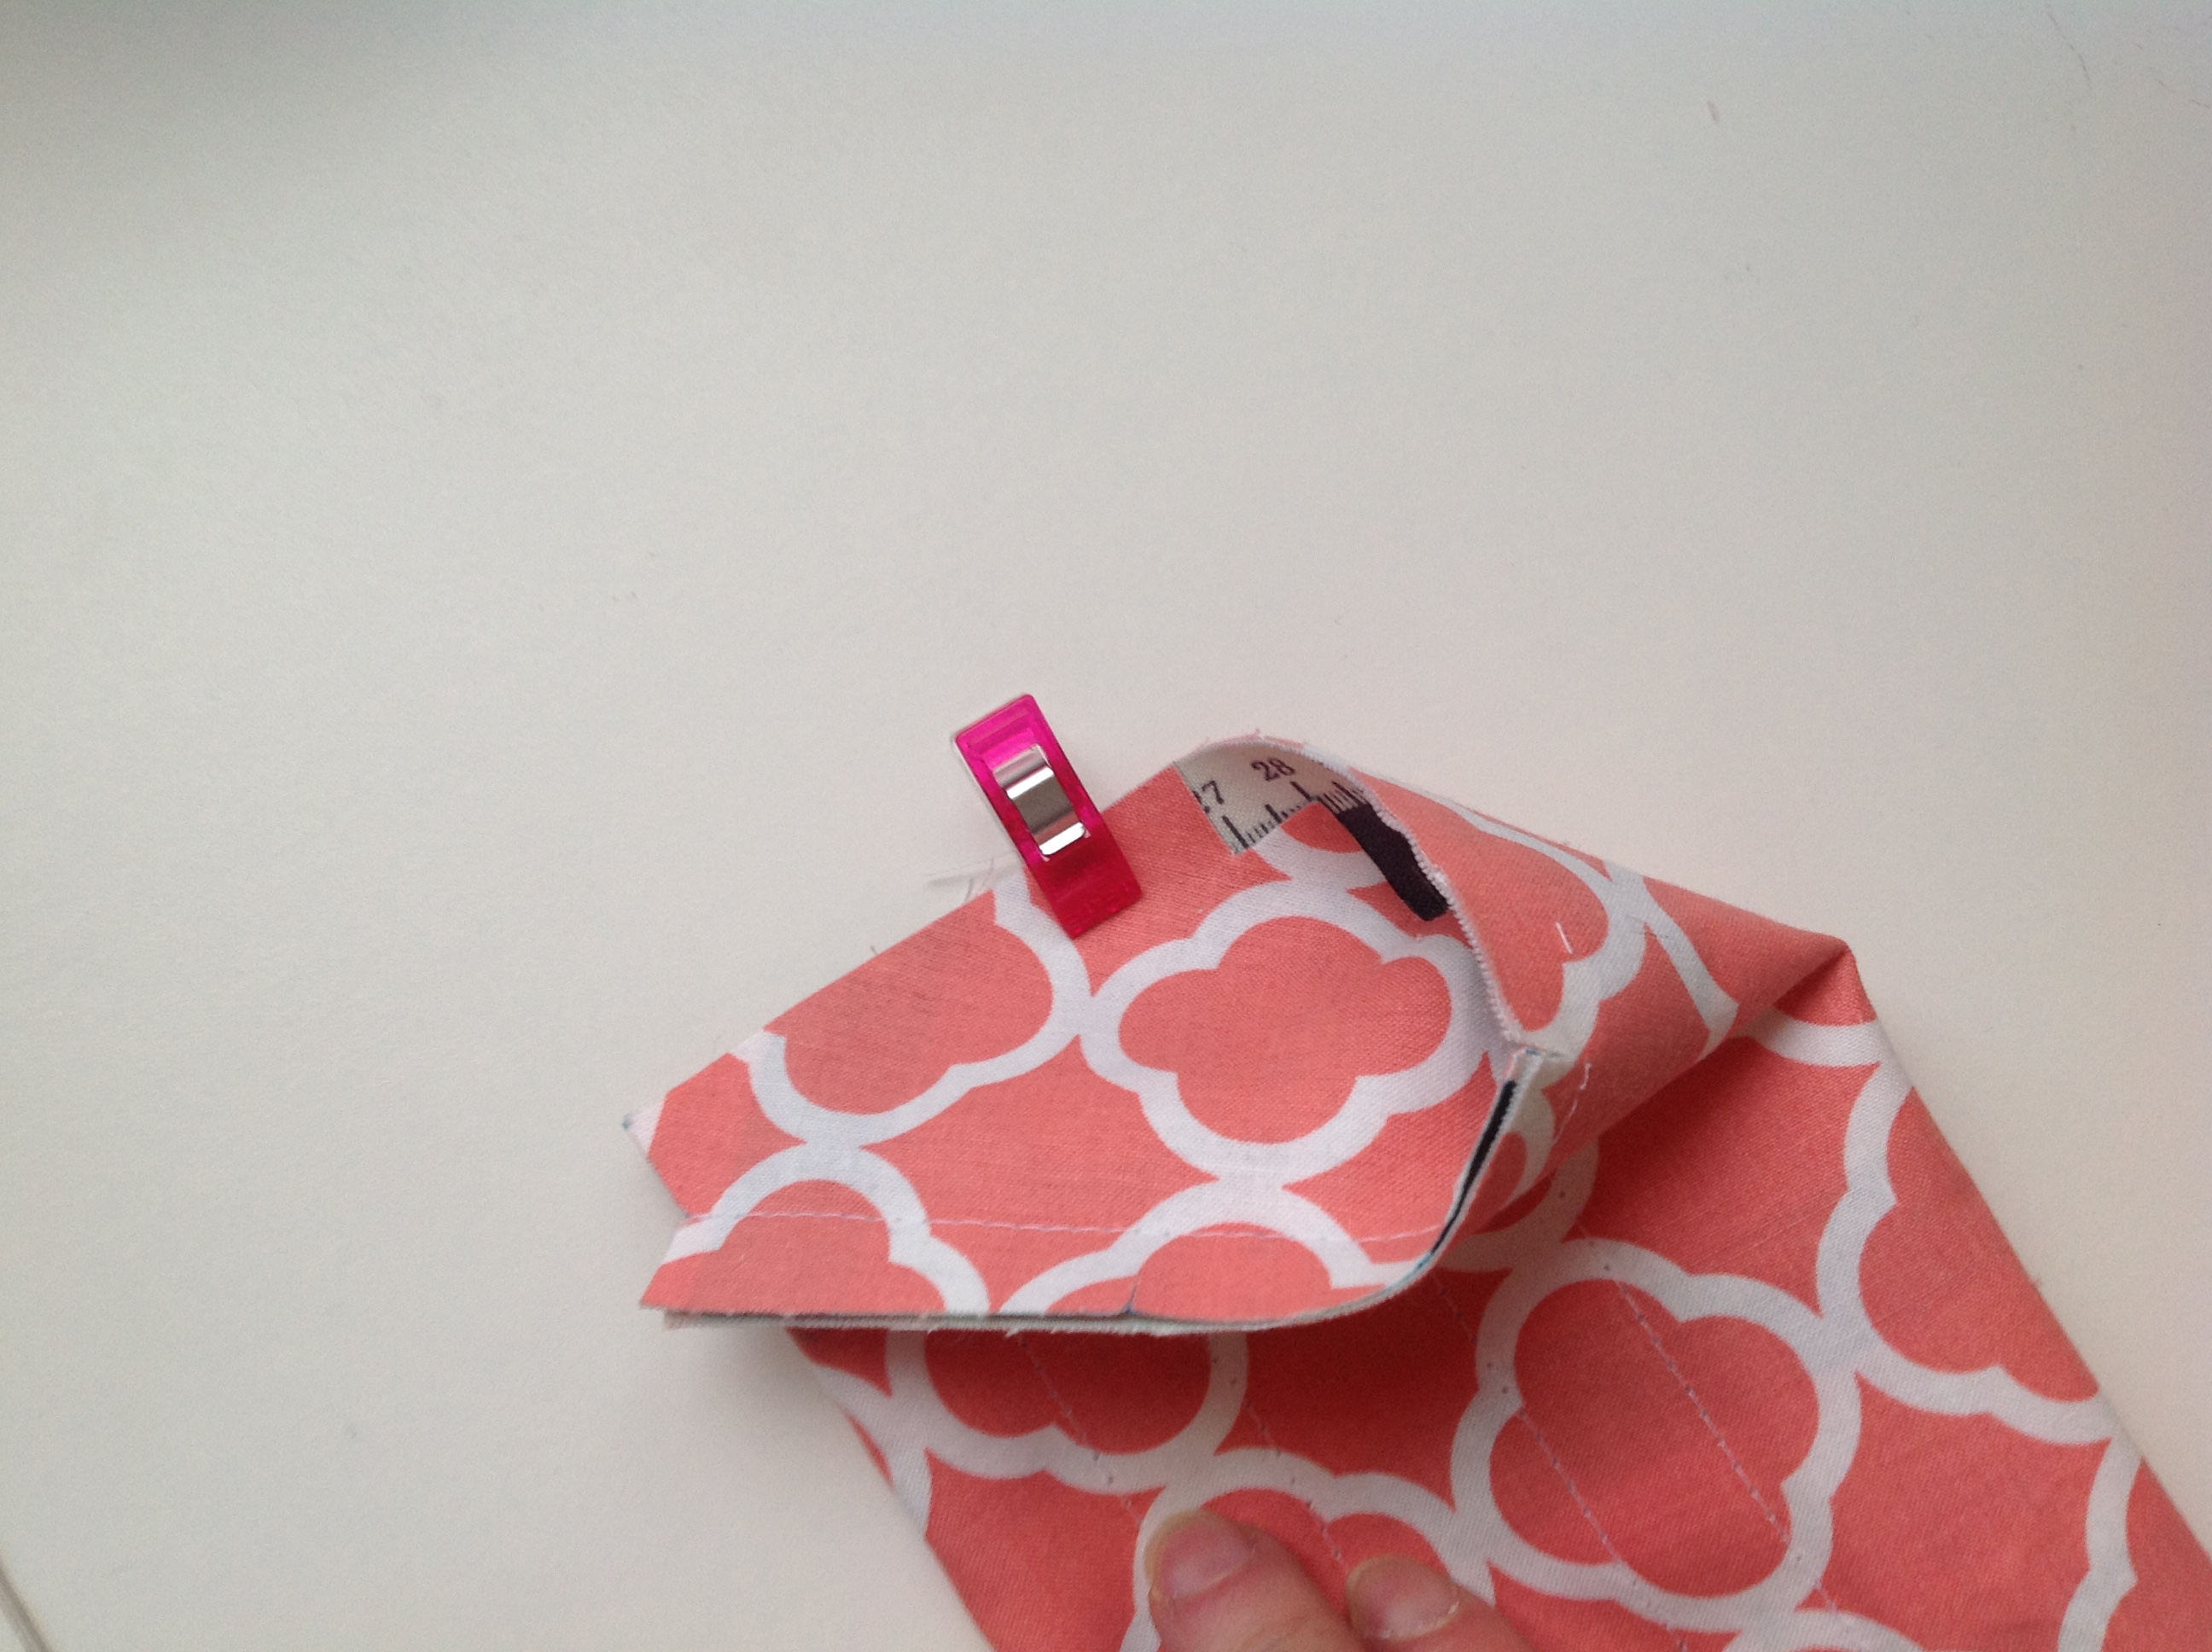
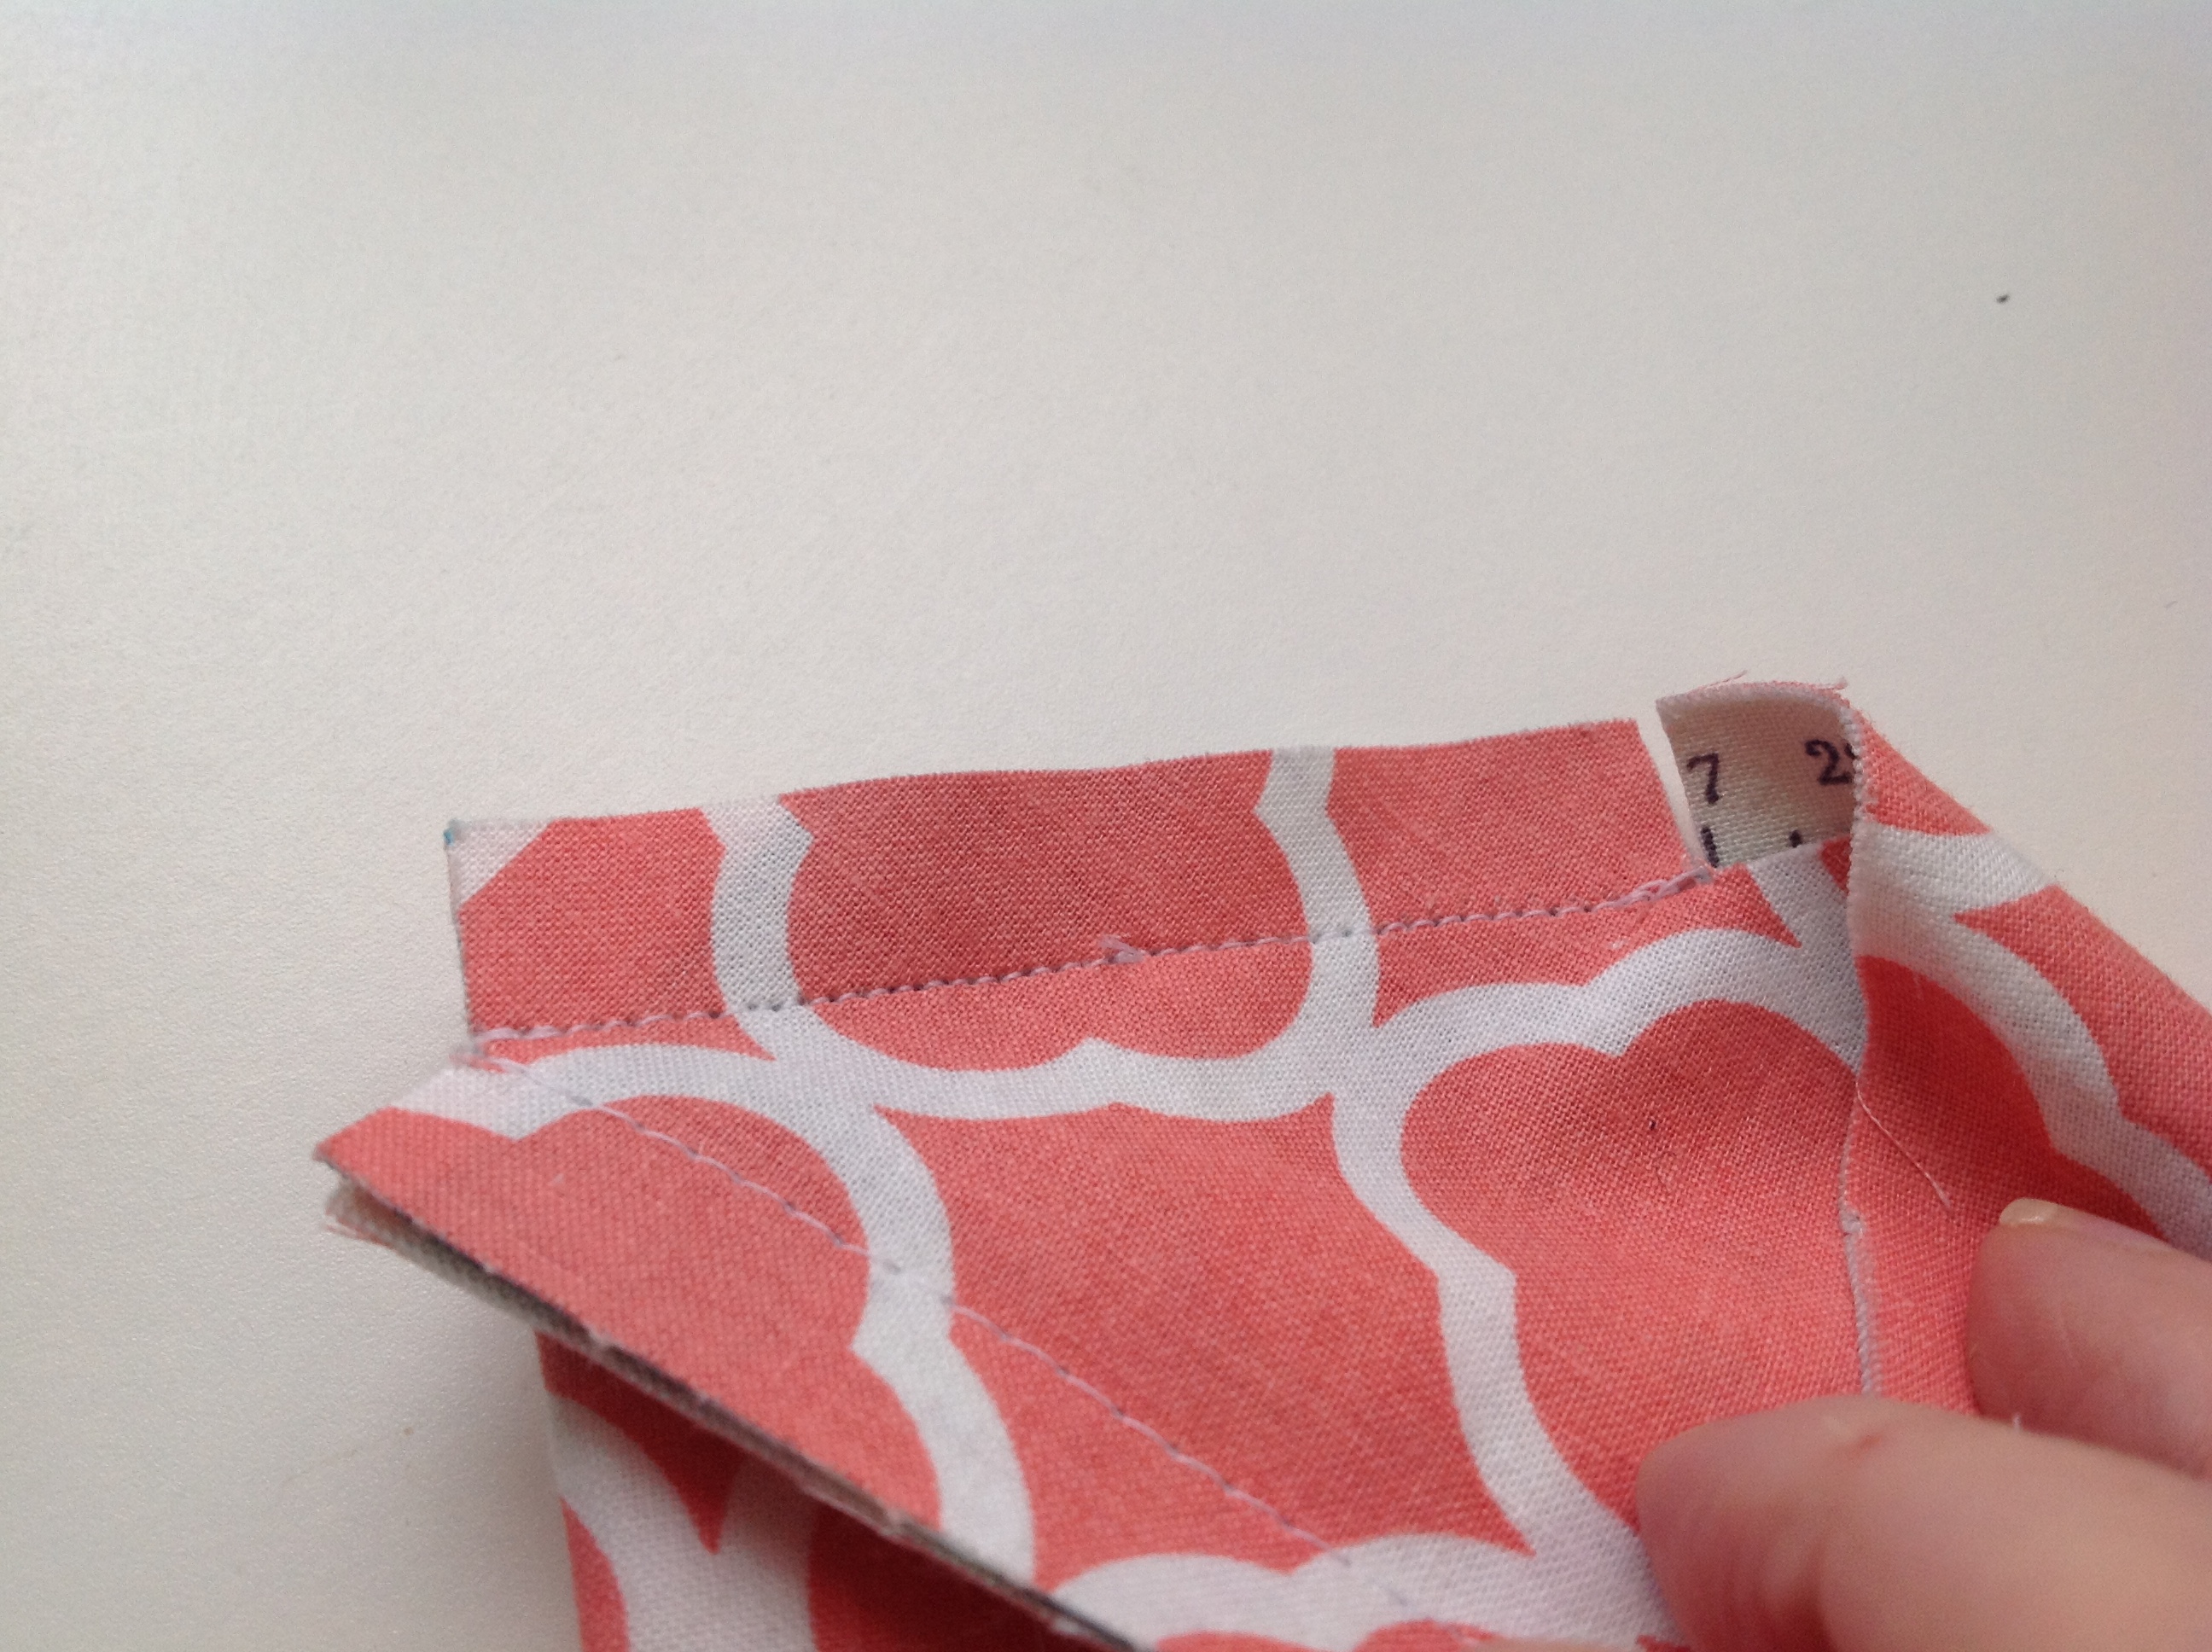
So, line that up and stitch is using a 1/2″ seam allowance. The important thing here to be sure to end your seamline right at the very end of the Side Pouch panel and not to go over onto the Main Pouch panel. 

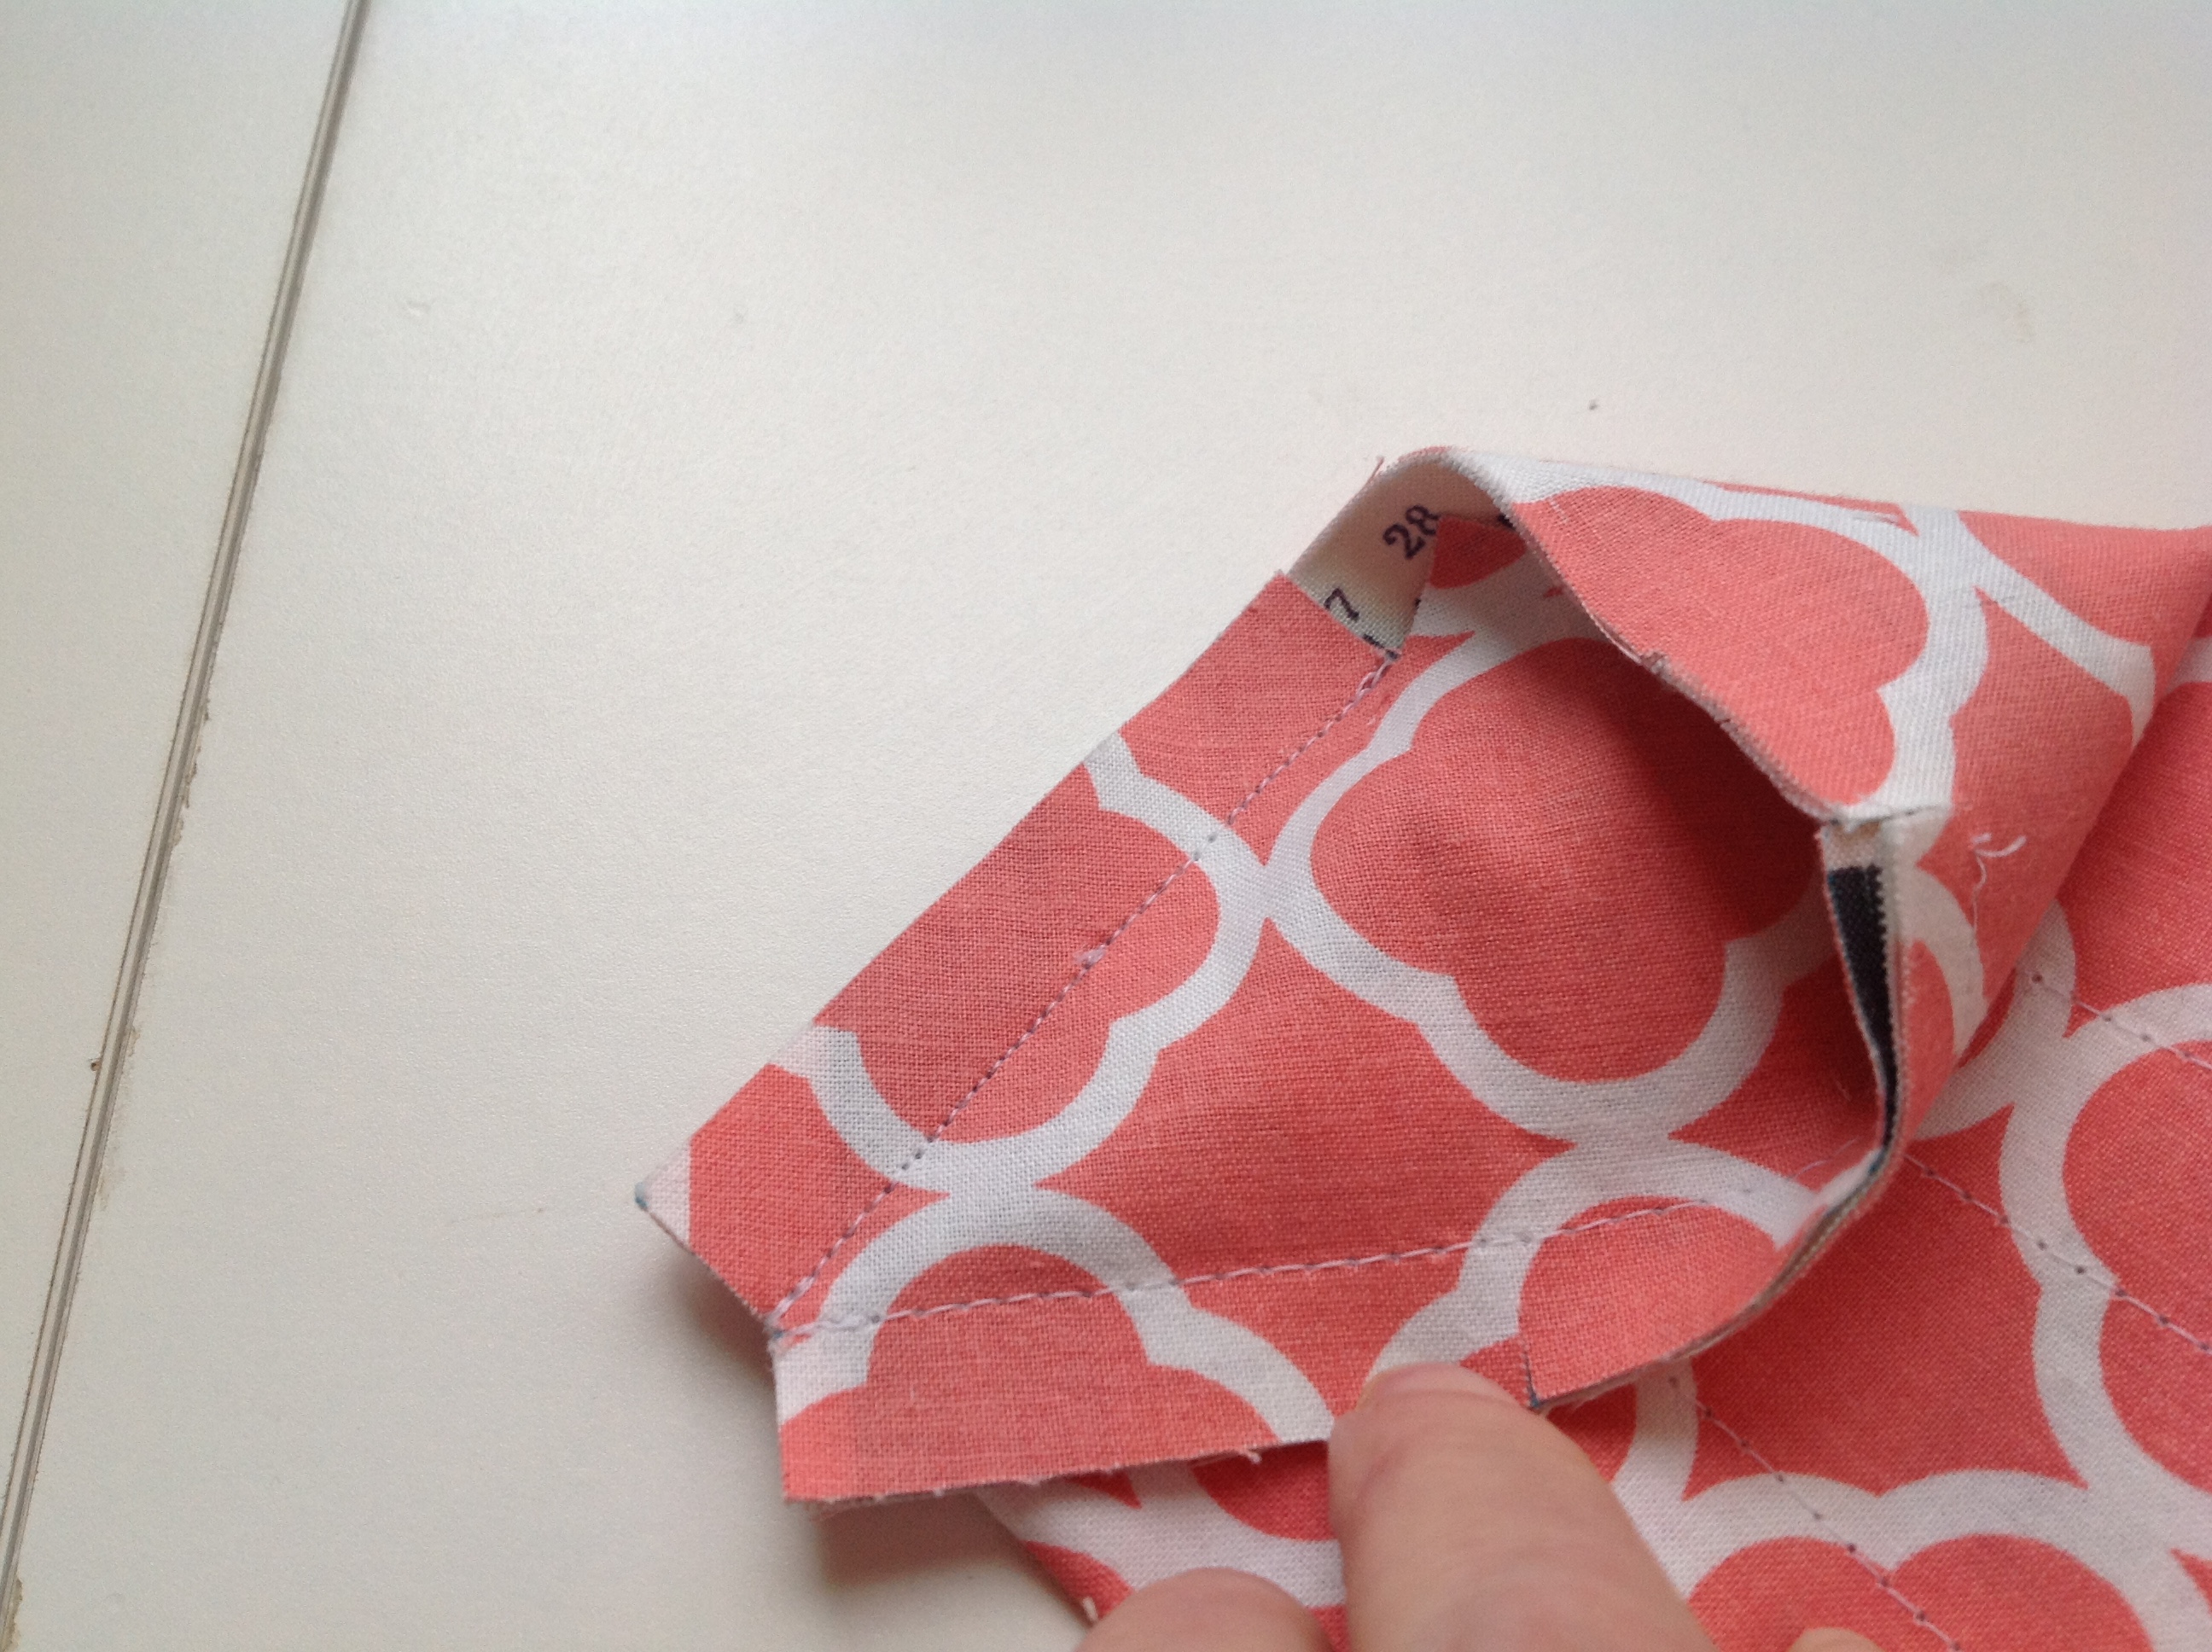
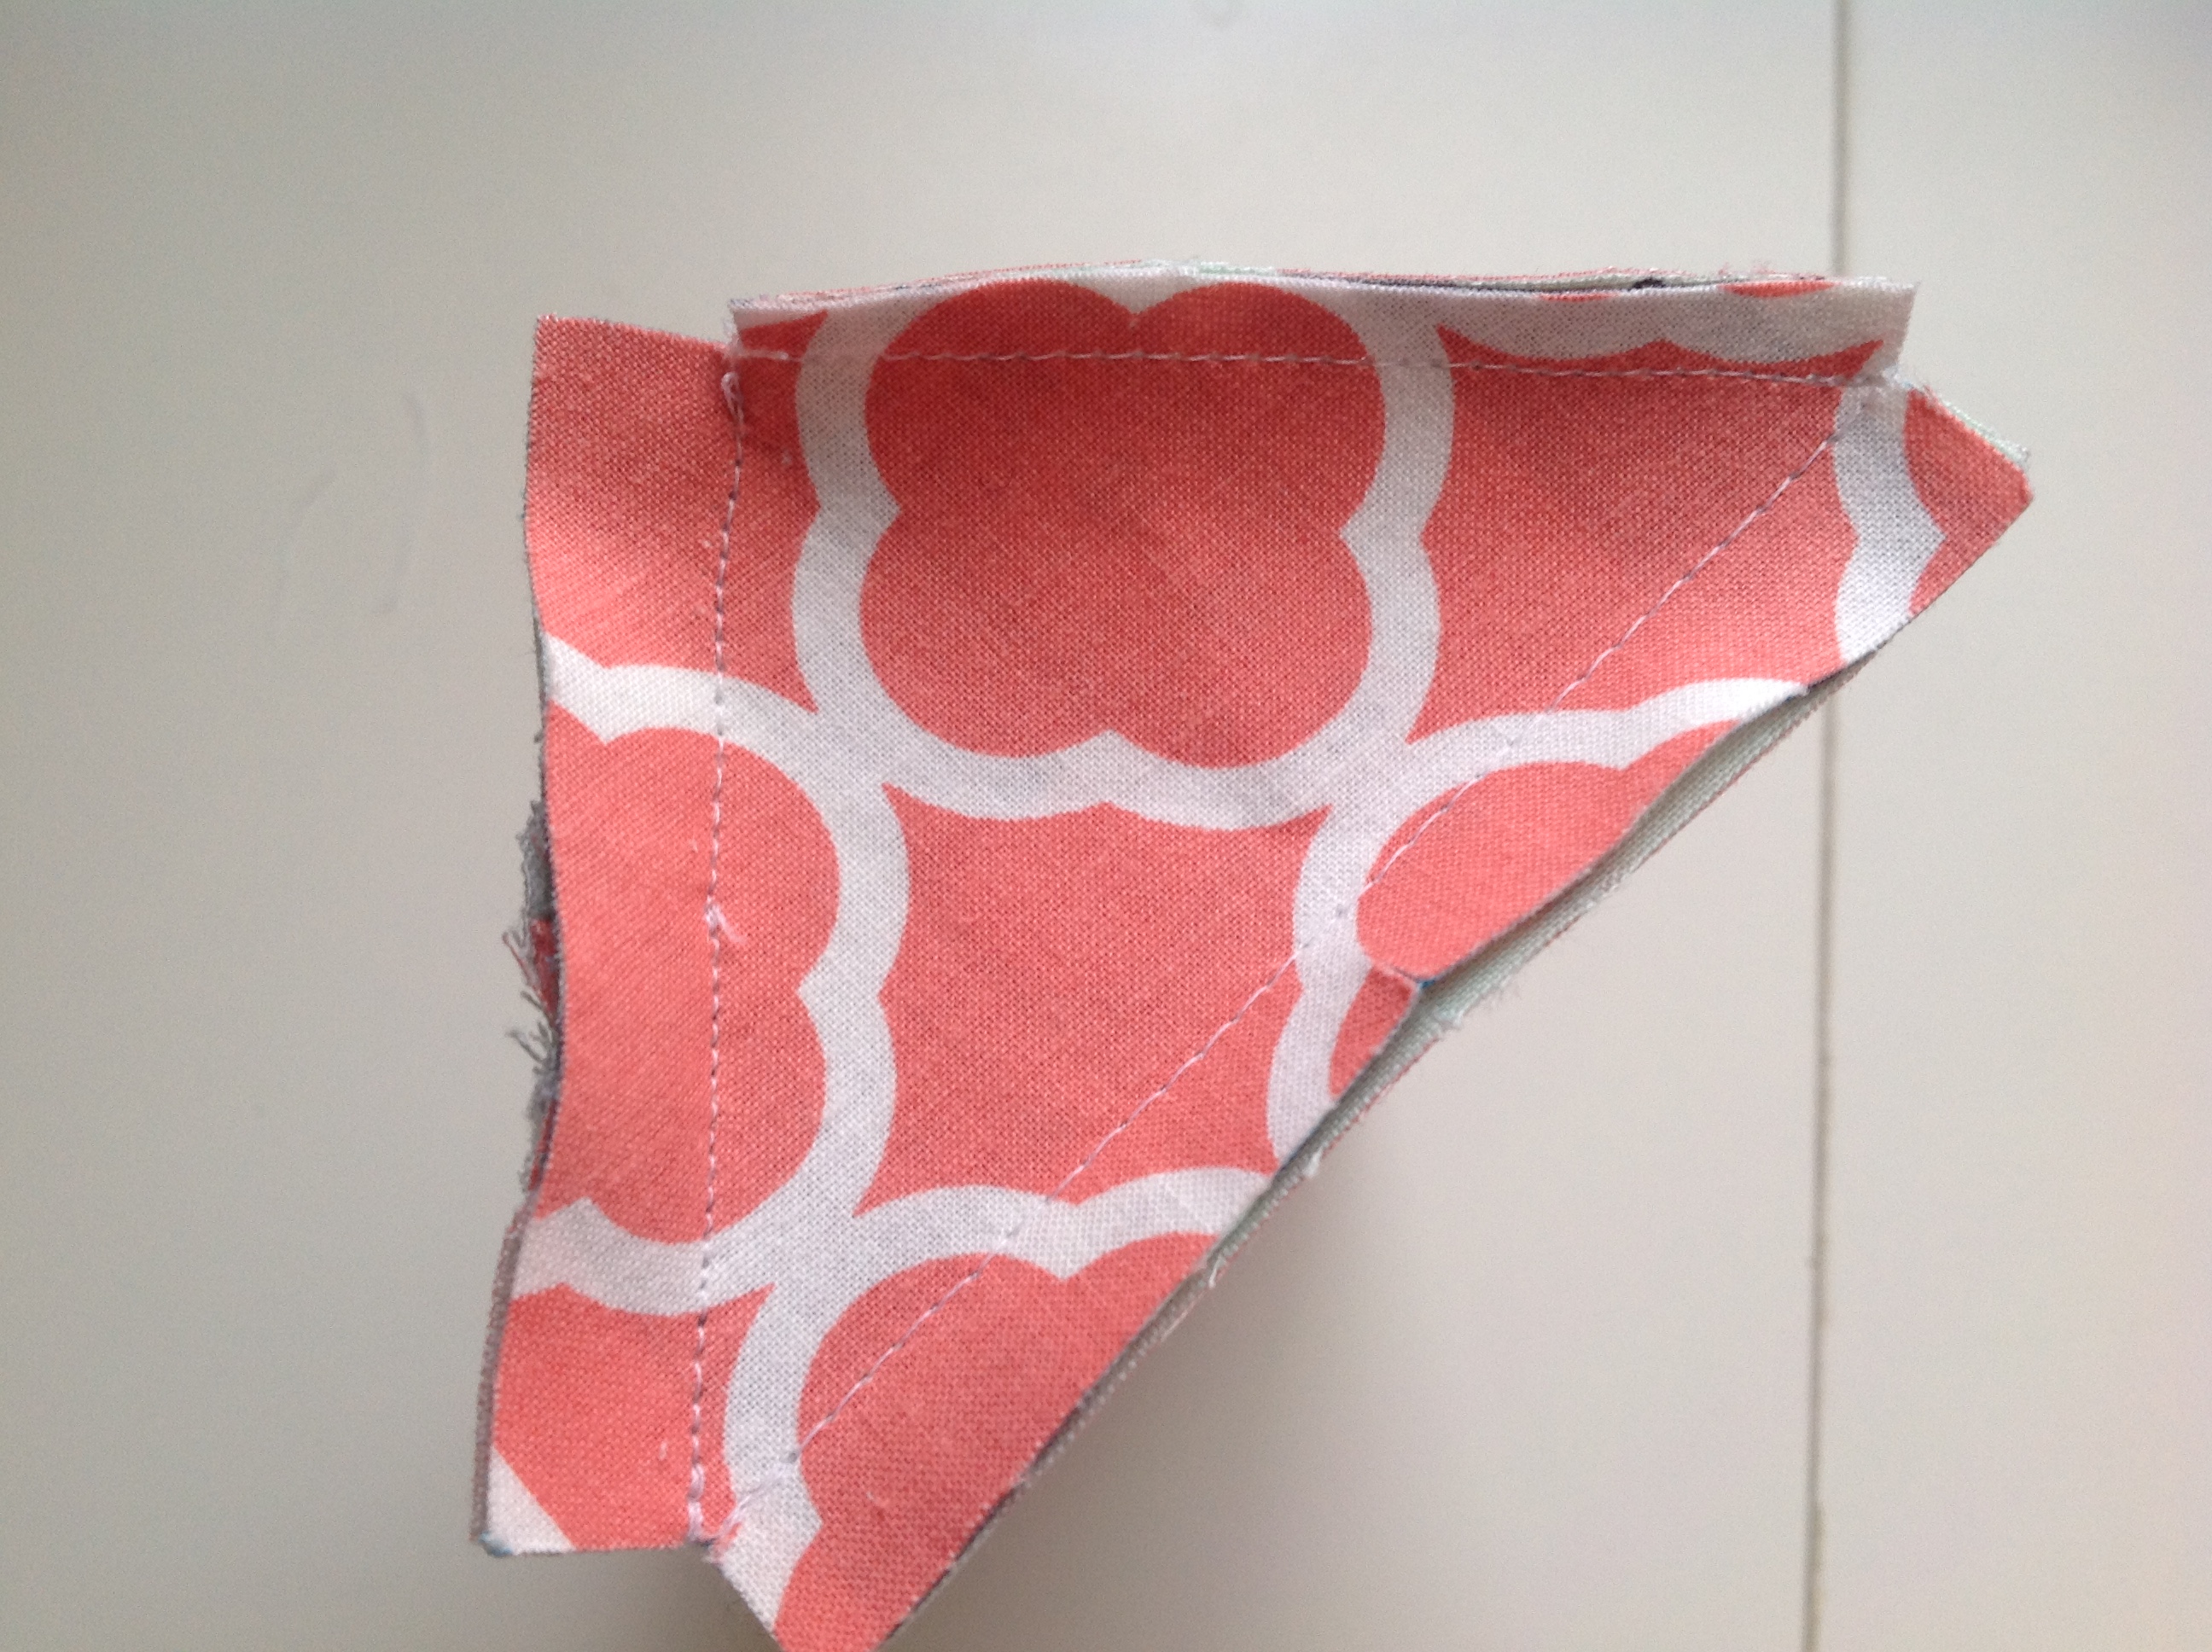
Now do all those steps to the opposite end of the pouch.
Turn it right side out and there you go! Cute, huh? Three more to go!