Hello!
This tutorial covers steps 28-34 in the Layla Bag pattern. If you need a closer look, just click on the photos.
I hope you are getting excited because this is where we really get a look at what the bag will be when it’s done!
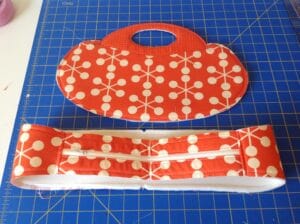
We are going to be attaching the side panel to the body panels. So, you need those pieces.
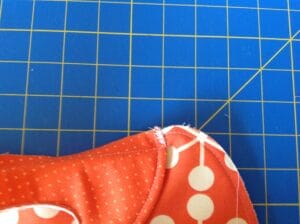
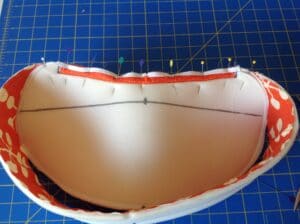
The first thing we need to do is to turn the handle to the right side of the body panel This is a little hard to get a photo of because when you turn the handle to the right side, it will cause the body panel to bow a little, this is normal.
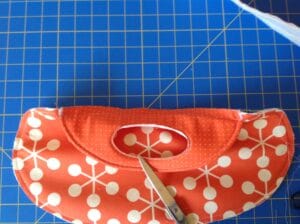
turn the handle down to the right side of the body panel – my scissors are helping me here so I can get a photo
Now take it to your machine and zig zag the little tabs at each side of the handle opening to the edge of the handle.
For the next step you will need some sort of fusible product that has a paper backing on one side. We need the paper backing because we will not be adhering both sides right away.
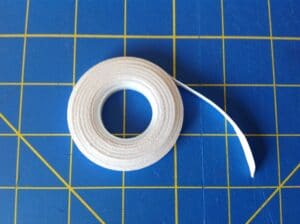
find some sort of fusible web tape. Sorry, I pitched out the packaging for this or I would show you.
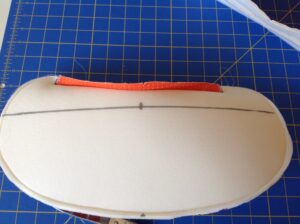
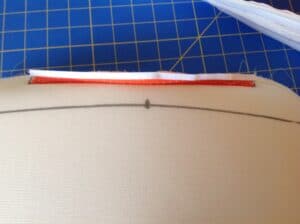
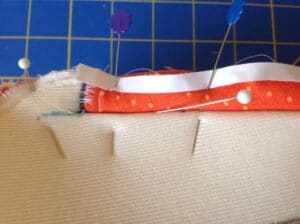
Apply the fusible tape along the edge of the handle. This is technically the right side of the handle, confusing, I know but eventually this line of fusible will be adhered to the body of the bag and keep your handles sitting straight and the handle seam allowance laying flat.
At this point you want to be sure you can still see the center point mark on the handle.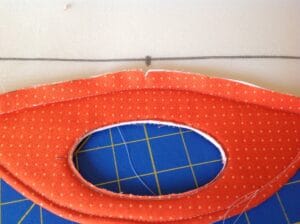
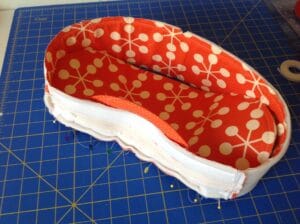
Now grab your side panel. For this next step we are only going to attach (pin and then sew) the zipper gusset portion to the body. So, be sure your side panel is turned wrong side out. 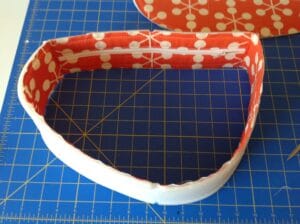
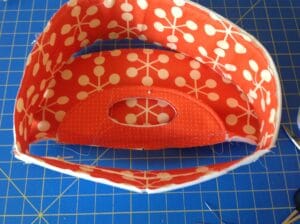
Here you can see that my center points on both the handle and the zipper gusset portion of the side panel are in line
Now we need to stitch them together. Do you remember cutting the snips when we made the handle opening? The important thing here is to be sure that the stitches before and past the handle opening fall just below those snips. Once I hit the handle opening, I am going to stitch in the ditch. In the photo below, I have marked with a blue pen where I need stitch to be sure I am under the snip.
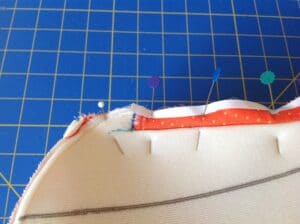
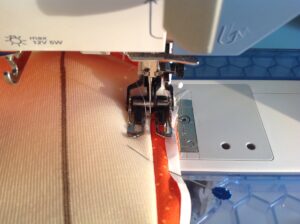
stitch in the ditch at the handle opening
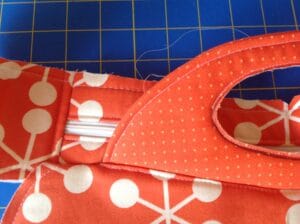
Once you’ve sewn the zipper gusset on, you might take a peek and be sure that you have stitched under those snips and that area, at the sides of the handle look tidy – I think mine looks pretty good.
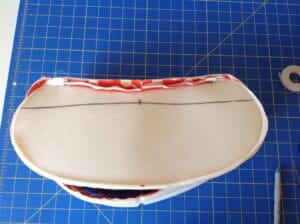
Now we need to stitch the bottom portion. On the side panel foam you should have made a center point mark and two dots a could inches away from the center. These dots are marks where we want to pin and sew the panels together. So, line up the center points of your side panel and your body panel and stitch between them.
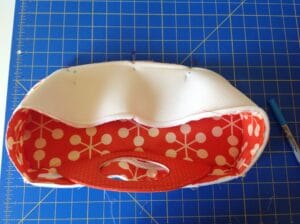
align the bottom center points and stitch between the dots
Now to stitch the sides down! Way back in the beginning of the pattern you were to stitch your side foam stabilizer to the side fabric using a 3/8″ seam allowance. The reason I had you do this was because, in most cases, you will need to notch the seam allowance of the side panel to coax it smoothly around the side of the body panel. I say most cases because I have made a few bags (mostly lighter weight fabrics), where almost no clipping was necessary and then I have made some where I need to clip alot!! So, the 3/8″ seam allowance is there as a guide on how deep to clip.
Stitch around the side panel and be sure that the beginning and end of the seam meet up with the seams that we did for the zipper gusset and at the bottom edge.
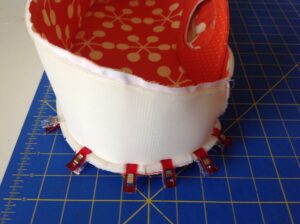
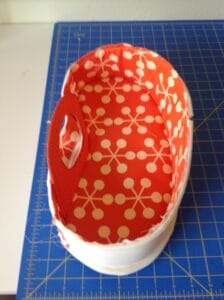
Now you are ready to stitch the second body panel on. Be sure to open your zipper before you do that or you will be sewn out of your bag (ask me how I know!). I am not going to show you this because the process is the same. Once you have that done, you can add the plastic canvas bottom and purse feet if you are going to use them.
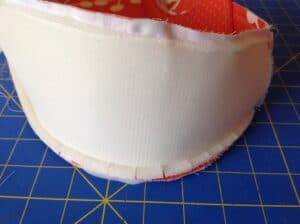
Now, we need to trim all the seam allowances except the seam allowance of the handle (the one with the fusible web on it) – leave that untrimmed. I have had the best result when I take the time to trim the foam stabilizer very, very short – just right outside the seam and then the fabric to about 1/8″-1/4″. But if you are not inclined to take that time (who could blame you!), just trim both the foam and the fabric to 1/8″ (on the side panel this is very easy to do because you can just cut along the 3/8″ seam line.
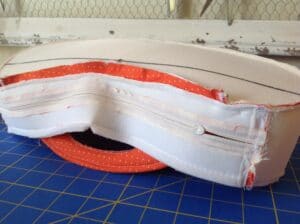
trim all the seam allowances except the ones on the handle (those with the fusible web or wonder tape)
The last thing is to remove the paper backing from the fusible web on your handle and fuse that handle seam allowance down to the body panel. How does it look? Your almost done!
Please let me know if you have any questions. I hope you will share your photos with me – I just love to see your creations!
Best, Sarah
