Hi there!
This is a tutorial on how to make a Fold Over Tassel for the Market Tote. The tassels kits can be ordered right along with your Market Tote Kit (you will see the option pop up as you order), or they can be ordered individually here.
Photo tutorials for the other tassel styles can be found at these links:
Bell Cap Tassel
Sleek Drop Tassel
Making a Fold Over Tassel:
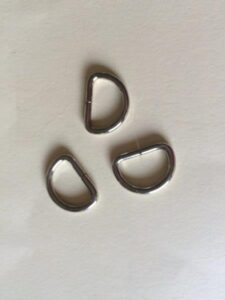
The fold over tassel kit comes with a piece of webbing and 3 d-rings. For the moment, set the d-ring aside in a safe place where they don’t get lost.
The first thing we need to do is to decide how long to make the tassel. I recommend waiting until your Market Tote is all stitched up so you can get a sense of what length will look best and so you can get a measurement right on the bag.
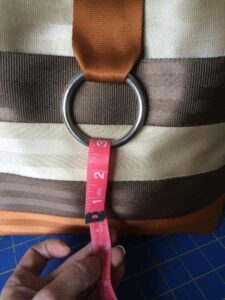
So, go find a tape measure and fold it through the metal ring on the tote. Decide where on the tote you would like the end of the tassel to fall.
In the case of this bag, which is the small size, I decided I wanted it to be 3″ long. Since the webbing will fold in half through the ring, we need to double the length, which in my case, is 6″. You’ll want to add an extra 1/2″ or so just to be on the safe side (it can always be cut shorter later). Cut a piece from the seat belt webbing to that length – in my case, 6 1/2″.
Next, you’ll find the center of the webbing (marked with the pin below) and then measure and mark 3/4″ on each side of the center.
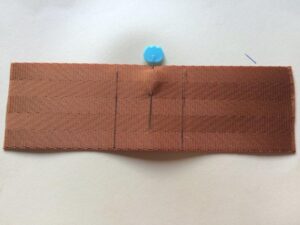
Find some sharp scissors and cut the very edge of the webbing off , leaving the middle portion intact. Any time you cut the edges off, it will fray so you want to be sure you have the center area uncut.
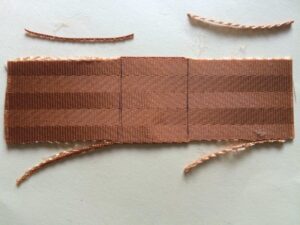
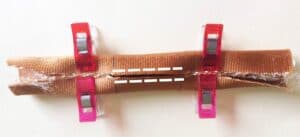
Now carefully (so that it doesn’t start to fray on you at this point), fold the long edges in to meet at the center. If you want to make life easy on yourself, go ahead and stitch between the marks on each long edge (see the dashed white lines). The stitches will keep that center portion from unfolding (I like to live dangerously so I never do this!).
Fold the webbing around the ring on your bag making sure, if you didn’t stitch it, that it does stay folded. Be sure that the two ends are even.
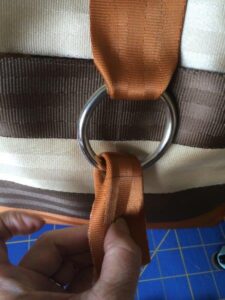
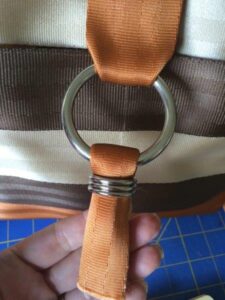
Fold the webbing through the metal ring, stitch across, and then add the d-rings
To keep the d-rings in place, turn the tassel to the back side and hand sew a few stitches that go around the d-rings and into the webbing. (sorry – no photo!)
And finally… we fray- Yay! So, find the cut edges (they are folded up toward the center, remember?) Start pulling the fibers away from the center at each long edge.
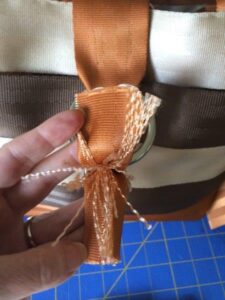
Once you’ve separated a few fibers, you will see other fibers that run the opposite direction – they are very fine and usually white or almost clear. Pull those out and throw them away. If they don’t come out easily, pull more of the colored fibers off. 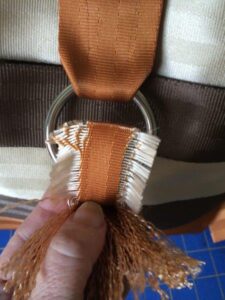
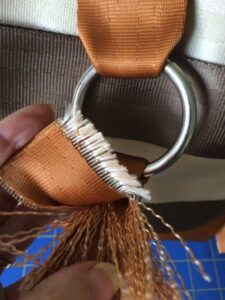
Continue to separate the colored fibers and remove the clear ones until you reach the d-rings. Here it is on the back side.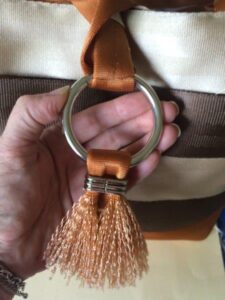
And that’s it…looking good! I’d love to see the tassels you make! Please share your photos with us on Instragram using #seatbeltbags and #cozynestdesign. sarah
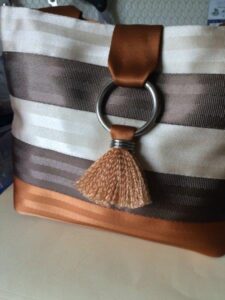
Made my first market tote yesterday at the stitching post here in Cape Breton N.S.
Got along well, Now trying to decide wether or not to make another . There were some tricky steps along the way.
Lots of help at our stitching post .
Glad to hear you had a successful class, Anne! I hope you enjoy your bag. If you do attempt another I am sure they would be happy to help or you can always email me if you get stuck! Sarah