***UPDATE: Patterns purchased between July 2015 -Januaray 2016 – need an additional pattern piece called B-Interfacing. You can download it here. ***
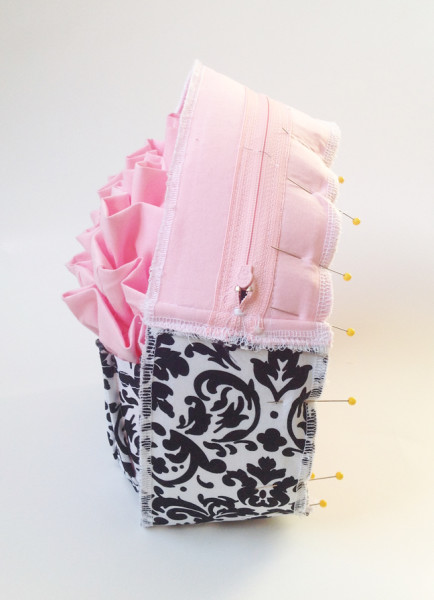
Hi there! By the end of today, your backpack will look like this! We are going to add the zipper gusset, which covers steps 19-25 in the pattern.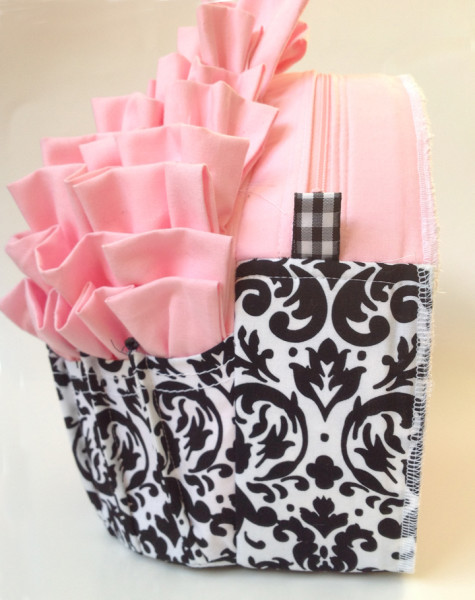 You will need the following:
2 – F pieces
2 – G pieces (or 4 if you have a directional print)
2 – F-Interfacing pieces
1 – G-Interfacing piece
1 – Zipper
2 – 3″ pieces of ribbon, ric rac or whatever you like ( if you want zipper grab tabs)
First, locate your zipper. Bartack the zipper tapes together about 1/4″ from top end. Bartack is a fancy word for zig zagging in one spot. Your machine may have a setting for this, but if not, you can always just drop your feed dogs, set your machine for a wide zig zag stitch, and go back and forth a few times.
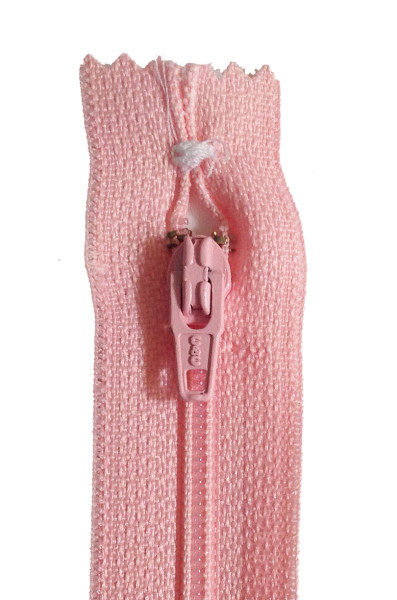 Now, cut the bottom part of the zipper a little so the overall length of the zipper is 13″. Grab your F and F-interfacing pieces. Remeasure and be sure that the F panels are exactly 13″. We want to have them the right size so the gusset will fit easily around the cupcake dome. Fold the F pieces in half so the width-wise so it it is 1 1/2″ and give it a good press. Now, either measure 6 1/2″ in from one short side or fold in half lengthwise to find the center point and mark in the seam allowance.
Put your interfacing into the center fold and fuse both sides.
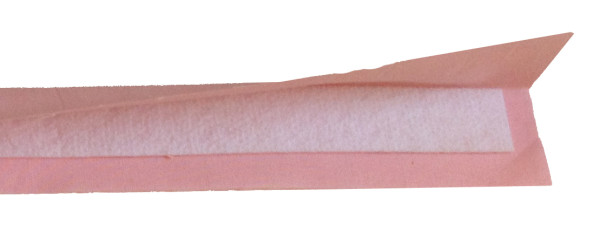
Finish the edges and you will have this: (can you see that my serger went a little crazy on me??) Now we are going to put our zipper on the F panels. You could use pins to hold your zipper onto your F panel, but I like to use fusible web tape for this – it makes it so easy! Fuse 1/4″ fusible tape on the front of both zipper tapes and peel off the paper one side. Tip: if you don’t have fusible web tape you can cut 1/4″ wide strips of fusible web sheets or roll.
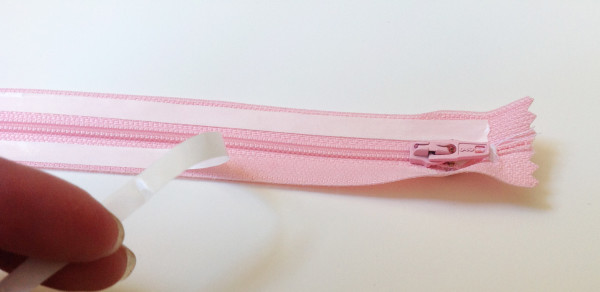
Place the folded side of your F panel on the zipper a little bit away from the zipper teeth and fuse it down. Then sew 2 seams: the first about 1/8″ from the folded edge of F and the other about 1/4″ from that. .
.
Do those same 2 steps with the second F panel on the other zipper tape and voila! We’ll set this panel aside for now.
Now we’ll work on the lower gusset which means you need to grab your G pieces.
** If you have a directional print, you will have cut 4 pieces. Take two of the pieces and set the other two aside for now. For each piece, determine which short end is the bottom of the print. Match those ends up and sew them together with right sides facing. By doing this, the print on both pieces are going toward the seam. Do the same thing with the other two pieces. I am using this owl print to illustrate this because it has a more obvious direction than the print I am using. 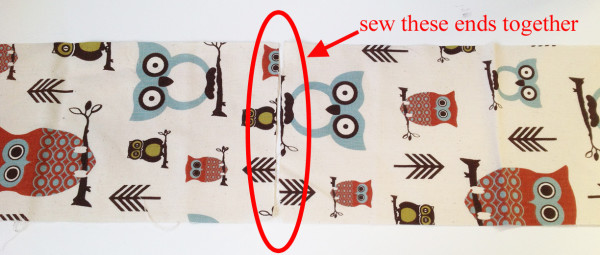
Please remeasure the G pieces and be sure they are the correct size. Center the G-interfacing on the wrong side of one G piece so there is a 1/2′ margin of fabric all around the interfacing. Lay the other G panel on top – wrong side down. Fuse it on both front and back and then finish those edges! 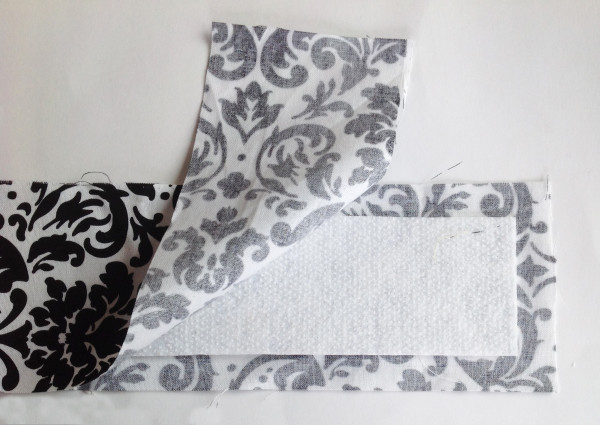
Now measure 9 1/8″ from one short end to find the center point and mark that spot on both long edges. 
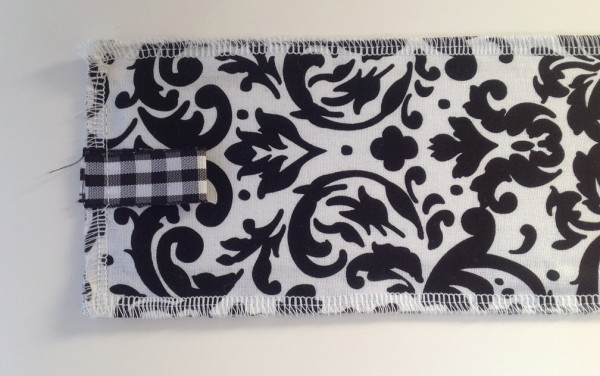
If you want to do some grab tabs for the zipper, you will need 2 – 3″ pieces of something – it can be ribbon or ric rack, or even an elastic ponytail holder. I have chosen black and white checked ribbon. Fold the ribbons and center them on the short ends of your G panels, then baste them down.
Find your F panel. Lay the F panel right side down on one end of the G panel and sew. Once sewn, it should look, like this from the front. 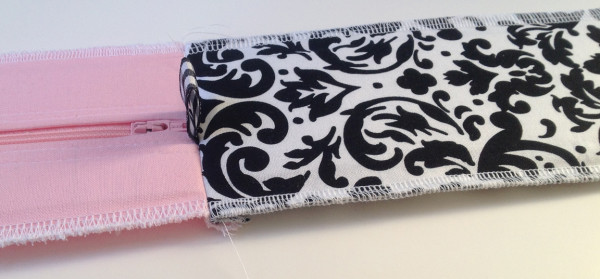
Now if you are very confident, you can fold the seam allowance toward the G panel and stitch it down. If you want to wait and do a test fit on the cupcake dome, that is fine too (we’ll do that after the next step). The reason you might wait is that if you need to adjust the fit, you won’t have to rip out these additional stitches. I am feeling confident (guardedly) so I stitched mine down. 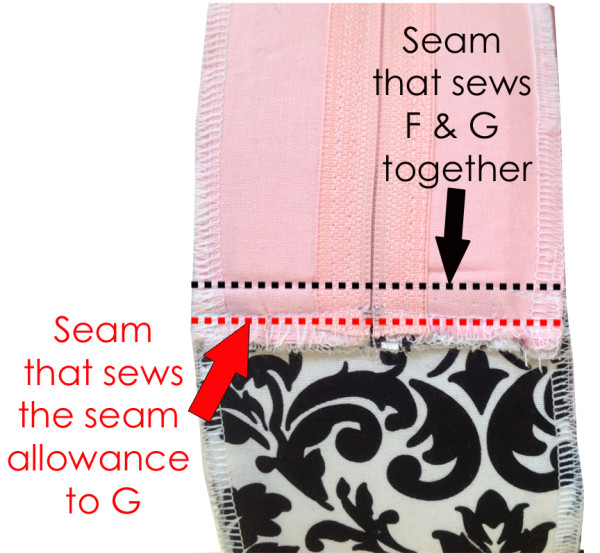
Sew F and G together on the opposite end and you will have a complete circle. Sew the seam allowance down on this side if want or wait for the test fit.
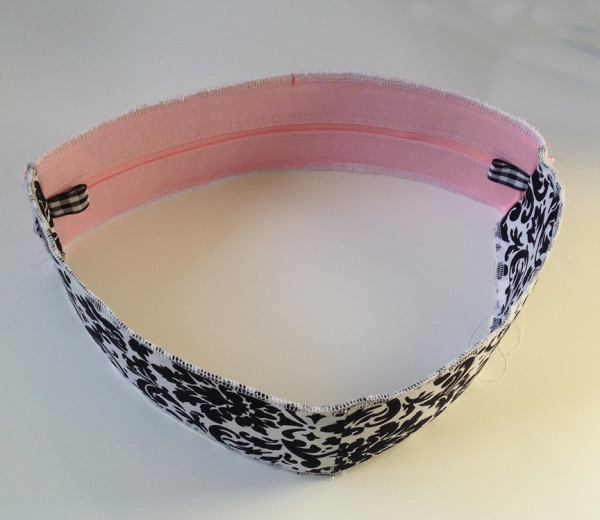 Now grab the cupcake dome. Pin the ruffles in toward the center because we are going to test fit the zipper gusset and you want then out of the way of the edge.
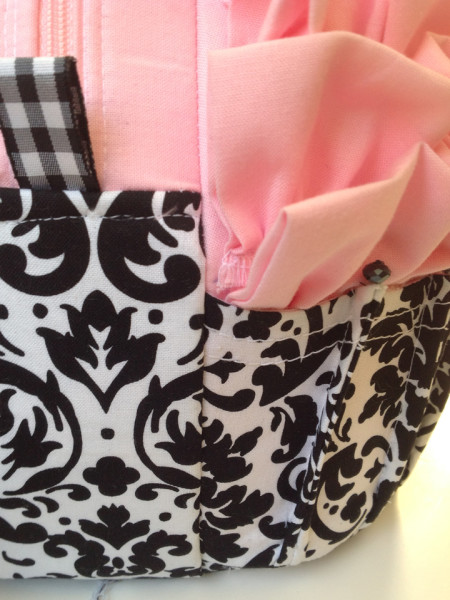
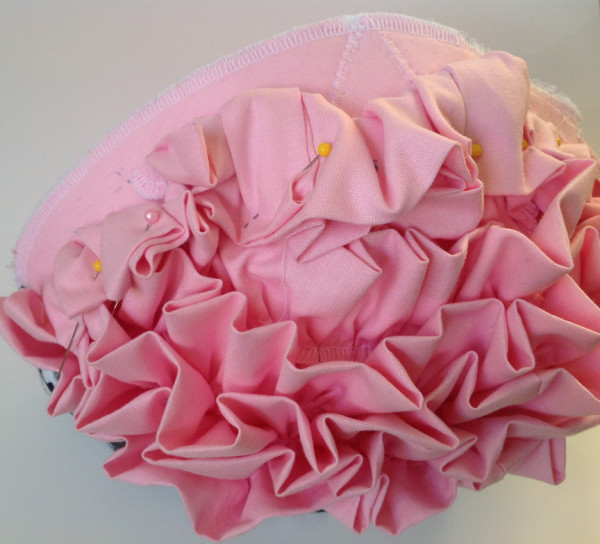 Your zipper gusset needs to be wrong side out for this and probably is but just checking! Put your cupcake inside your zipper gusset. Be sure you are lining up the center mark on the zipper part of the gusset (F) with the center mark on A2. You also want to line up the center mark on the bottom panels with the center mark on your lower gusset (or G) panel. Resist the temptation to line up the wrapper panels with the G panel! They are the same fabric but they’re supposed to be offset from one another by design (see the 1st picture below)
If you like the fit and you haven’t stitched the f/g seam allowances down, go ahead and take the gusset panel off and do that. If it fits, just stitch it on… and you will have this…. Now, what if it hadn’t fit?
If the gusset panel it is a little too small: just clip into the seam allowance of the gusset panel and that will help ease it to fit.
If the gusset panel is too large: if you stitched down the seam allowances of F/G remove those. Then sew just to the inside of the original seams that join F and G – depending how much too large if was will determine how far you should go in. Test fit again. If it fits, stitch down the seam allowances and then sew to the cupcake dome. If it still won’t fit, message me in the Facebook group and we’ll figure it out together!
Looking Good! Tomorrow we will do the pocket, handles, and back panel.
See you then, Sarah
Leave a Reply
You must be logged in to post a comment.