Hello! This tutorial cover steps 38-41 in the Belinda Bag sewing pattern.
You are almost done with the bag except for the hardware! I have to say, I used to get a little freaked out about having to cut holes in my perfectly formed flap, but at this point. I have have done it enough that I am almost immune to it. So, with any luck this tutorial with help take away some of the scary for you! Just keep saying to yourself “it’s only fabric…it’s only fabric!” So take a deep breath and let’s get started!
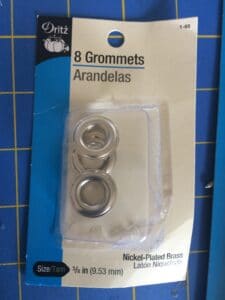
I am using these 3/8″ grommets because I am going to add the strap to the flap with gate rings. If I was going to do the View B handles, the grommets would be the larger 1/2″ style to accommodate the strap that has to slide through them:
I am also going to be using this – the best thing ever! Well, at least for installing grommets. This is a pair of grommet pliers. You do not need this tool! The setting tool that comes with the grommets works just infe and I have installed many, many, many grommets with one. But, I have to say, if you are have had any thoughts about buying one of these, it is well worth doing. You will want to grommet-ize everything you own because it’s so fun and easy to use! 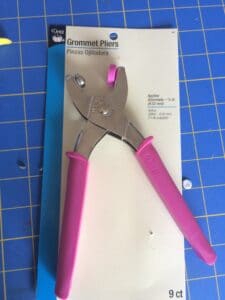
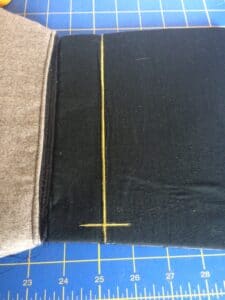
So, at this point your flap should be stitched to your bag and there should be a seam that I refer to as the “hinge seam”. In the photo I have drawn a yellow chalk line to represent the seam so you can really see it.
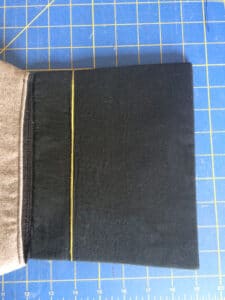
We’ll start at one side edge, right at the hinge seam and we’ll measure up 3/4″and mark a horizontal line that straddles the hinge seam.
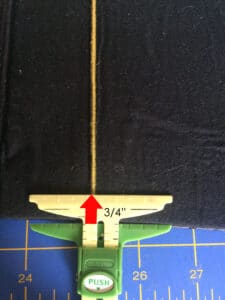
Draw a line straddling the hinge seam that is 3/4″ from the side edge:
Then, measure 3/8″ on each side of the hinge seam and mark:
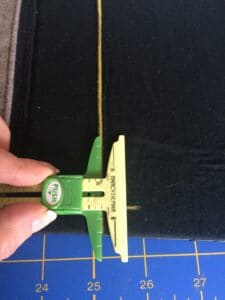
mark 3/8″ to the right of the hinge seam
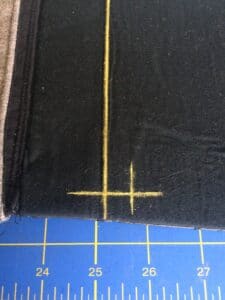
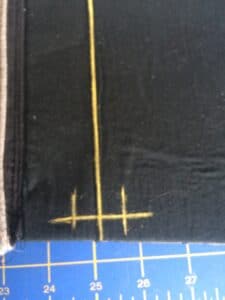
mark 3/8″ to the left of the hinge seam
Now, find the male portion of the grommet….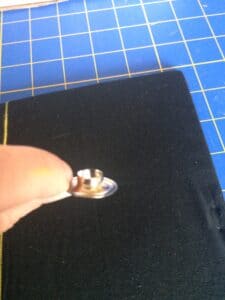
Place it within the intersecting lines on one side of the hinge seam so that the edges of the inner opening are aligned with the intersecting lines…like this:
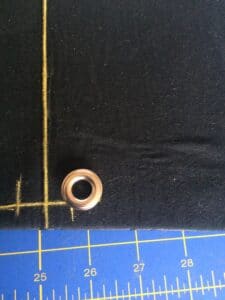
You have to be sure you are lining up the inner opening NOT the outer edge. You really have too peek under the grommet to see that the interior is on those lines…
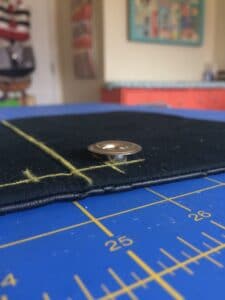
If you place the exterior edges on the lines instead of the interior edges, it looks more like this; which is wrong. Your gate rings would not open fully if you installed your grommets this way.
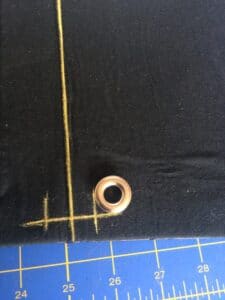
incorrect placement – here the outer edges are aligned within the corner NOT the edges of the inner opening
Once you get your grommet where you want it, you will trace the inner circle onto the fabric. I have gone ahead and punched the hole with my tool but you would need to use scissors to cut it out. I suggest you first stitch around the tracing a little just to secure the fabric before you cut the hole out.
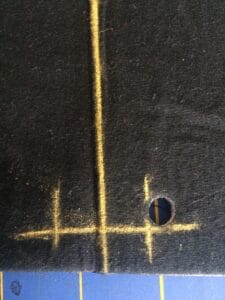
Inser the male portion of the grommet from the outside of the flap
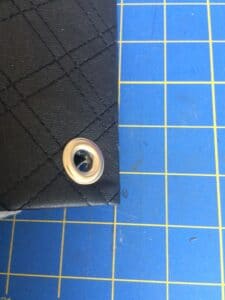
Find the washer….
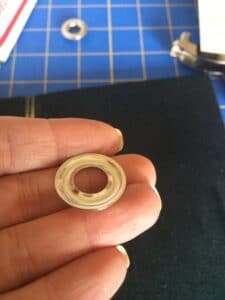
And place it over the male portion on the inside…
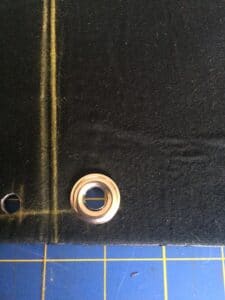
Use the setting tool (or the grommet pliers) to crimp the edges. As you can see, the pliers do an amazing job of this.
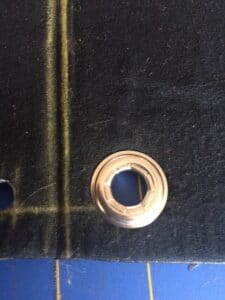
Here is what it looks like when you have installed both of the grommets on one side of the flap…
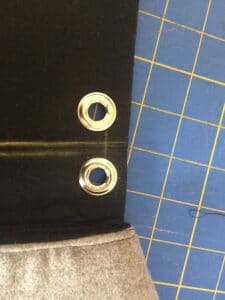
and here it is when finished…..
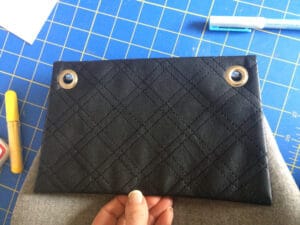
This is an example of a flap with the larger, 1/2″ grommet…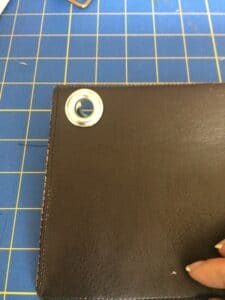
And that’s it, now you just need to install whatever hardware you are using for the closure.
I hope you are enjoying the process of making your Belinda Bag. Please don’t forget to share your photos, I just love seeing them!
Sarah