Hi,
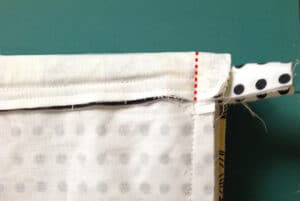
In this tutorial we are going to recess the zipper, which means you are almost done! We will cover steps 38-40. If you need a closer look at something, just click the photos.
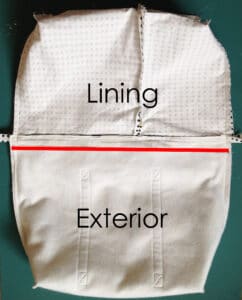
At this point, you should have a bag that looks like this. It should still be wrong side out. I have highlighted in red the 1 1/4″ line that you drew on each exterior panel way back in step #2. 
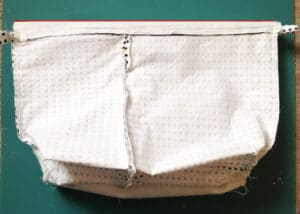
All we need to do is fold it, basically in half, along that 1 1/4″ line.

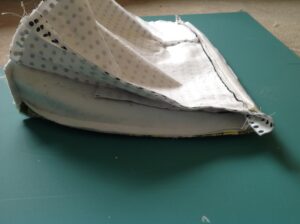
Here it is from the side…


Well, I hope you are enjoying the process of making the Motherload Tote and that you will send me photos or post them on my Facebook page! I get such a kick out of seeing what you come up with. If you have any questions, you know where to find me…sarah
Leave a Reply
You must be logged in to post a comment.