For handles made as instructed in the pattern:
First, let me apologize for these photos – I had issues with photographing this part of the tutorial but I think you can get the idea.
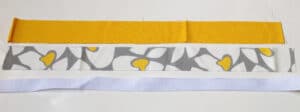
Grab one handle from each of your two fabrics and your webbing (you can also use interfacing as a substitute for the webbing – I just like webbing because it is so strong, doesn’t crease and has a nice body to it).
Align all the edges with right sides facing and sew one long edge. Sew with a 1/4″ seam allowance. Open the seam allowance and press.
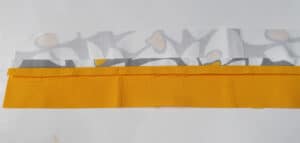
Bring 1/2″ of each short end to the wrong and sew with a 1/4″ seam allowance.
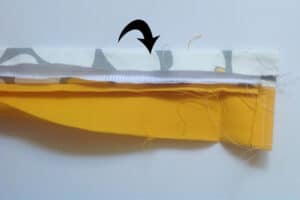
Now insert your webbing on one side and tuck under the seam allowance.
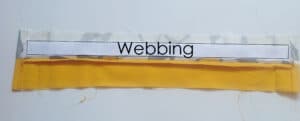
Fold the long edge down over the webbing and press.
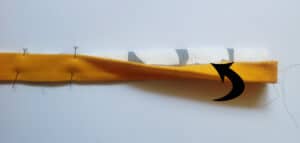
Fold the other long edge to the wrong side to align with the fold of the other long edge.
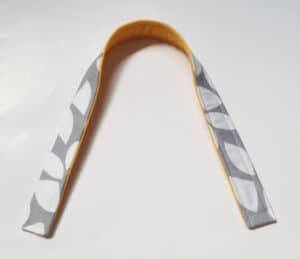
Topstitch along both long sides using 1/8-1/4″ seam allowance
And that it’s it!
That’s it for today. Please post your questions and comments! The next post is Thursday, July 17th. You can find it here.
See you then!
Sarah
Leave a Reply
You must be logged in to post a comment.