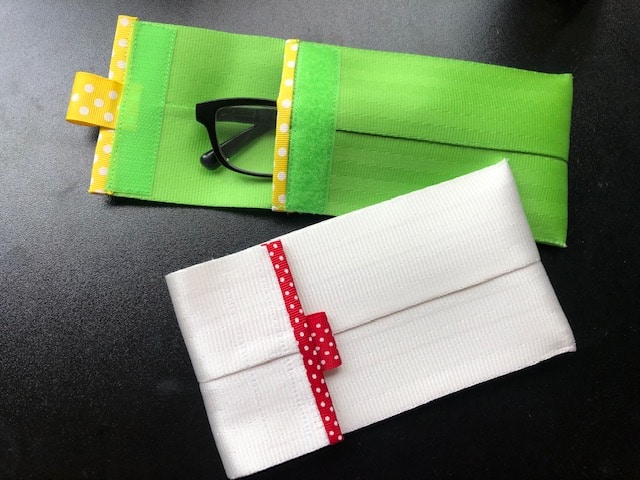
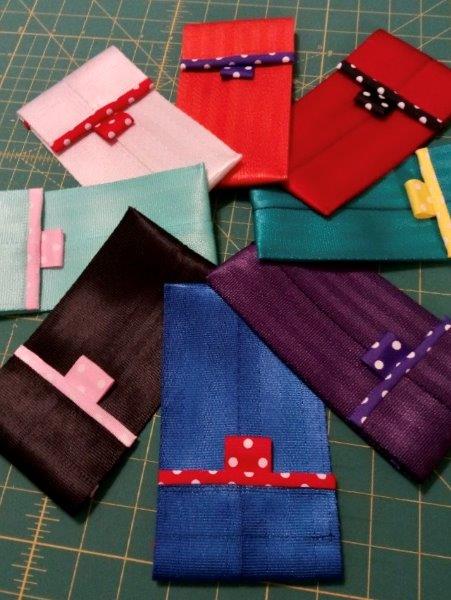
Hello and welcome! In this tutorial, you will learn how to make a case for your glasses (or anything else you want) using seat belts (don’t worry, I’ll tell you where to get them!). If you’ve been sewing seat belt projects, it’s likely you have some scraps just waiting to become a project! If you haven’t sewn with seat belts before, then this is the perfect project to start with. Since it’s made from seat belts, it is practically indestructible and easy to clean. And don’t worry, you do not need an industrial machine. Any home sewing machine will do.
I think these seat belt glass cases would make a nice little gift or, if you make items for sale at craft fairs and the like, they would probably be a really good seller. Whatever your plans are these only take a little bit of time, a small amount of seat belting, and someone ready to have some fun sewing! What do you think? Are you in? Here we go…
Supplies to make a Seat Belt glasses Case
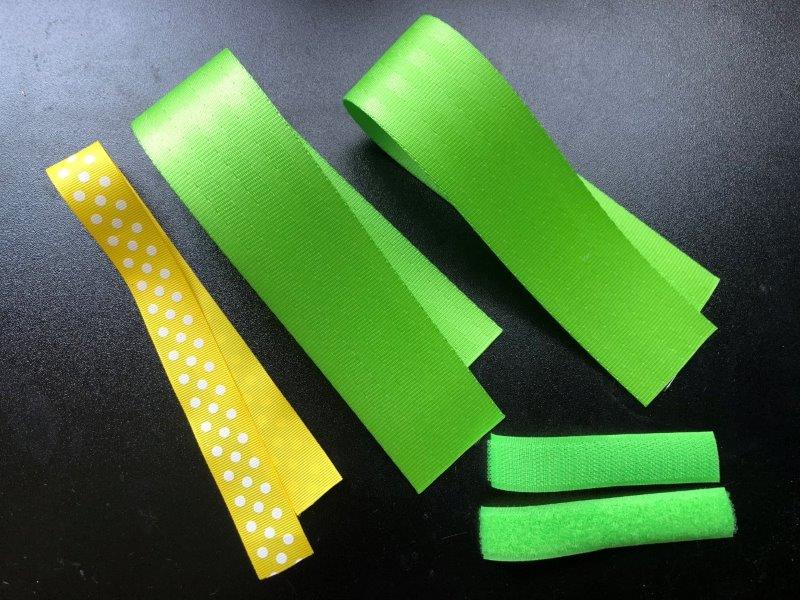
- 1 yard of seat belt webbing (or 2 – 15″ pieces). You can find seat belt by-the-yard here or 1/2 yard pieces here. In this tutorial, I am using seat belt in a color called Grass. The color of the white one pictured is called Stark White.
- 15″ of ribbon: 7/8″-1″ wide. I think this polka dot ribbon is a screaming deal if you don’t already have some in your stash
- 7 1/2″ of Velcro: sew on, any width. I used 1″. You can find it in a bunch of Velcro in fun colors here.
- Removable marker or chalk wheel
*I like the Pilot Frixon erasable gel pensfor this (there is a picture of one below). The ink can be removed using your iron.
- Coordinating thread
- Lighter or candle
*The links to the pen, ribbon and velcro are affiliate links which means I get a few cents at no added cost to you if you buy them. If you don’t want that, you can just type the item description into your browser to find them. Either way, get you some some of those pens- they are worth it!
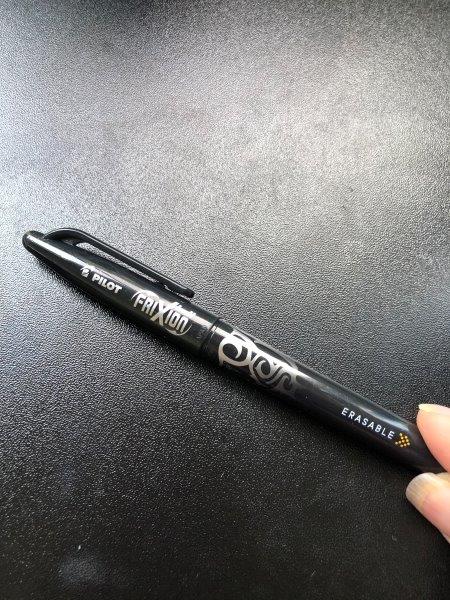
 because the ink disappears when you heat it with an iron (don’t worry, you can carefully iron seat belts without any problem!).
Sew the Seat Belt pieces together
The first step to making your seat belt glass case is to cut the seat belt pieces to 15″ long. Be sure to cut the ends as close to 90 degrees to the length as you can and to make sure both pieces are identical in length.
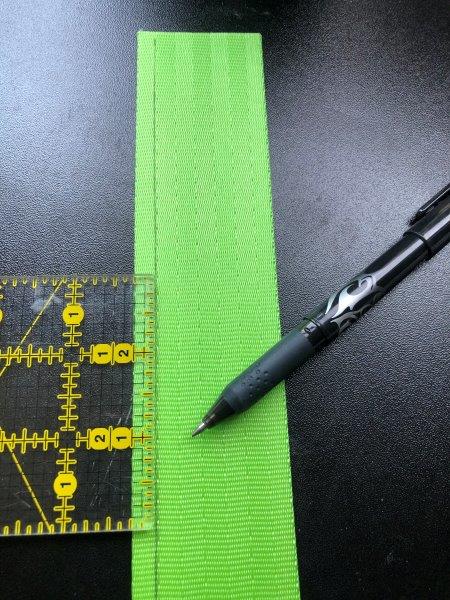
On one of the strips, measure 1/4″ from one long edge and draw a line the length of the webbing. Be sure to use a removable pen or chalk wheel for this.
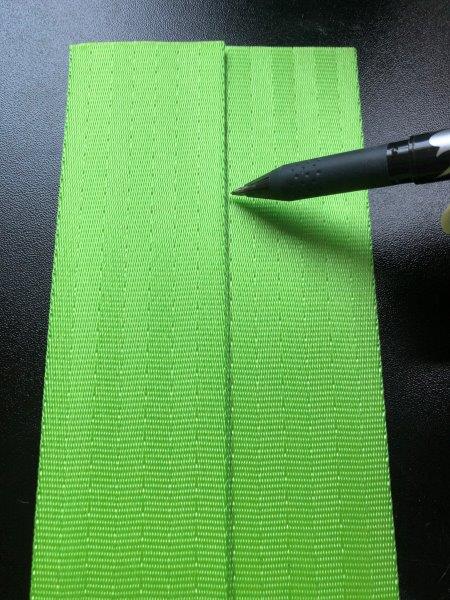
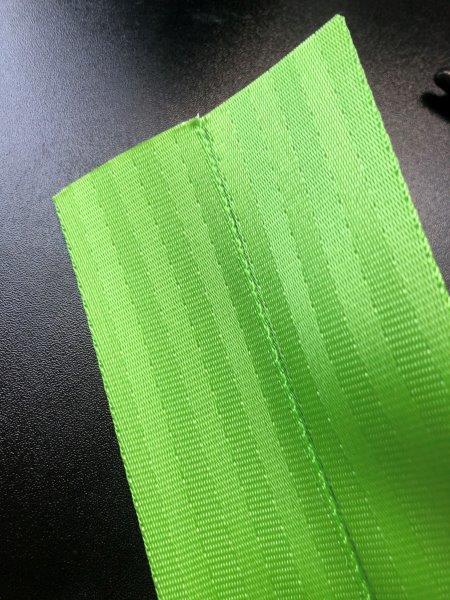
Grab the other piece of seat belt. Lay it on top of the piece that has the marking so that it overlaps to the 1/4″ line. Make sure both ends are lined up. Sew down the overlapping area. The pen in the photo below shows where the 1/4″ line
Finish the Ends
Now, in the next steps you will only see one end being finished, but you will do BOTH ends the exact same way. It is a good idea to do both ends at the same time.
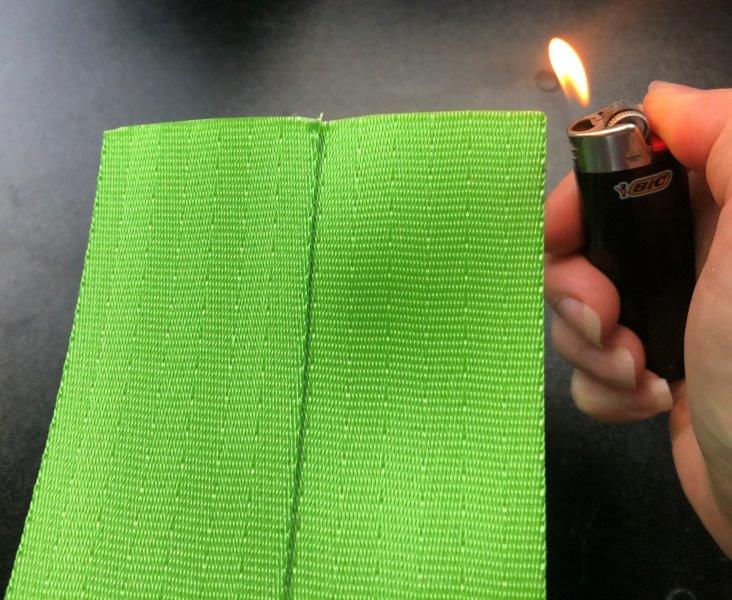
First, gently melt the ends. I do mean gently! You don’t need to make molten lava here, just be sure it’s lightly sealed especially at the corners. If you over-melt the ends won’t be even and smooth.
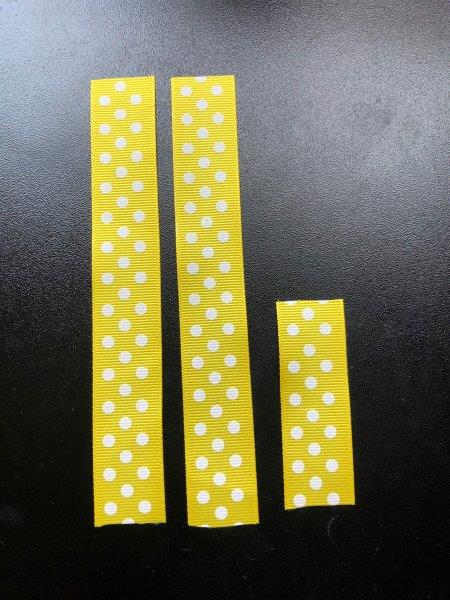
Now, find the ribbon. Cut it into 2 – 6″ pieces & 1 – 3″ piece.
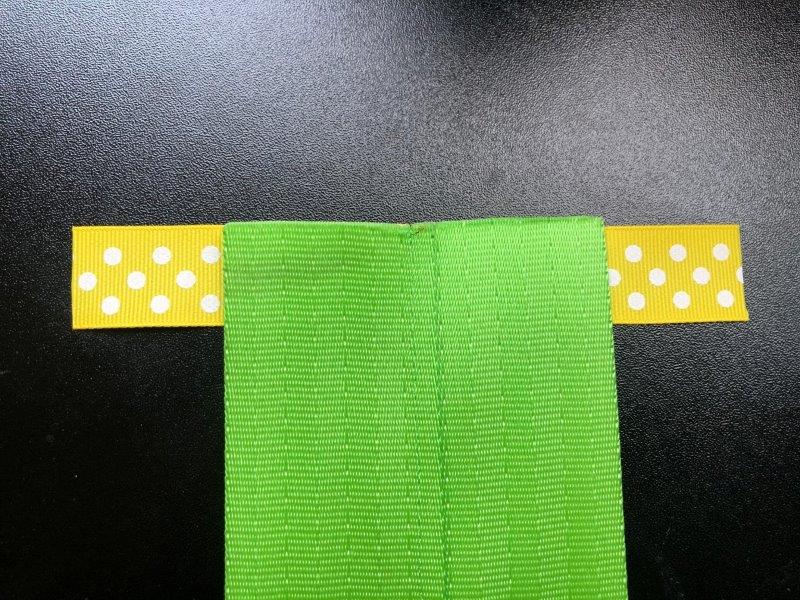
Take one of the 6″ piece. Lay it right side up on your work surface. Lay the end of the seat belt panel on top so that there is an equal amount of ribbon visible on each side. Make sure both top edges are aligned.
Wrap each end of the ribbon snugly around seat belt and pin in place.
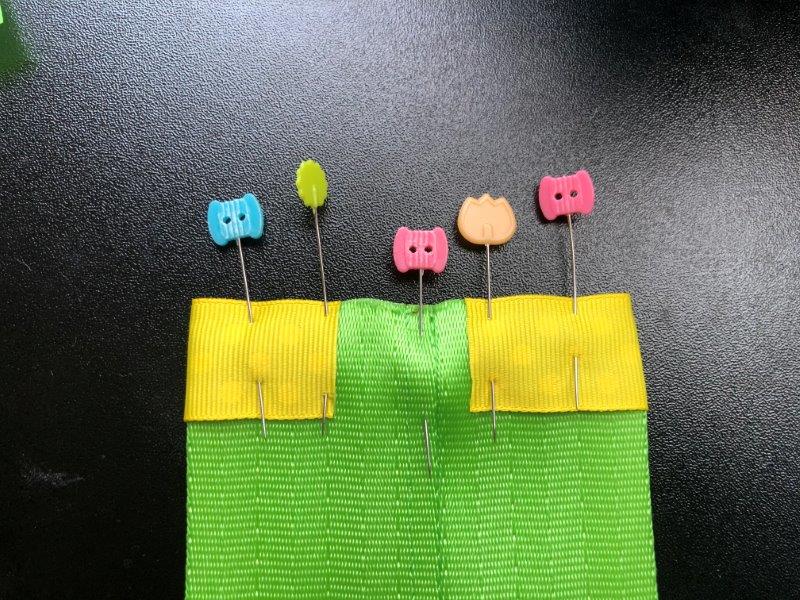
Stitch across the end using a 1/4″ seam allowance (if you are using 7/8″ wide vs. 1″ wide ribbon, sew using a scant 1/4″ seam allowance).
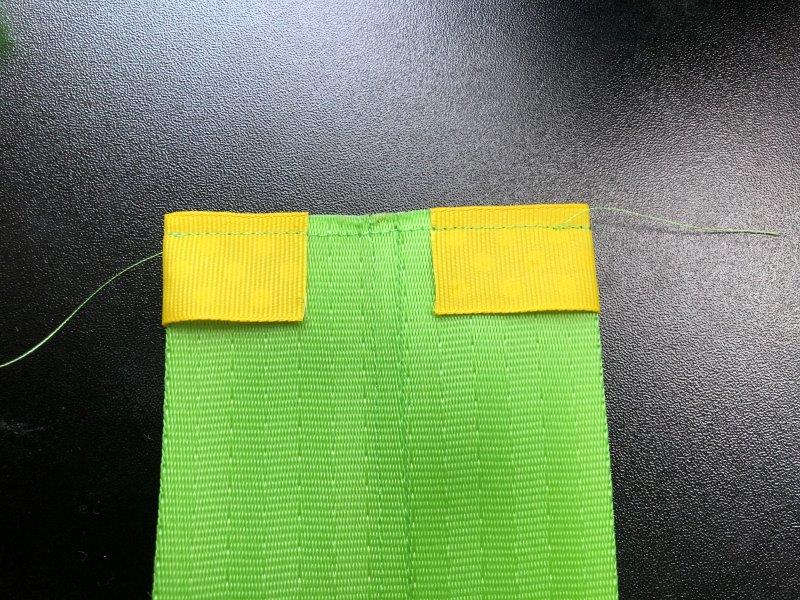
Now, pull the ribbon up over the end. Here’s what it looks like from the wrong side….
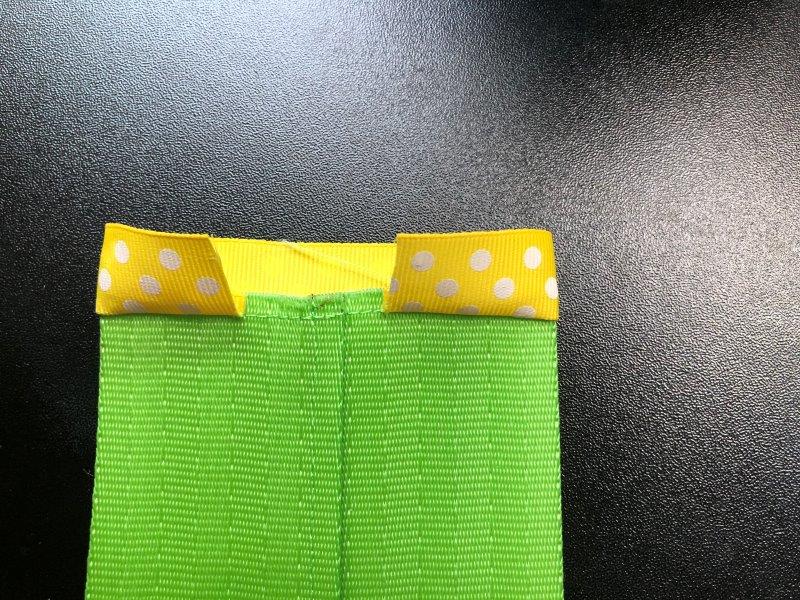
And the right side…
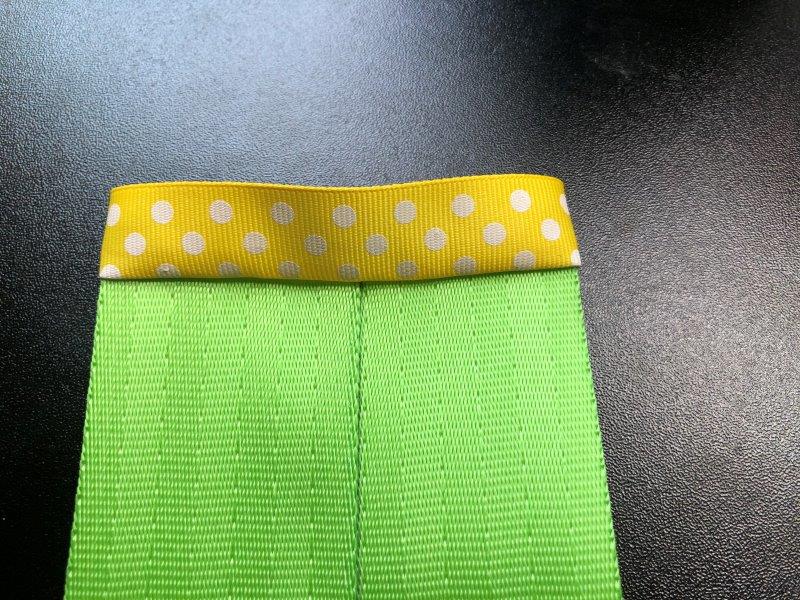
Now fold the ribbon around the end of the seat belt so that it’s nice and snug. You will need to keep the ends at the back tucked in nicely. Pin or clip in place. It will look like this from the right side….
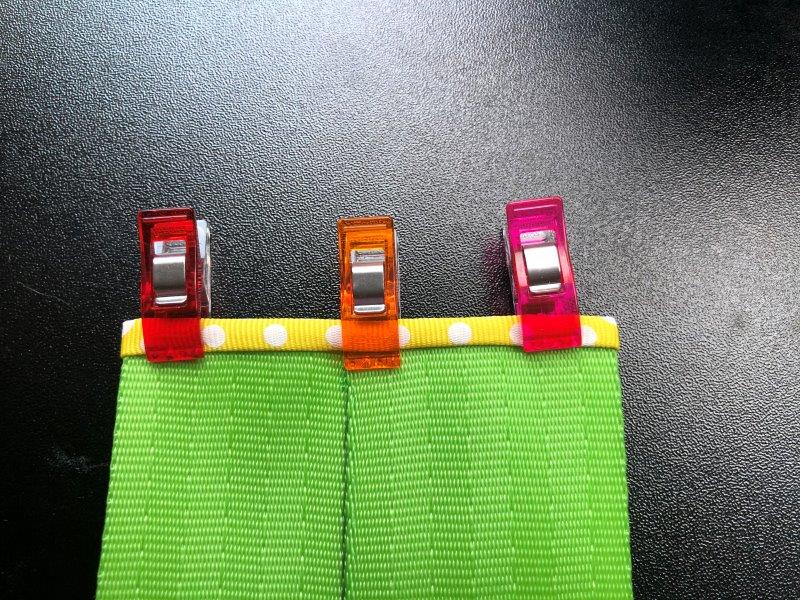
And this from the wrong side….
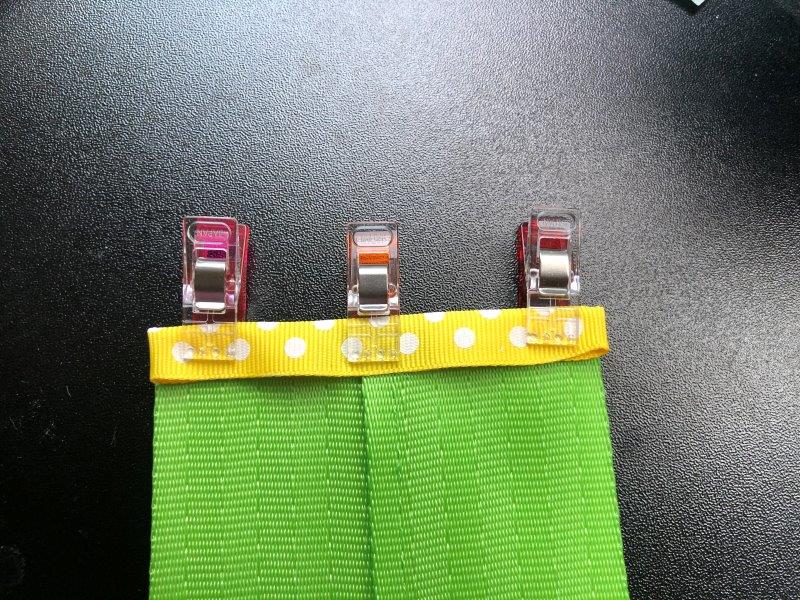
With the right side facing up, stitch in the ditch to sew down the loose edge on the wrong side.
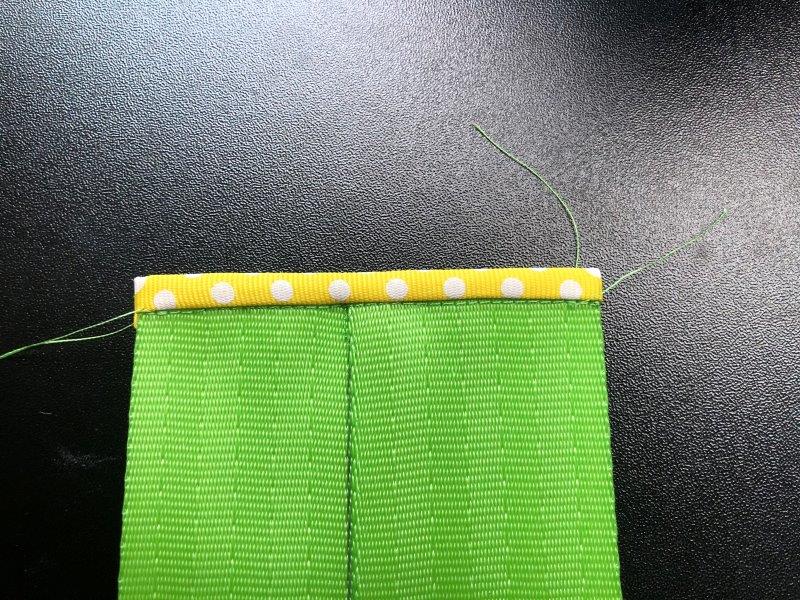
Remember, you need to be finishing both end the same way. So, at this point, both ends should be look like the above.
Apply the Grab Tab & VelcRo
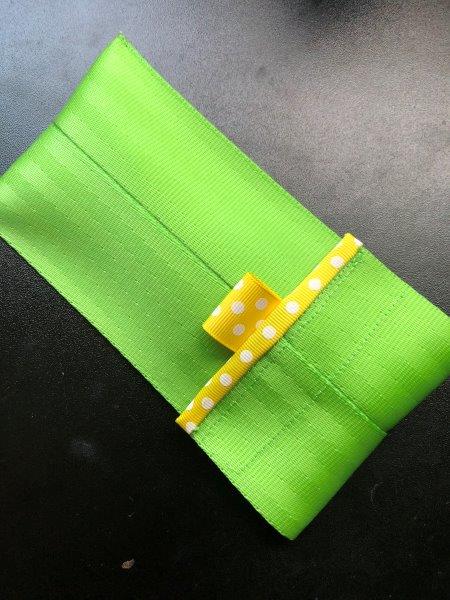
Look at both ends of your seat belt panel and figure out which end is prettier…it’s ok, there is always one that’s better! Find your 3″ piece of ribbon. This piece will be your grab tab that helps you easily open your case.
Fold the ribbon in half and place it on the wrong side of the pretty end. Center it on the panel and make sure the ends sit slightly below the horizontal ribbon. Pin it in place.
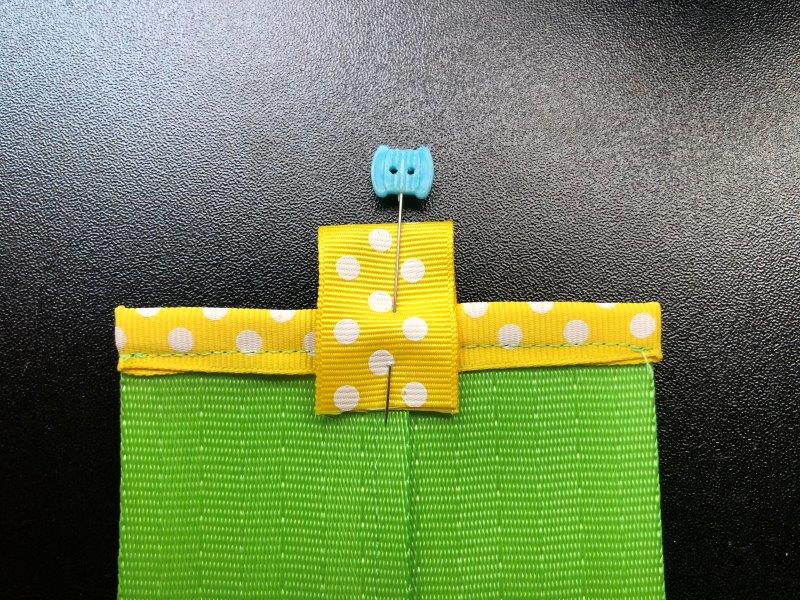
Now, find one half of the Velcro. If you need to, trim it so that it is slightly narrower than the seat belt panel (you will likely need to trim it. The width of seat belts vary alot even if it claims to be 2″ wide). Place the Velco on the seat belt panel so that it lays just underneath the seamline. Be sure it overlaps the ends of the grab tab. Stitch around the perimeter of the Velcro, securing it and the ends of the grab tab.
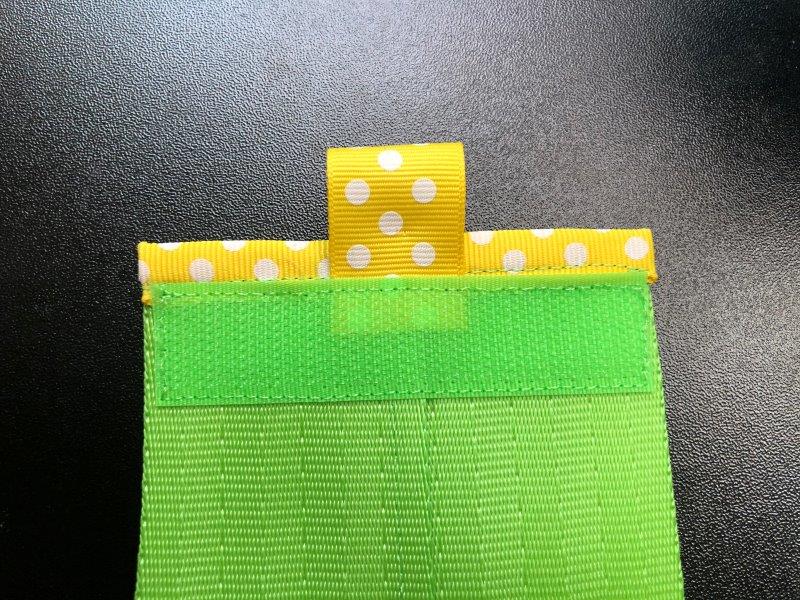
Find the other piece of Velcro and trim if is too wide. Place it on the RIGHT side of the panel on the end opposite the grab tab. Position it just underneath the ribbon. Stitch around the perimeter.
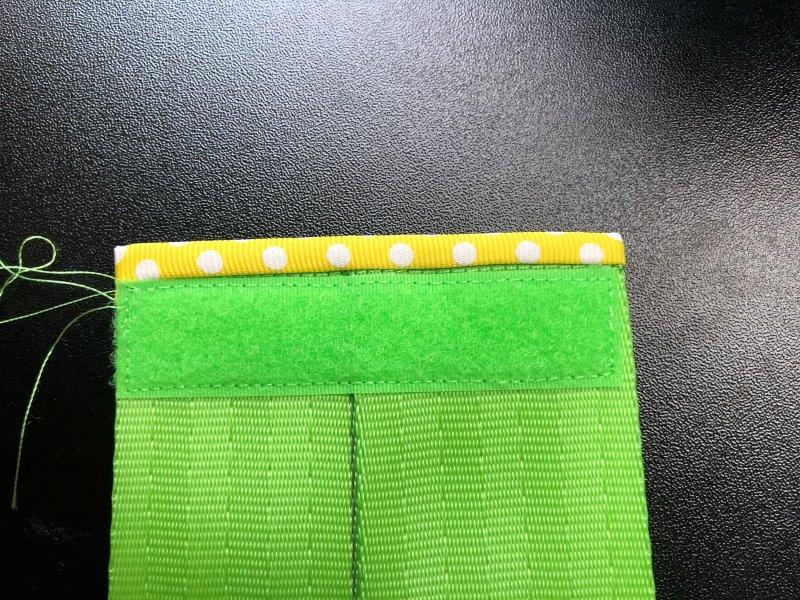
Finish your Seat belt glasses case
Fold 6″ of the end without the grab tab over. Pin or clip each side to hold in place.
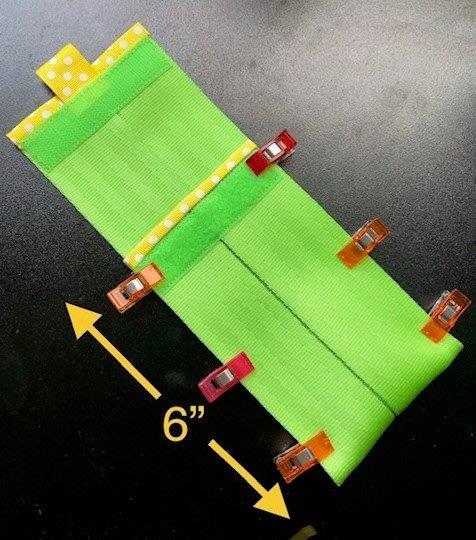
Edgestitch both side edges. Edgestitch means to stitch as close to the edge as possible while still catching both sides. Be sure to backstitch at the top edge.
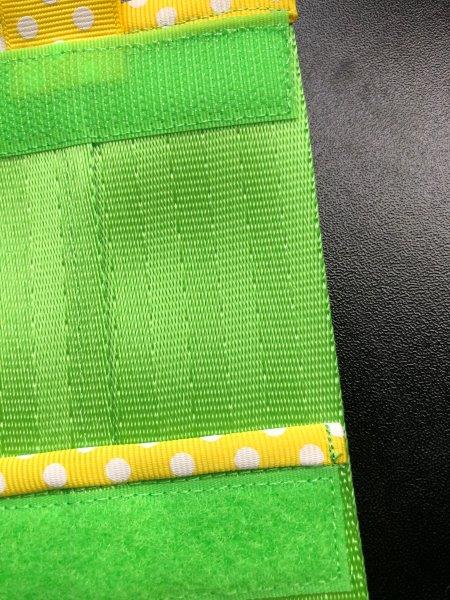
Fold the top portion over so the Velcro pieces meet one another and that’s it. Easy and fast, right? I hope you had fun making it! I hope you will share your creation with me, I love seeing them!
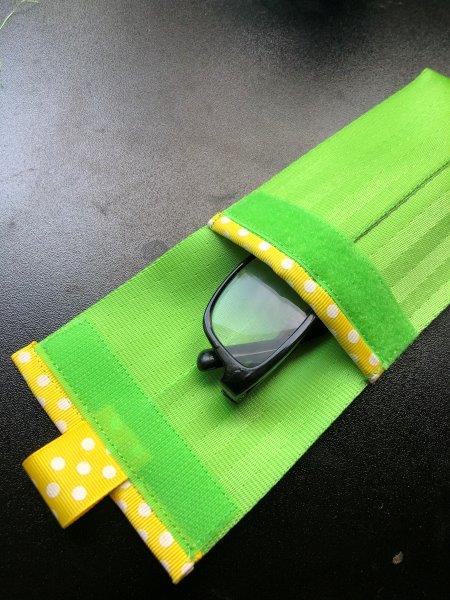
Until next time,
Sarah
Related Seat Belt Tutorials:
Must-Have Seat Belt Sewing Supplies
How to make a seat belt pouch
How to make roses out of seat belts
How to make seat belt tassels – bell cap style
How to make a fold over style tassel
How to make a sleek drop tassel
Leave a Reply
You must be logged in to post a comment.