Hello!
This tutorial will take you step-by-step through installing a zippered pocket into your Motherload Tote. We’ll cover steps 6 – 11 in the pattern
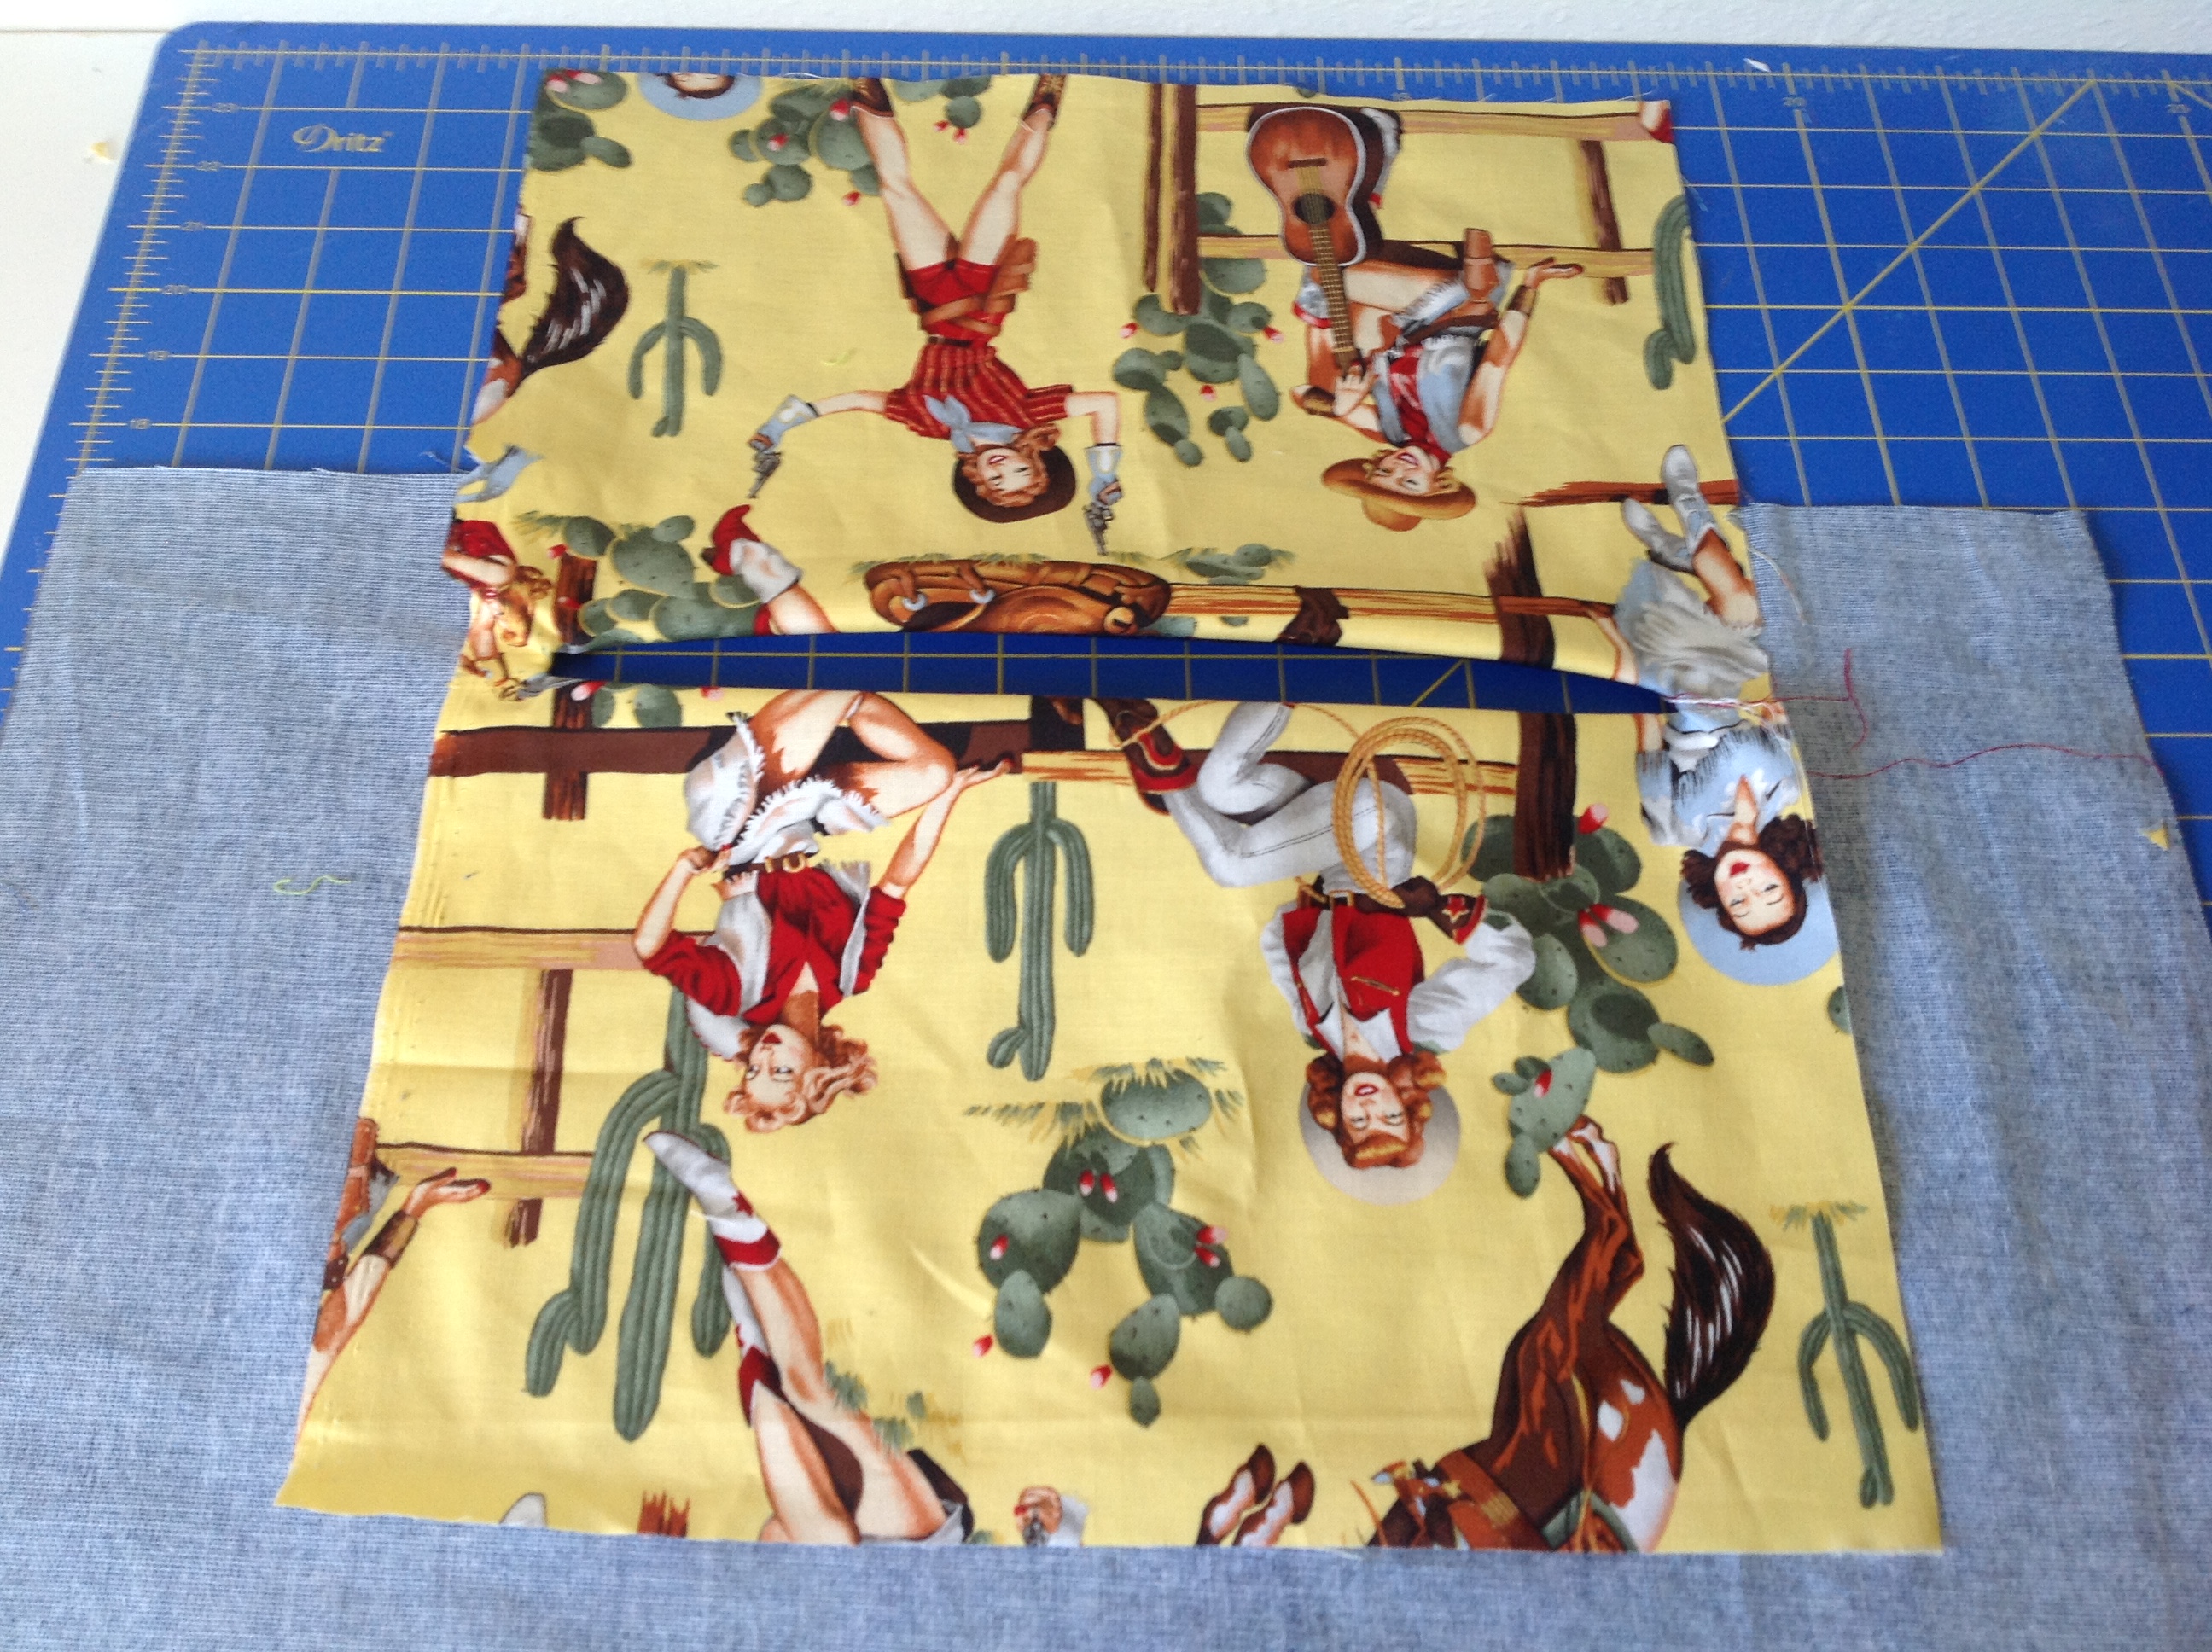
For the purposes of the tutorial, this will be my Exterior panel…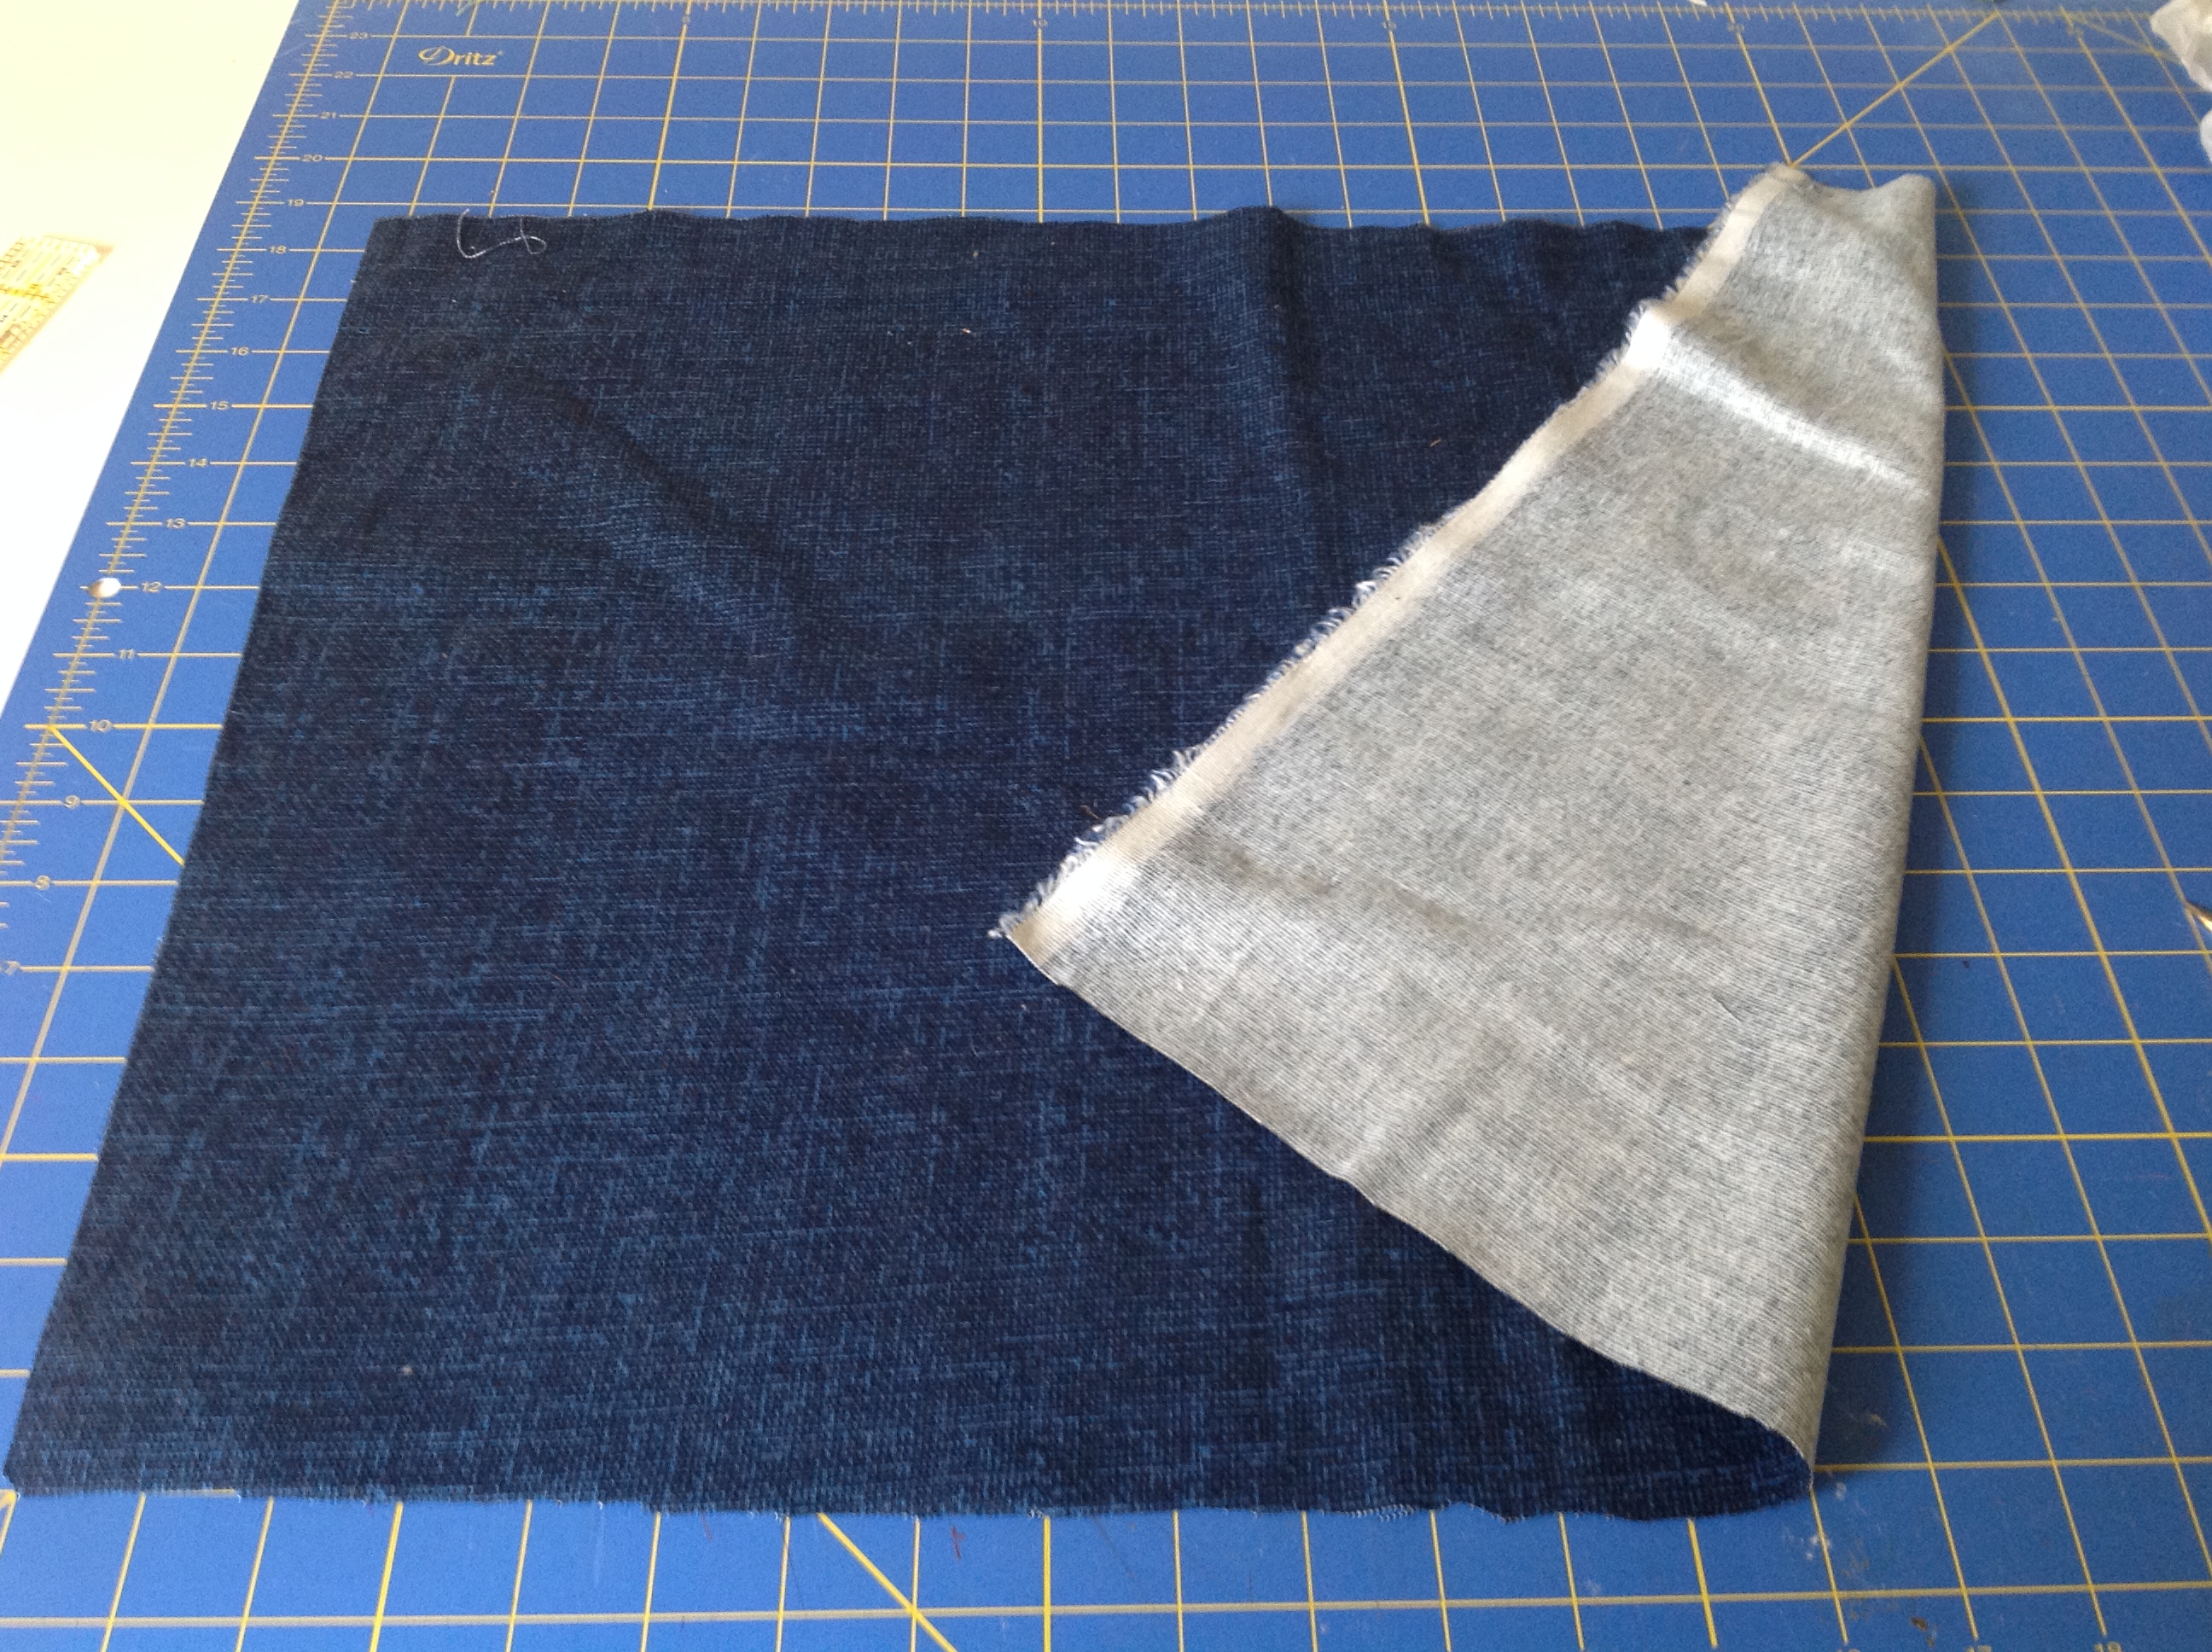
And this fun cowgirl fabric will be my Exterior Pocket. You should have these pieces interfaced and stabilized. I didn’t put interfacing on mine so that it is easier for you to see what’s going on in later steps. 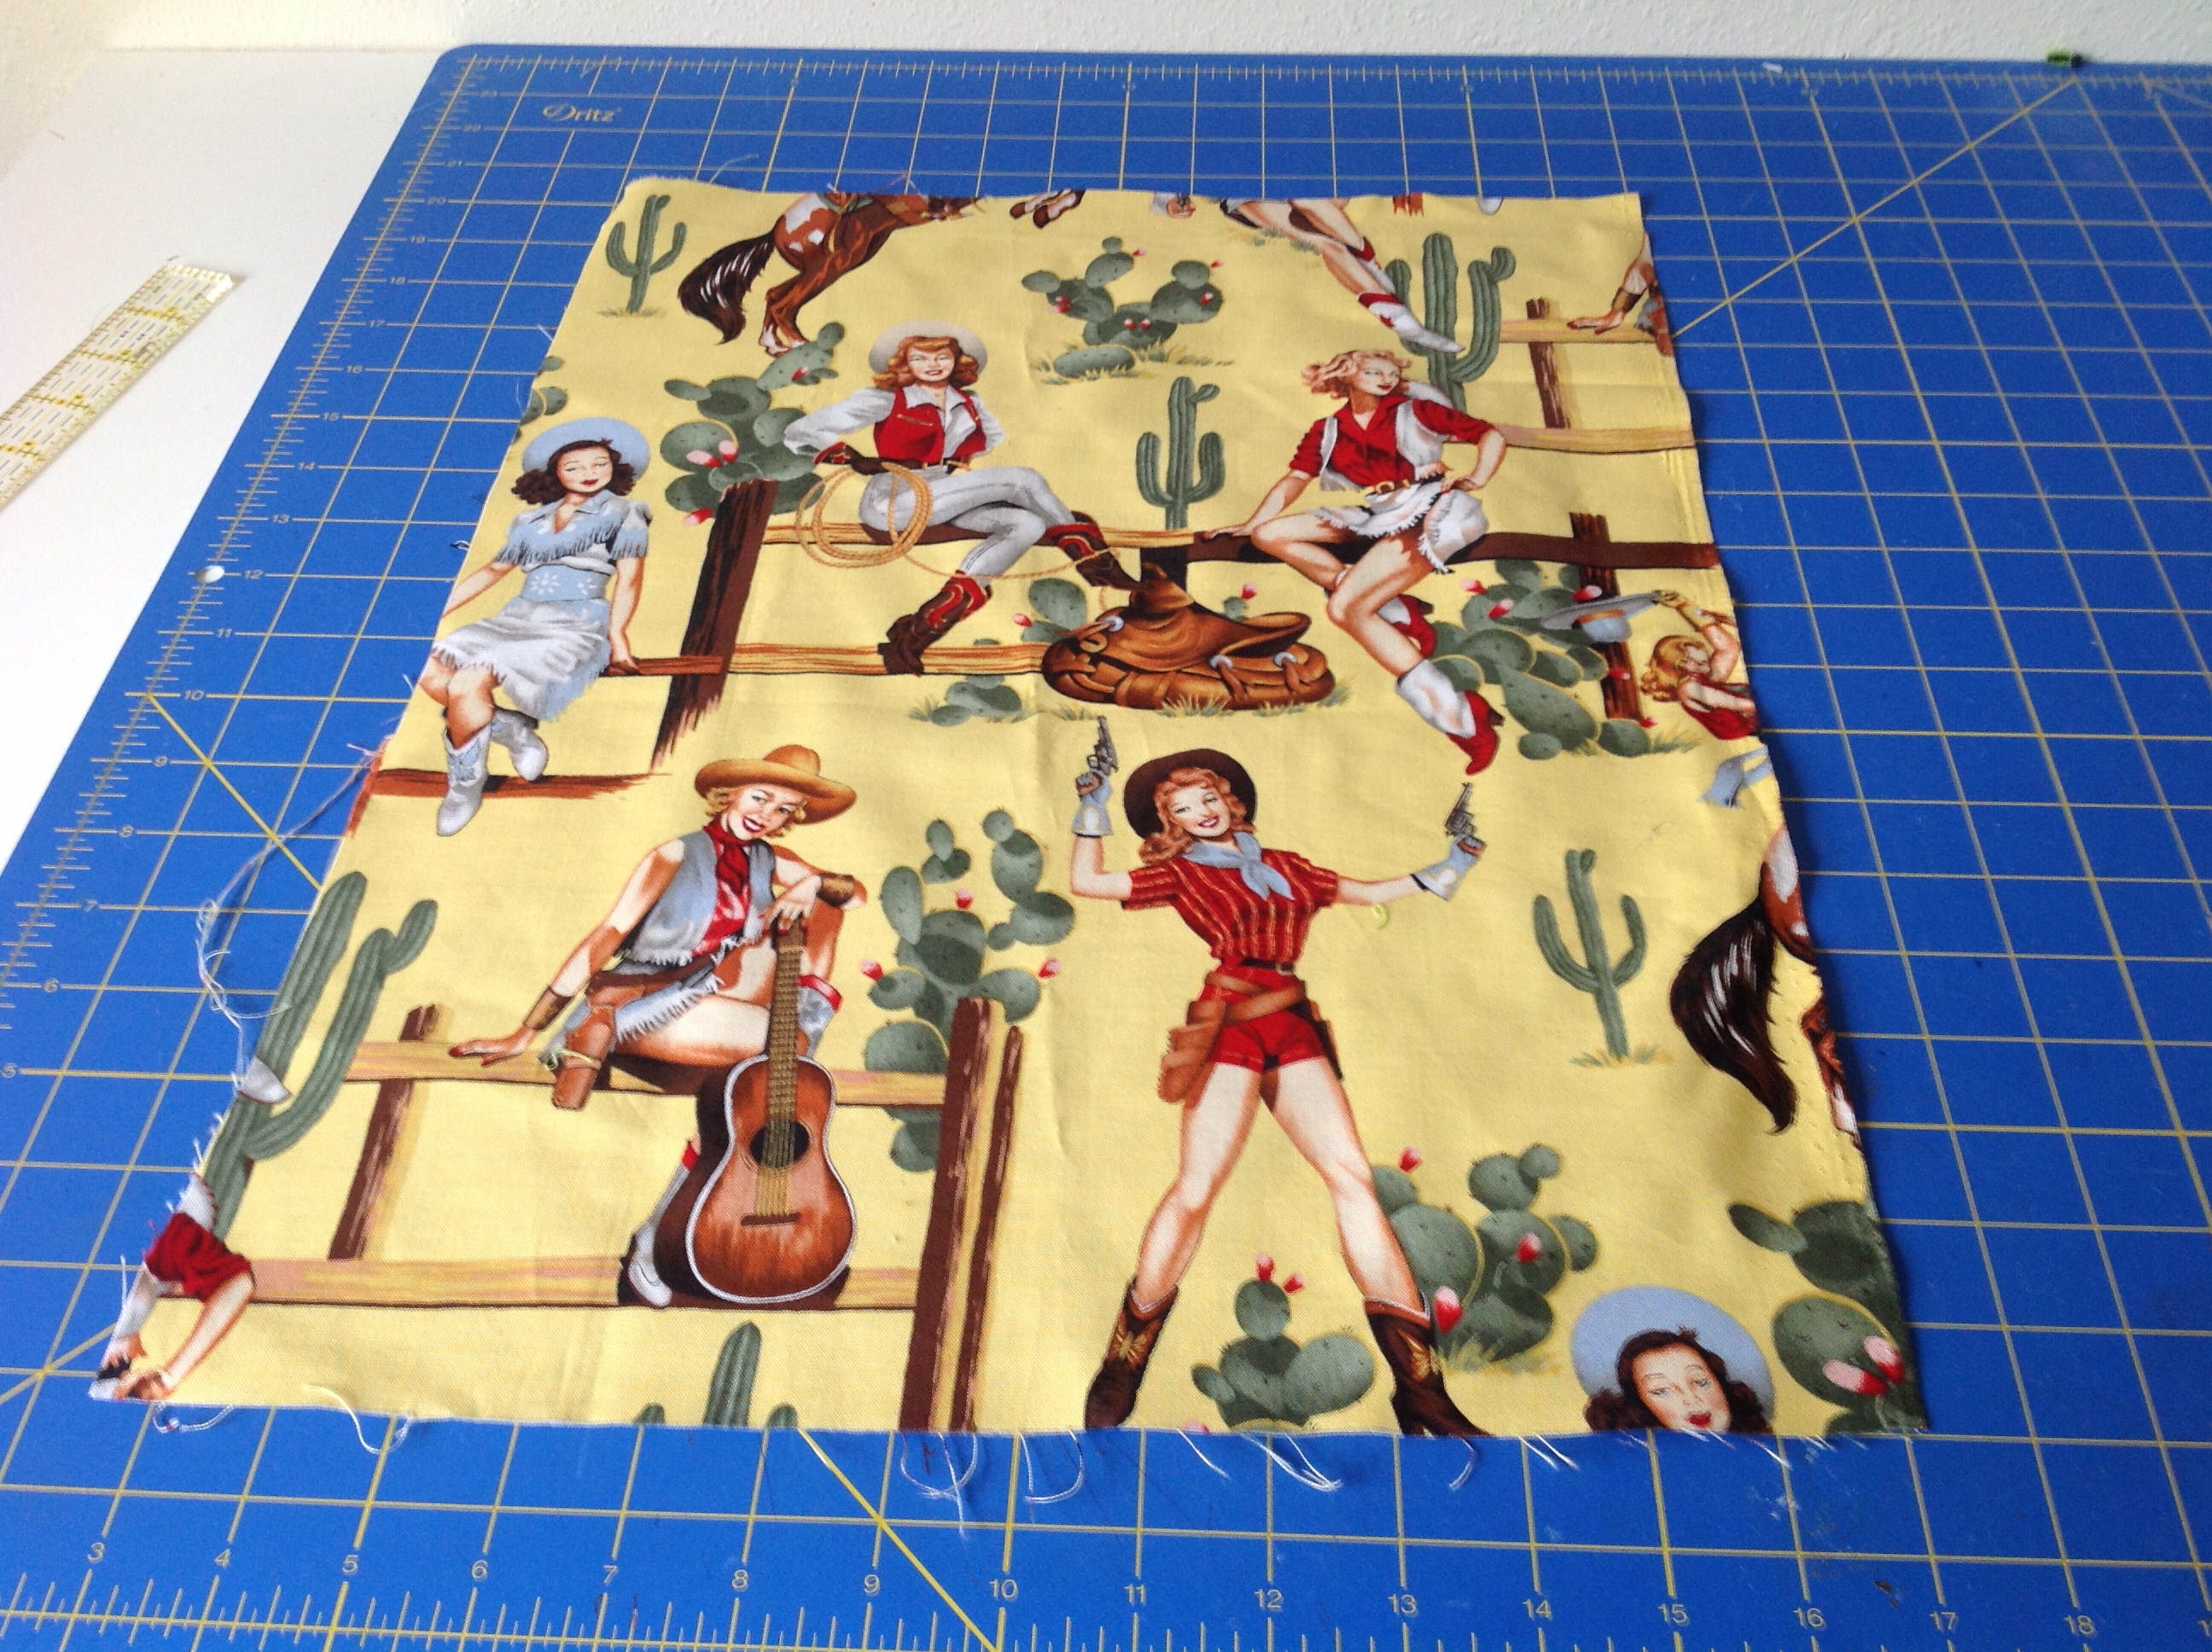
I chose this cowgirl print because it has a directional print (in other words, the design has a discernible direction). With fabric like this it’s easy to end up having the print up side down once the pocket is sewn in, so I thought I would show you how to keep these little ladies from standing on their heads!
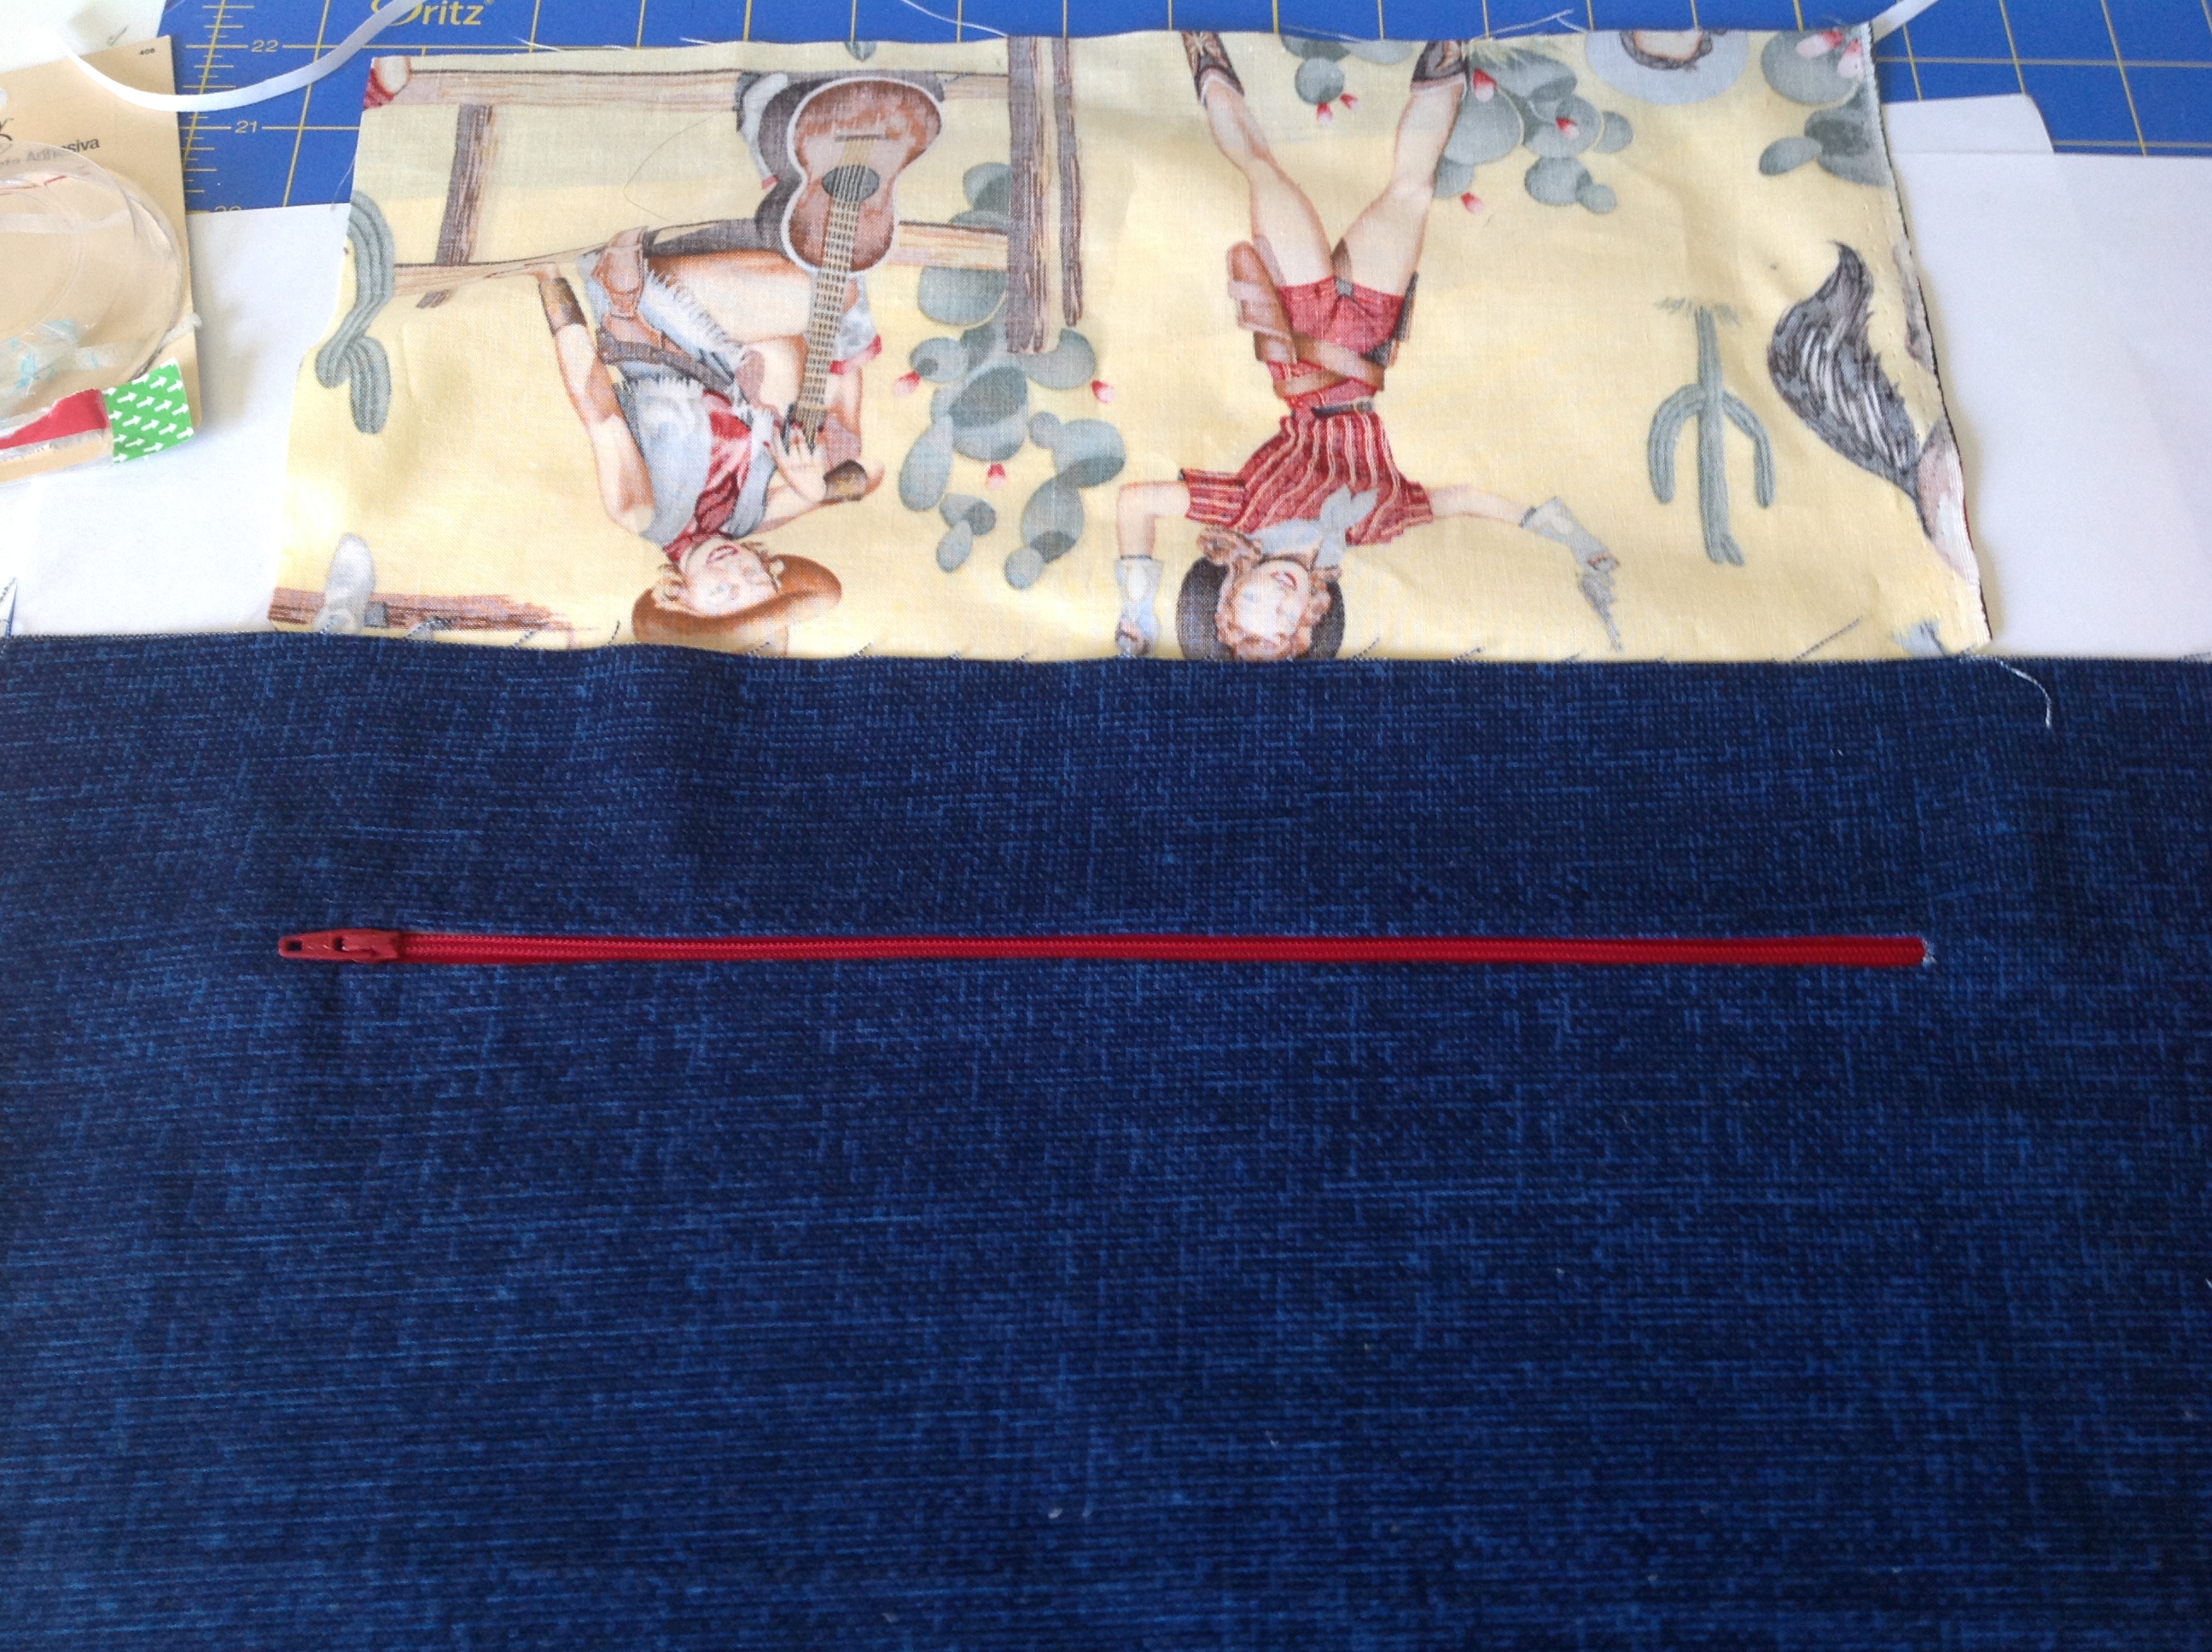
The first step is to mark a rectangle on the wrong side of the Exterior Pocket. This rectangle will eventually become a little window into which the zipper will be sewn. You may have noticed that there are two options for the height of the rectangle – 1/4″ and 3/8″. If you are going to use a regular all-purpose zipper (pictured on the extreme left below), then a 1/4″ high rectangle is fine. It may seem a little narrow, but many of my testers liked how it looked and it is tall enough. For the tutorial I will make the height of my rectangle slightly narrower than 1/4″ so you can see what that looks like.
Now, if you are going to use a heavier zipper (like the 3 zippers on the right) or if you are using foam stabilizer on your Exterior panel, you will want to make your rectangle 3/8″ high. 
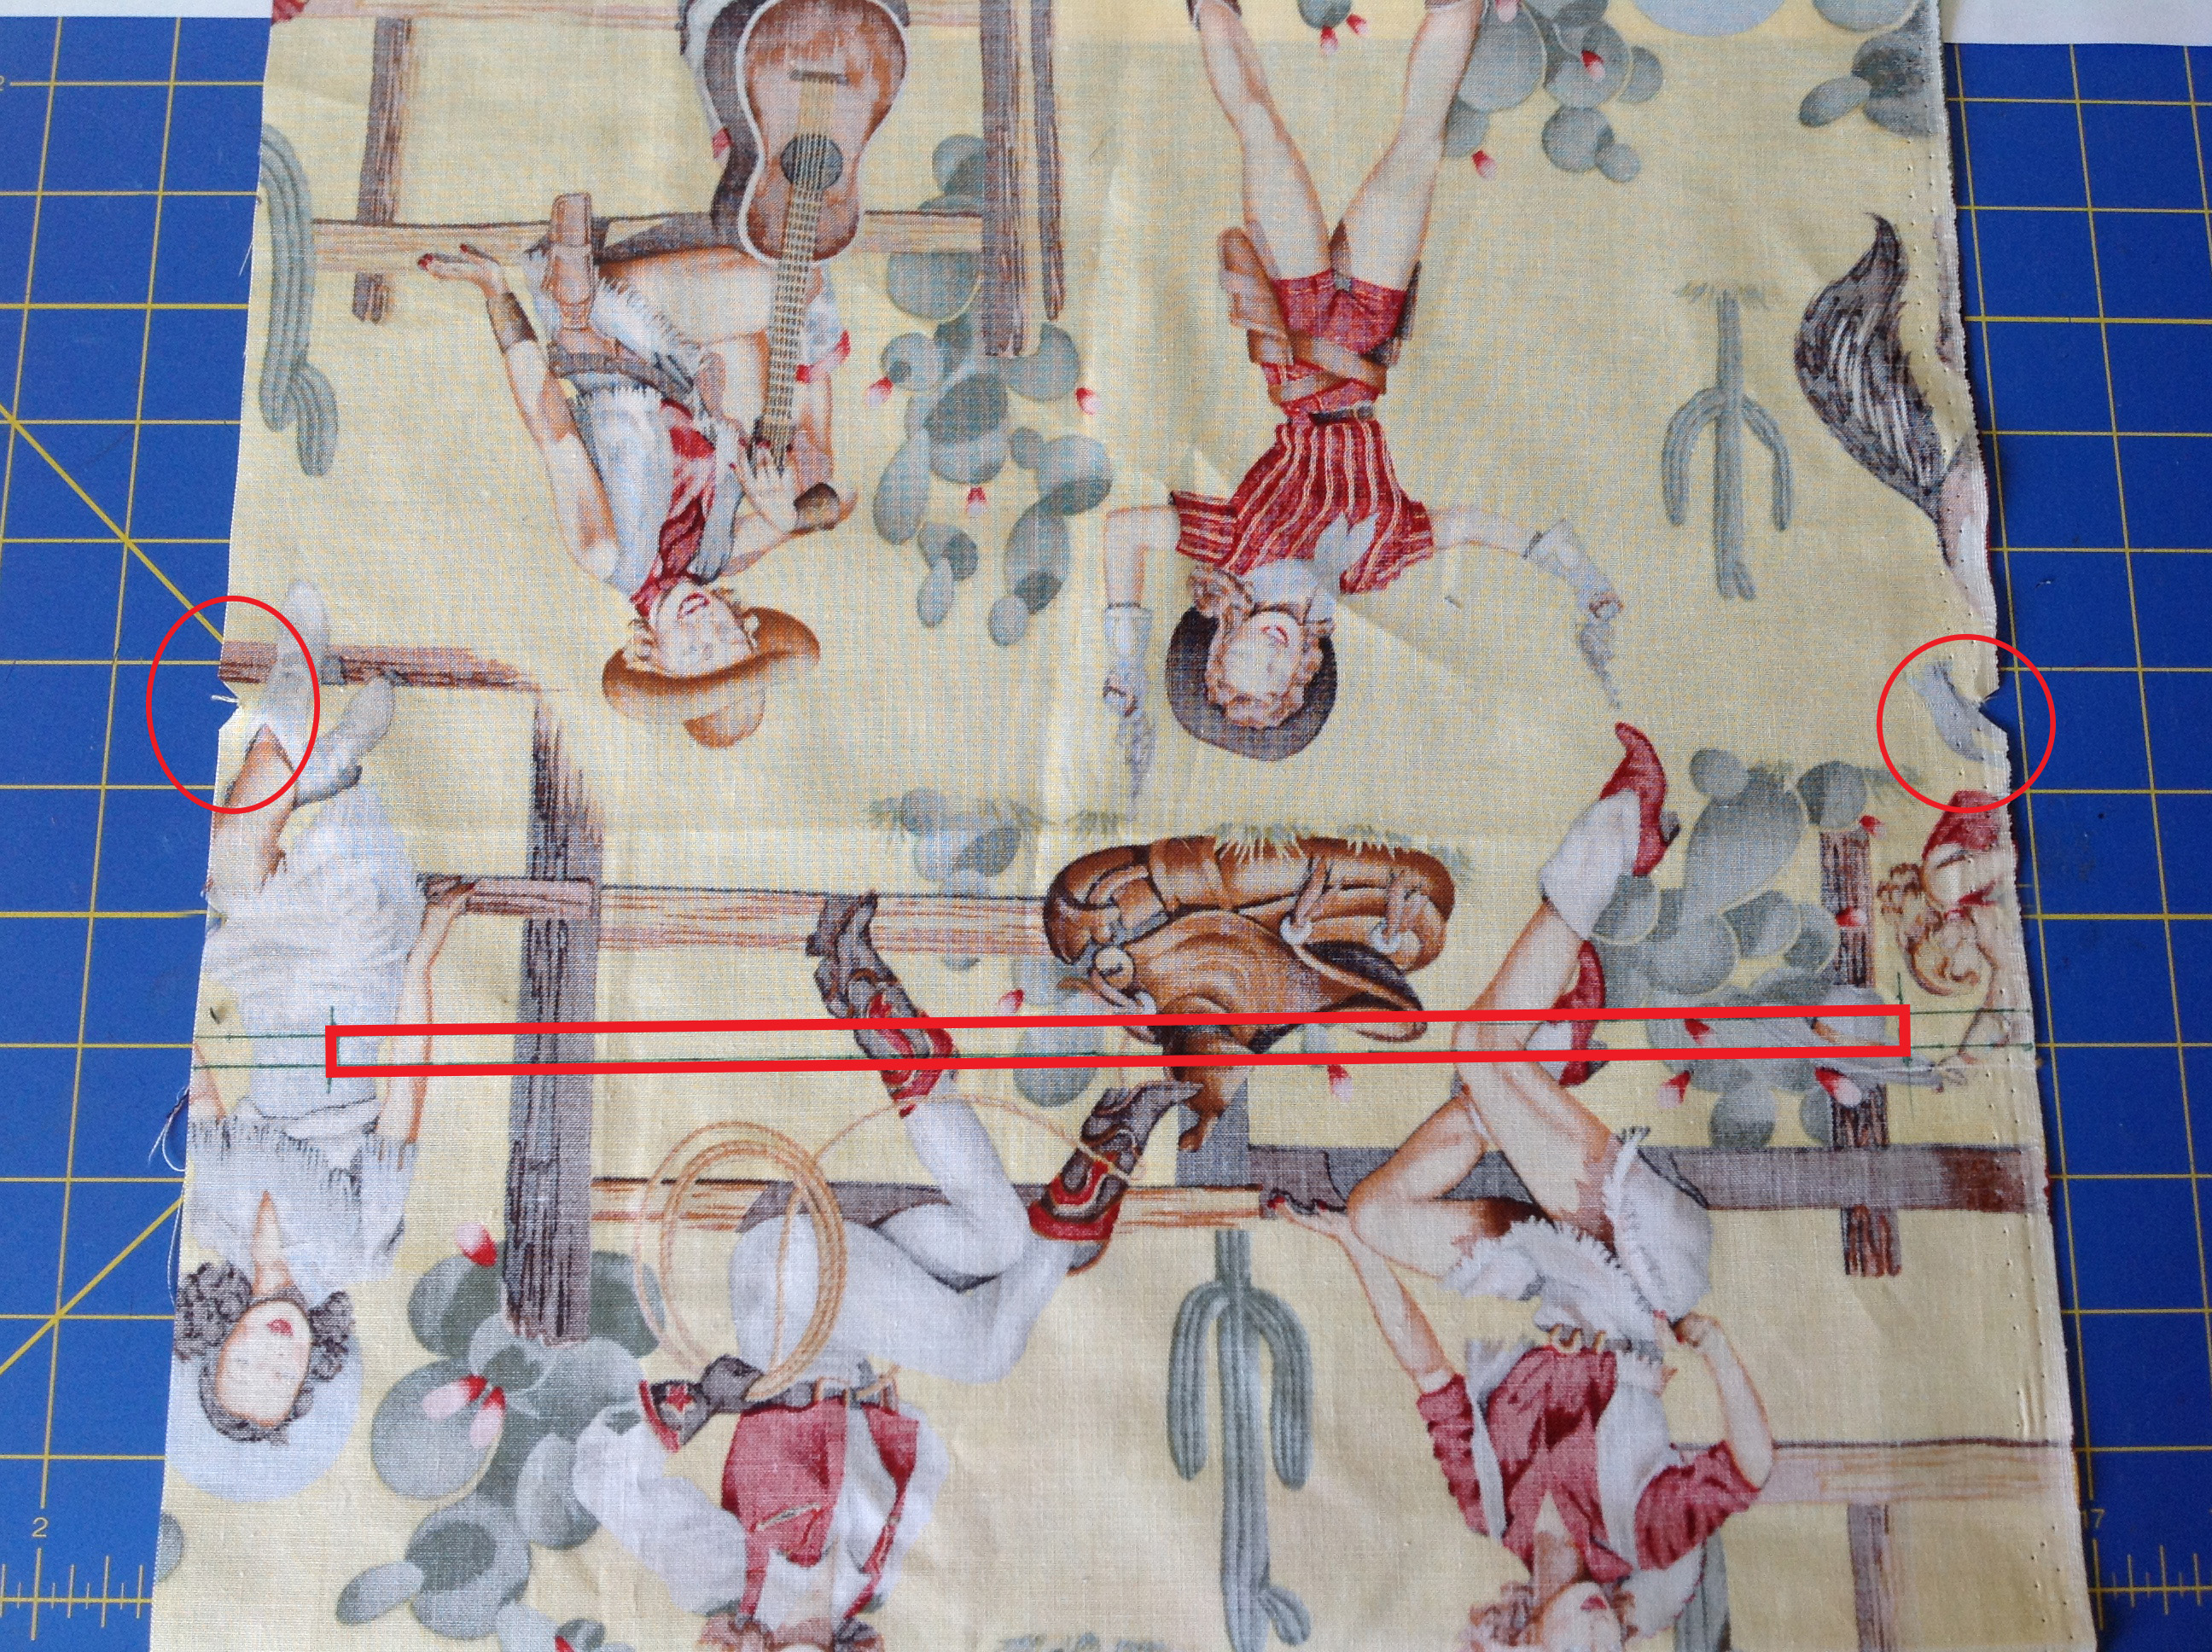
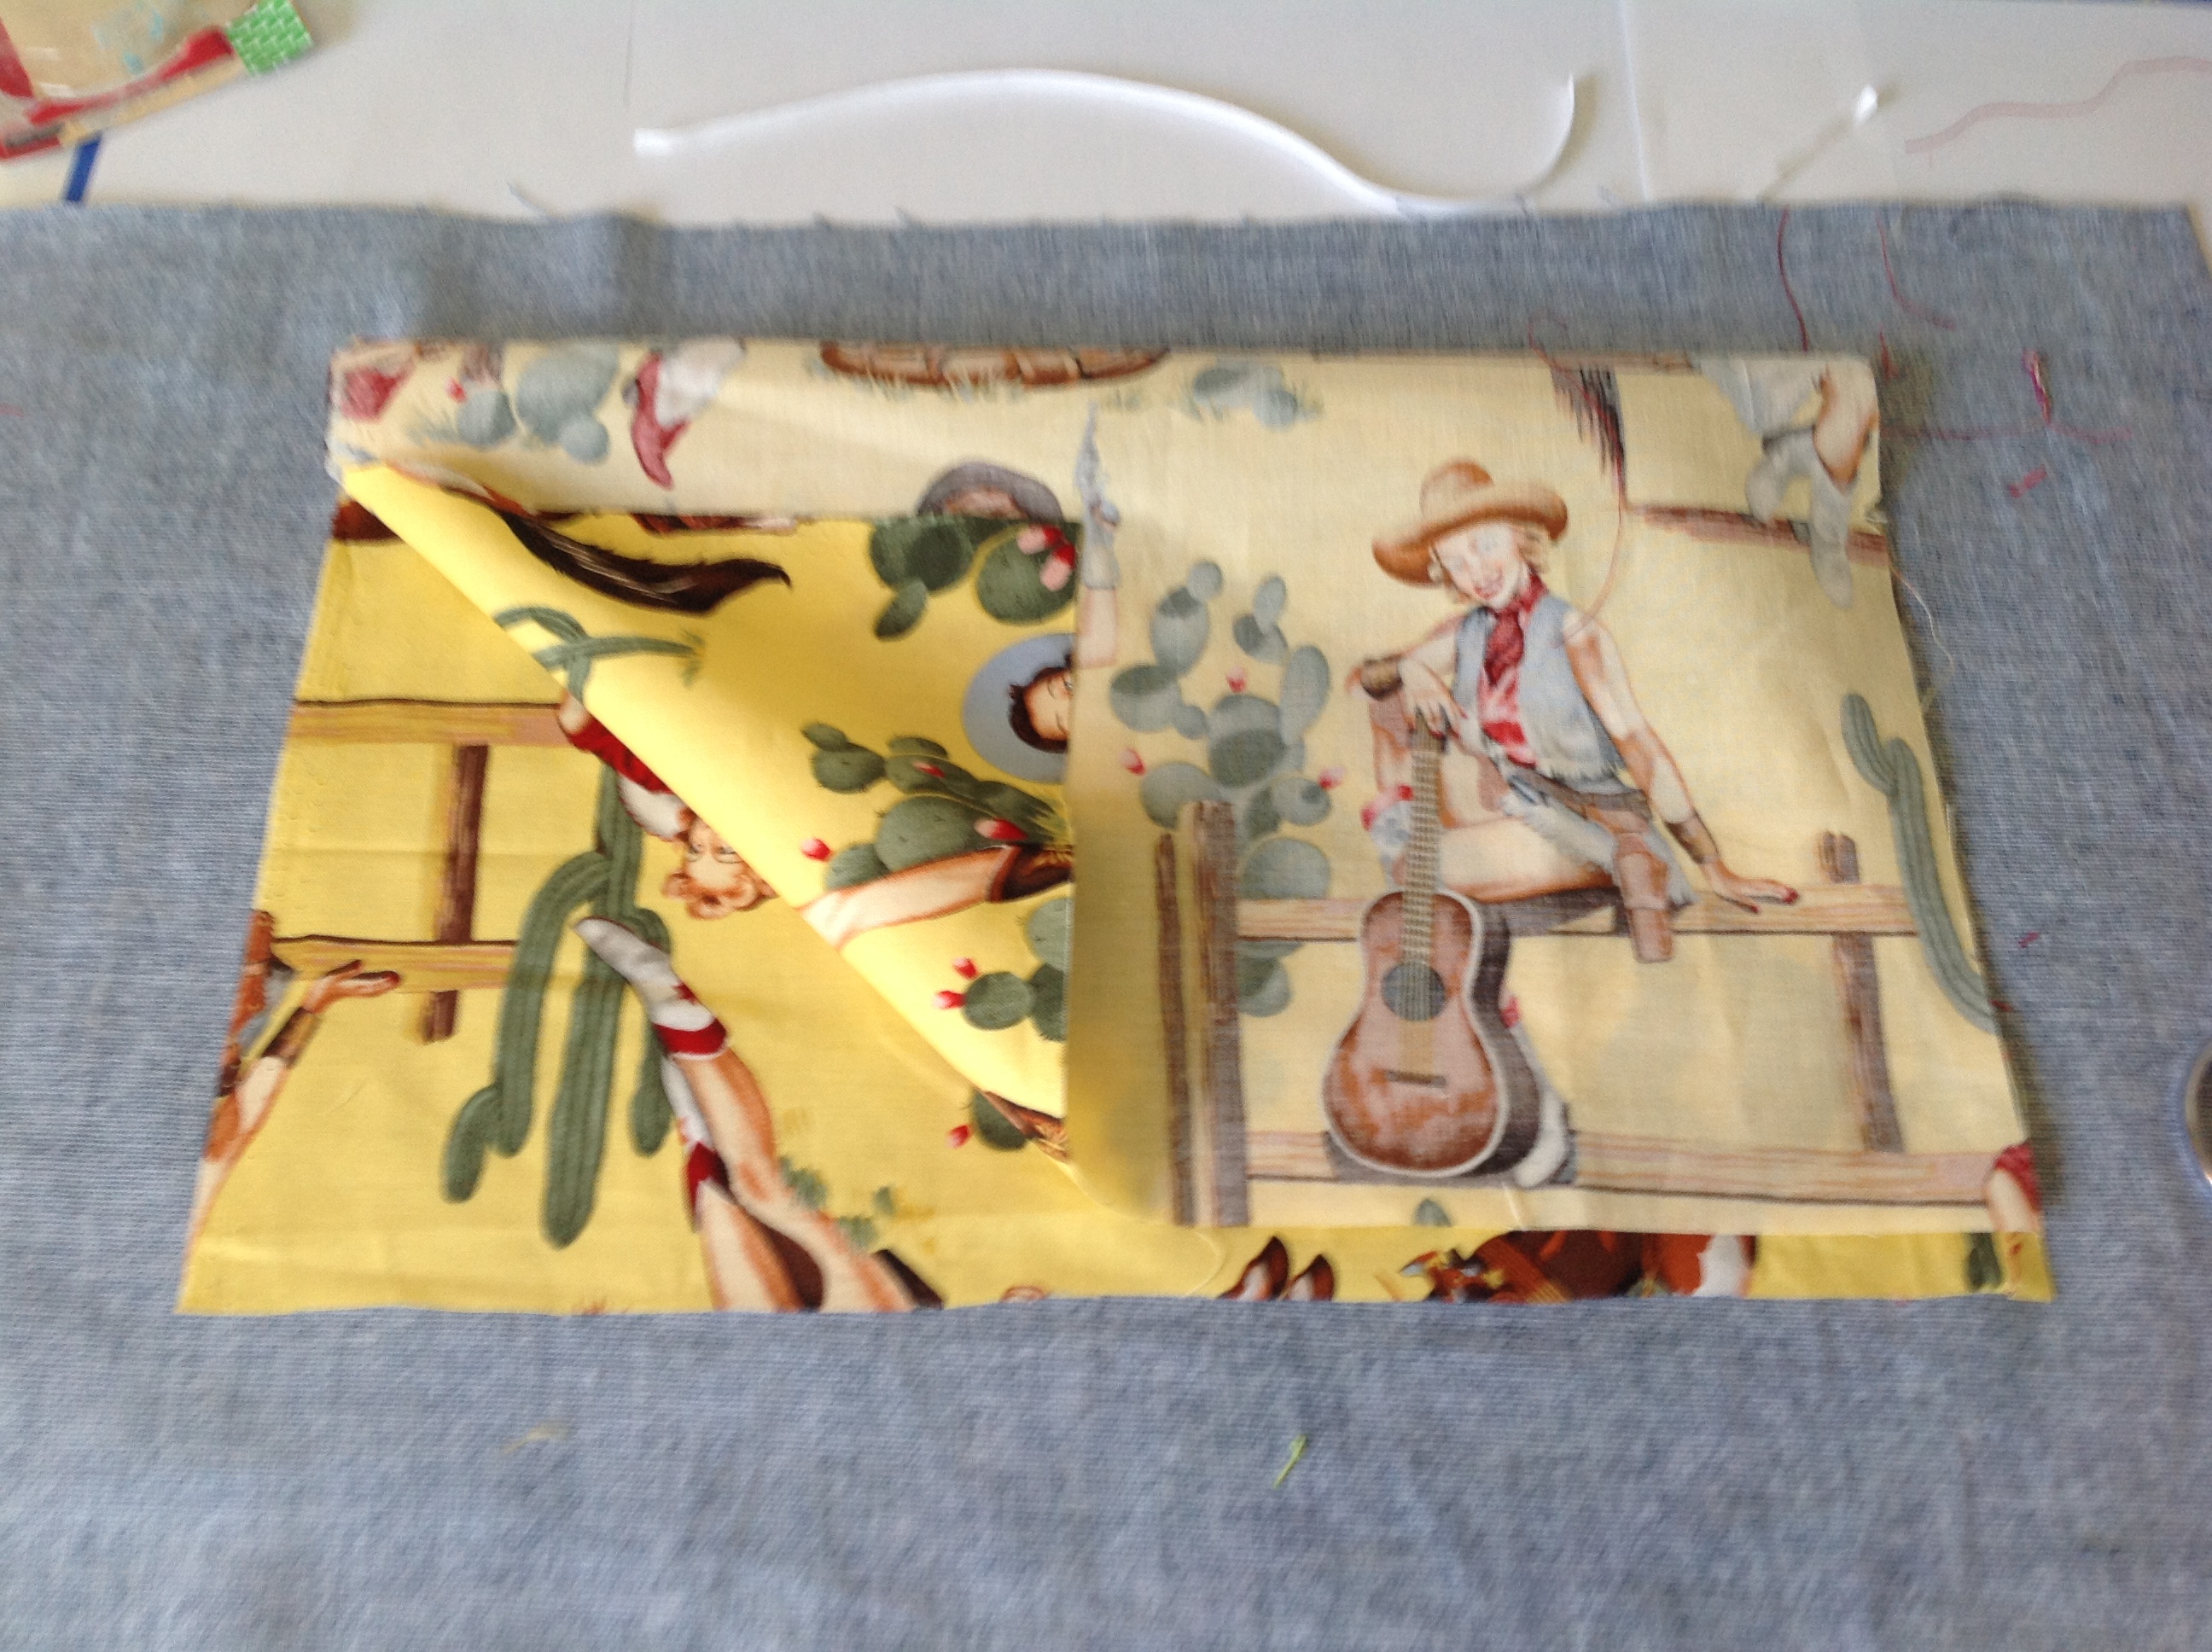
So, let’s get on with the drawing the rectangle! Be sure that the Exterior Pocket is positioned on your work surface so that the 18″ edge is at the top . Now here’s the trick if you are using a directional fabric like I am: position the fabric so the design is upside down in relation to where you are standing. Refer to step 6 to find the placement of the rectangle and go ahead and draw it on there. Also, notch the side edges where the pattern indicates.
So we need to position the pocket onto the Exterior. We are going to put the pocket 2 1/4″ in from each side edge and make sure the notches on the pocket are aligned with the top edge of the Exterior. If you print is directional, it should still be upside down, I know it’s counter-intuitive but I promise, it will all work out! Once it’s in position, stitch along the lines of the rectangle on the pocket. Then you can cut through all layers down the center of the rectangle. 
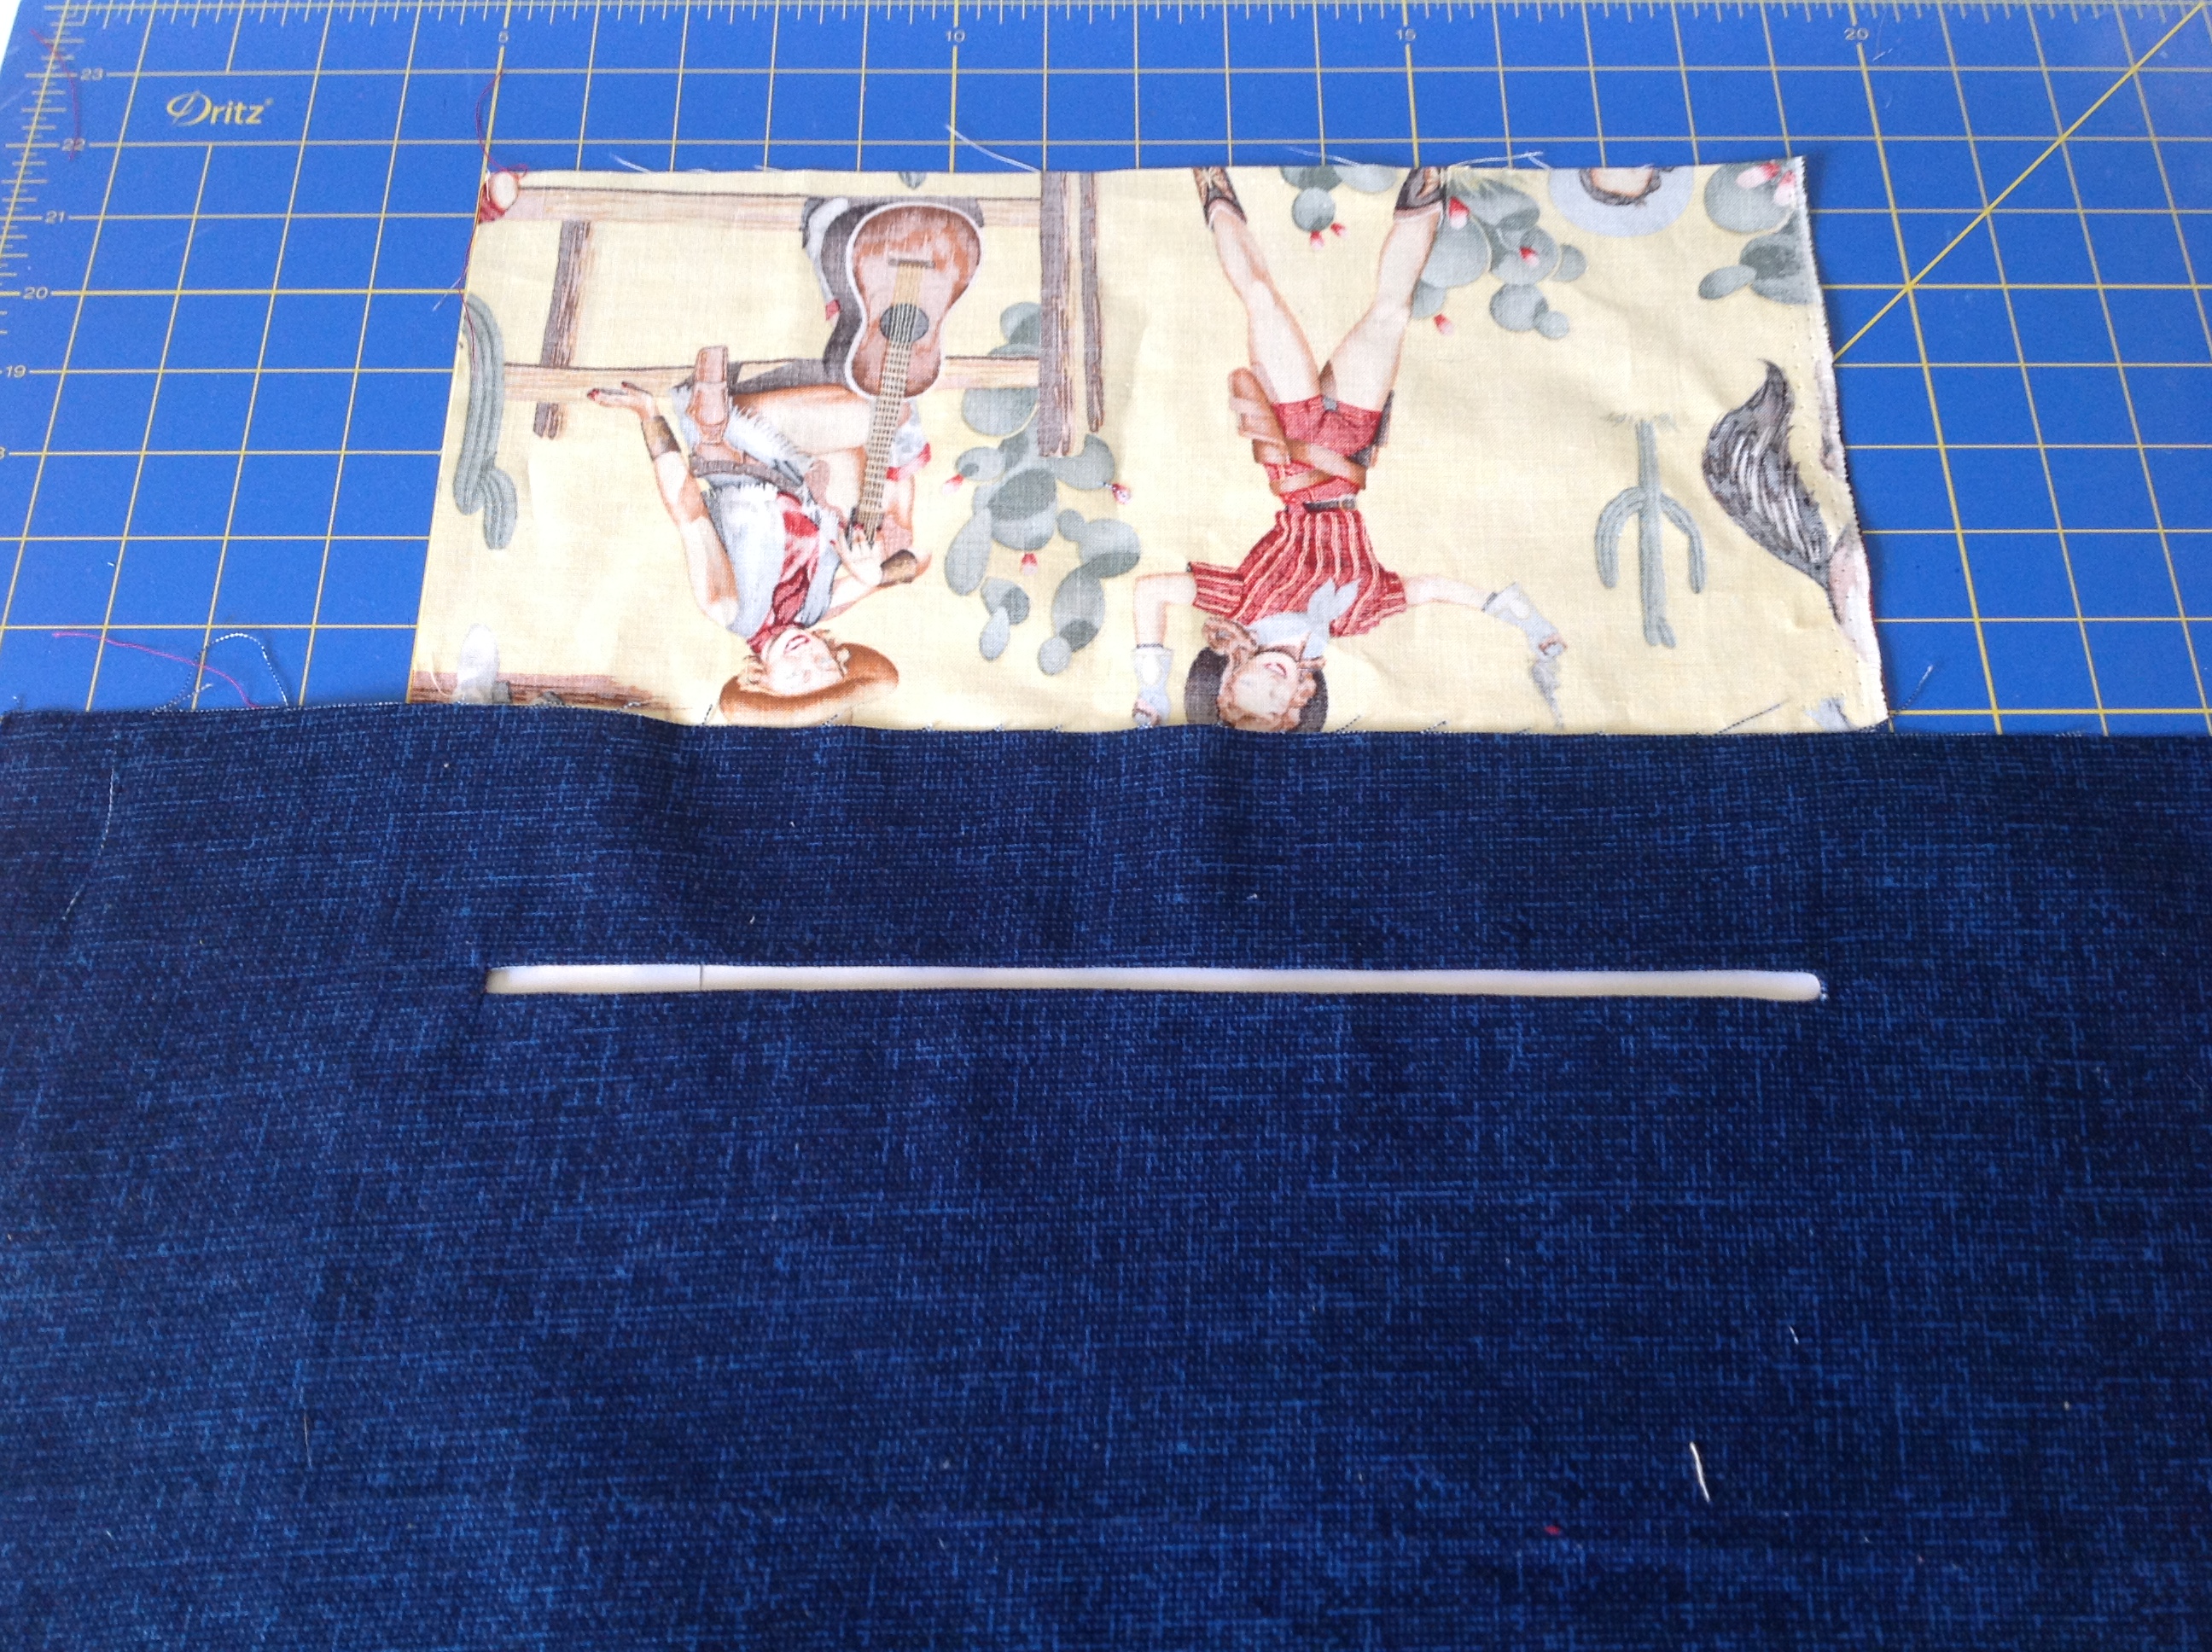
Now grab the pocket and feed it through the opening to the other side (wrong side) of the Exterior panel. Yep, it’s still upside down!
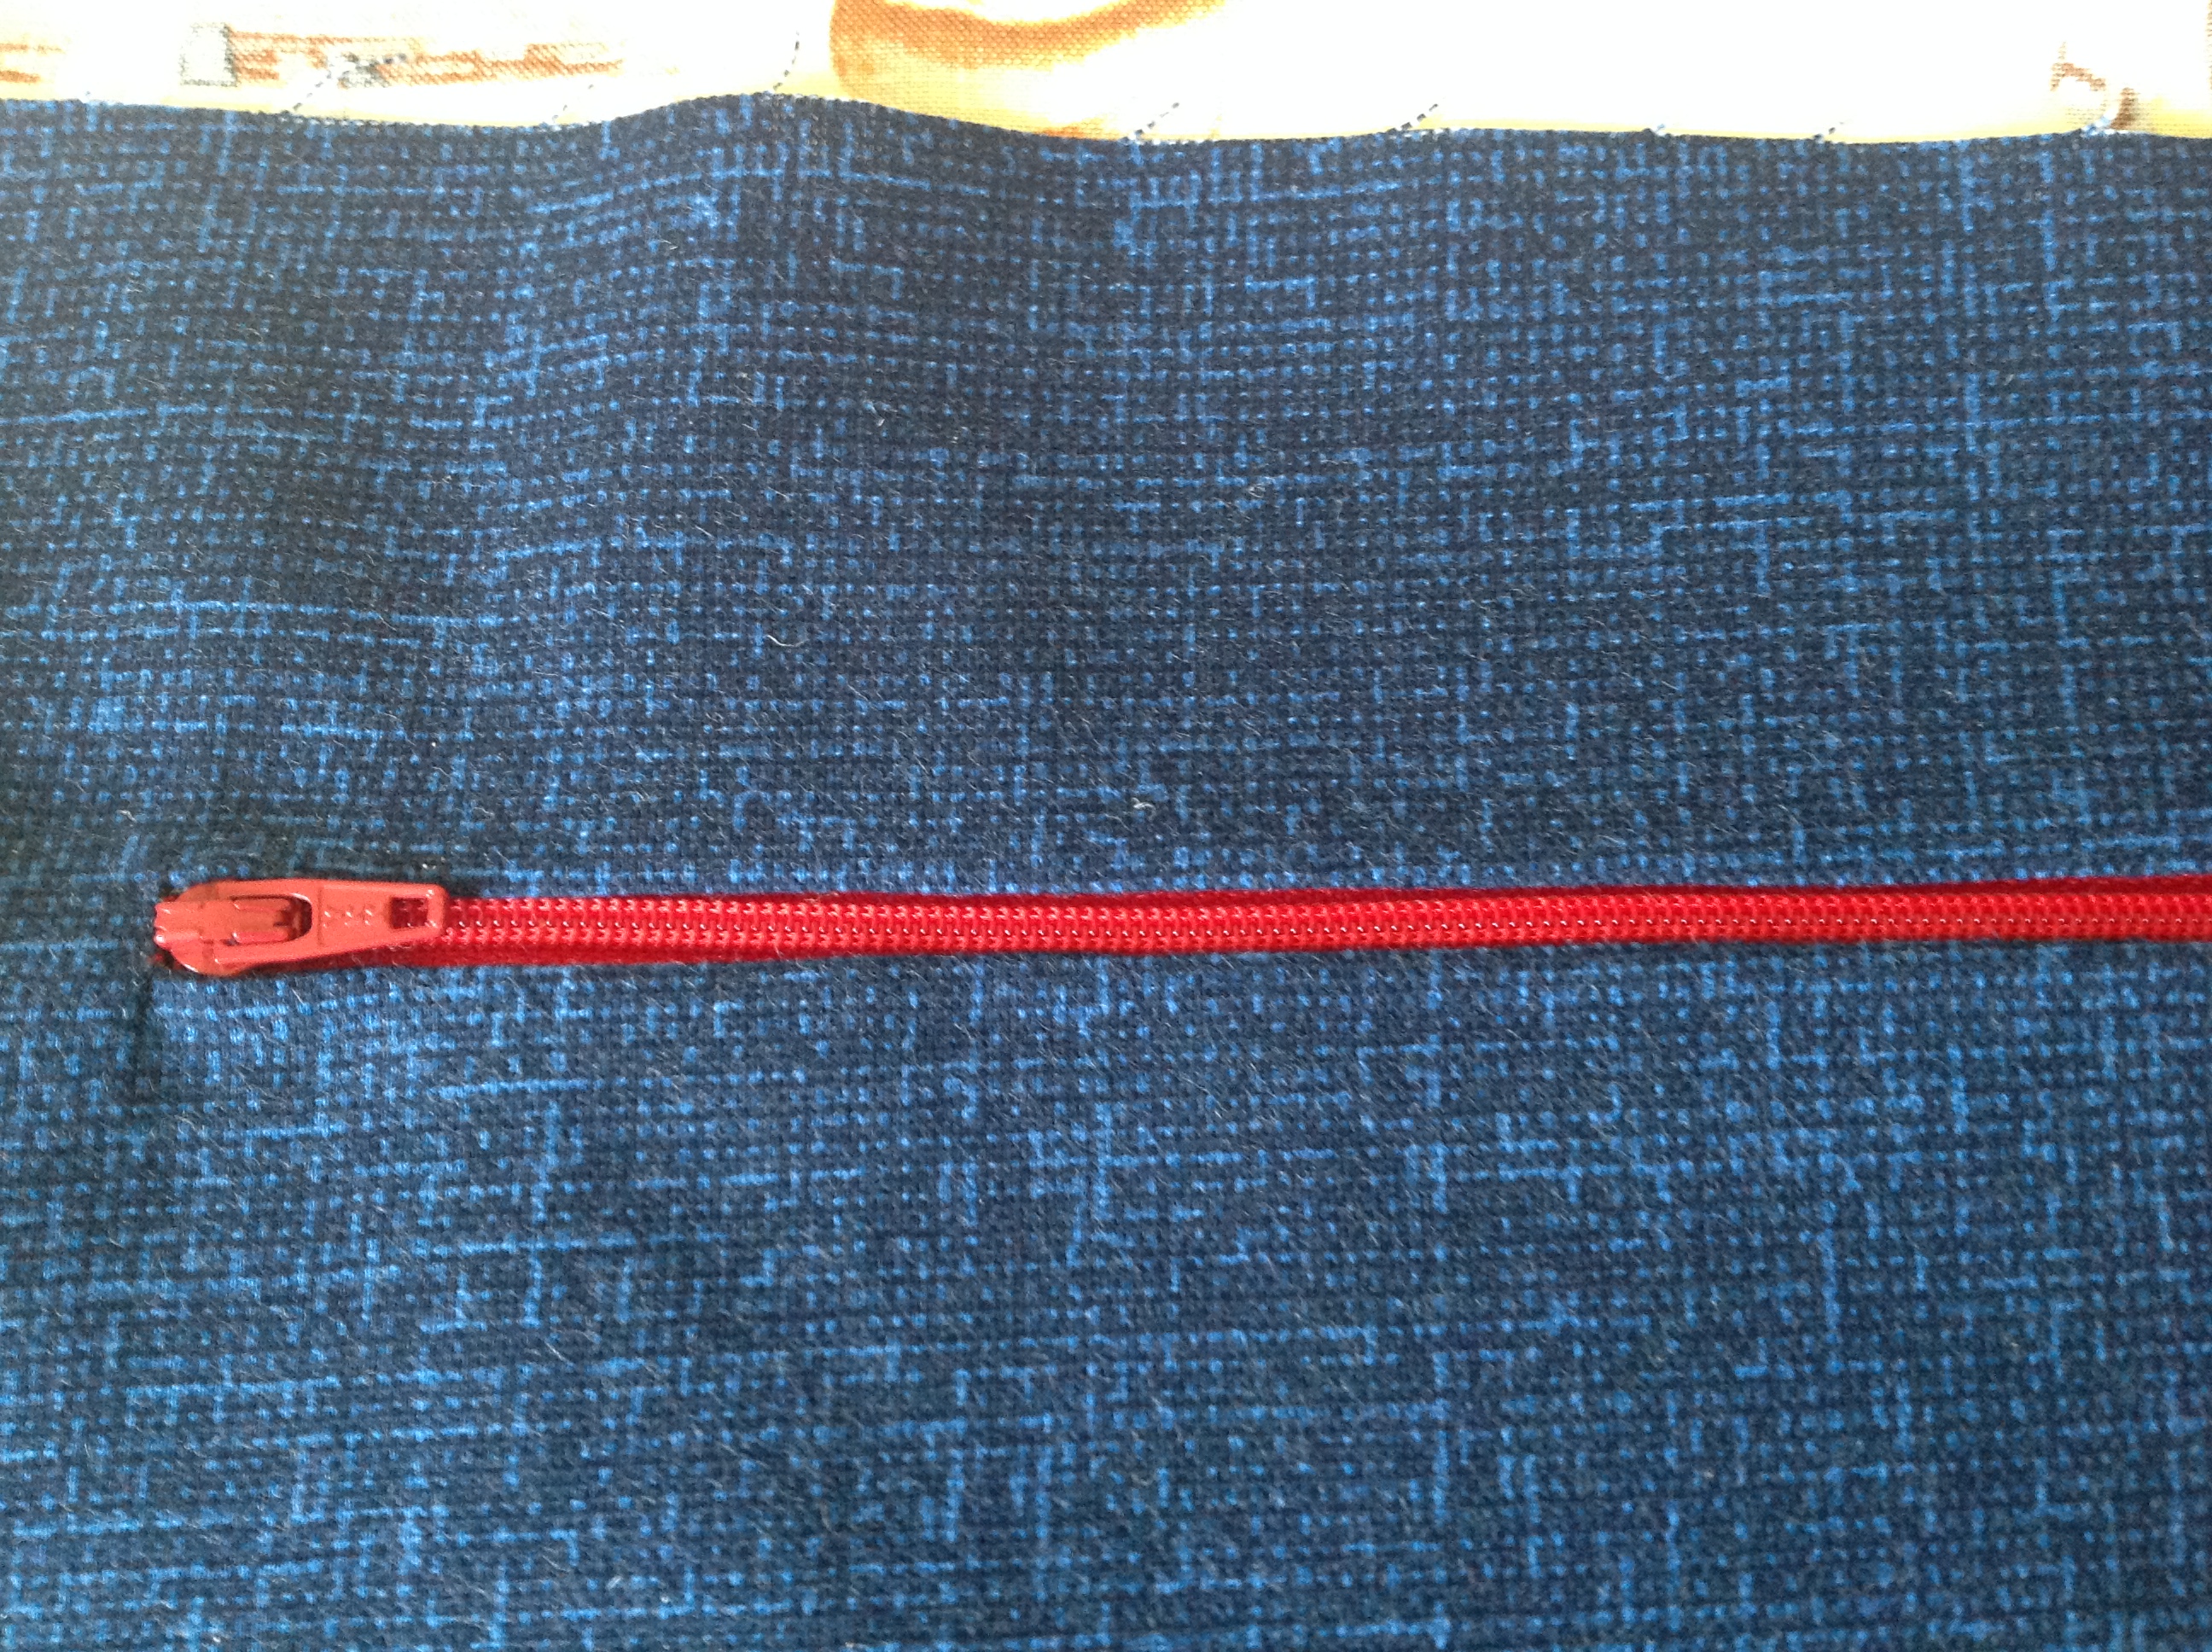
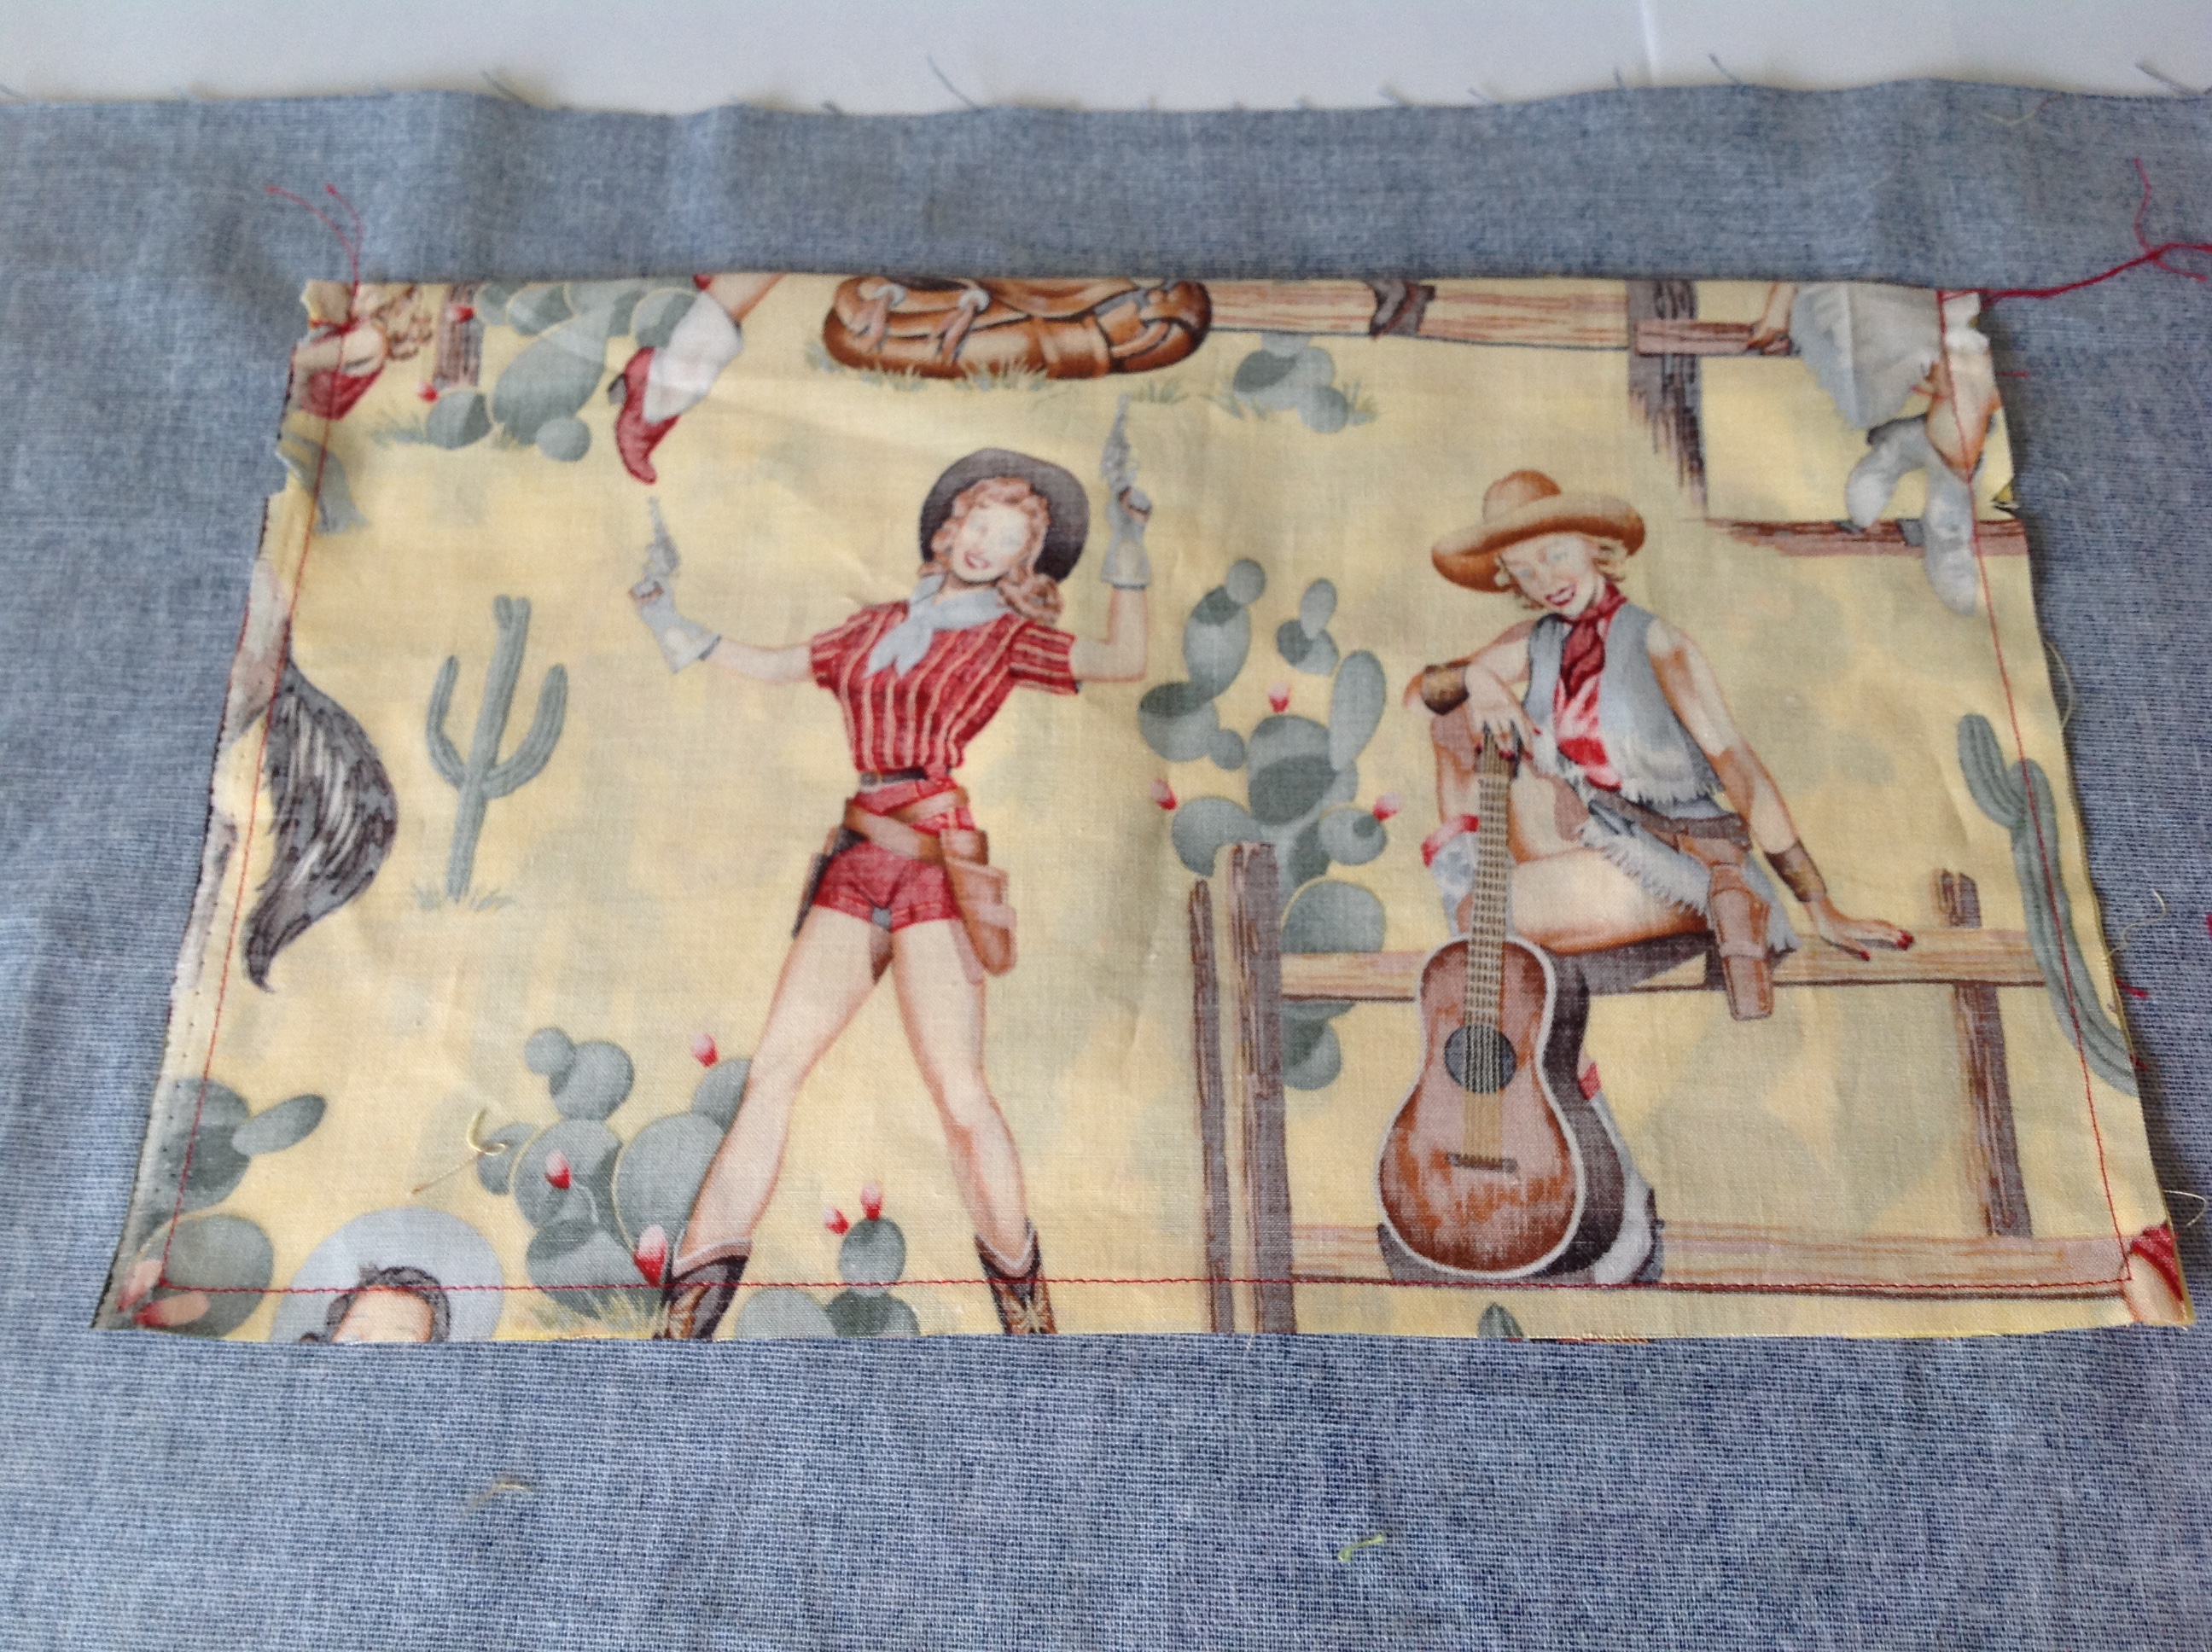
Once you open and press all the seams, you will have this – as seen from the right side of the Exterior panel:
Flip the panel over so the pocket is facing up. Grab your fusible web tape – I like Wonder Tape but anything similar will do. Position the fusible web tape on the pocket along both long edges of the window opening and fuse following the manufacturer’s instructions. Remove the paper backing.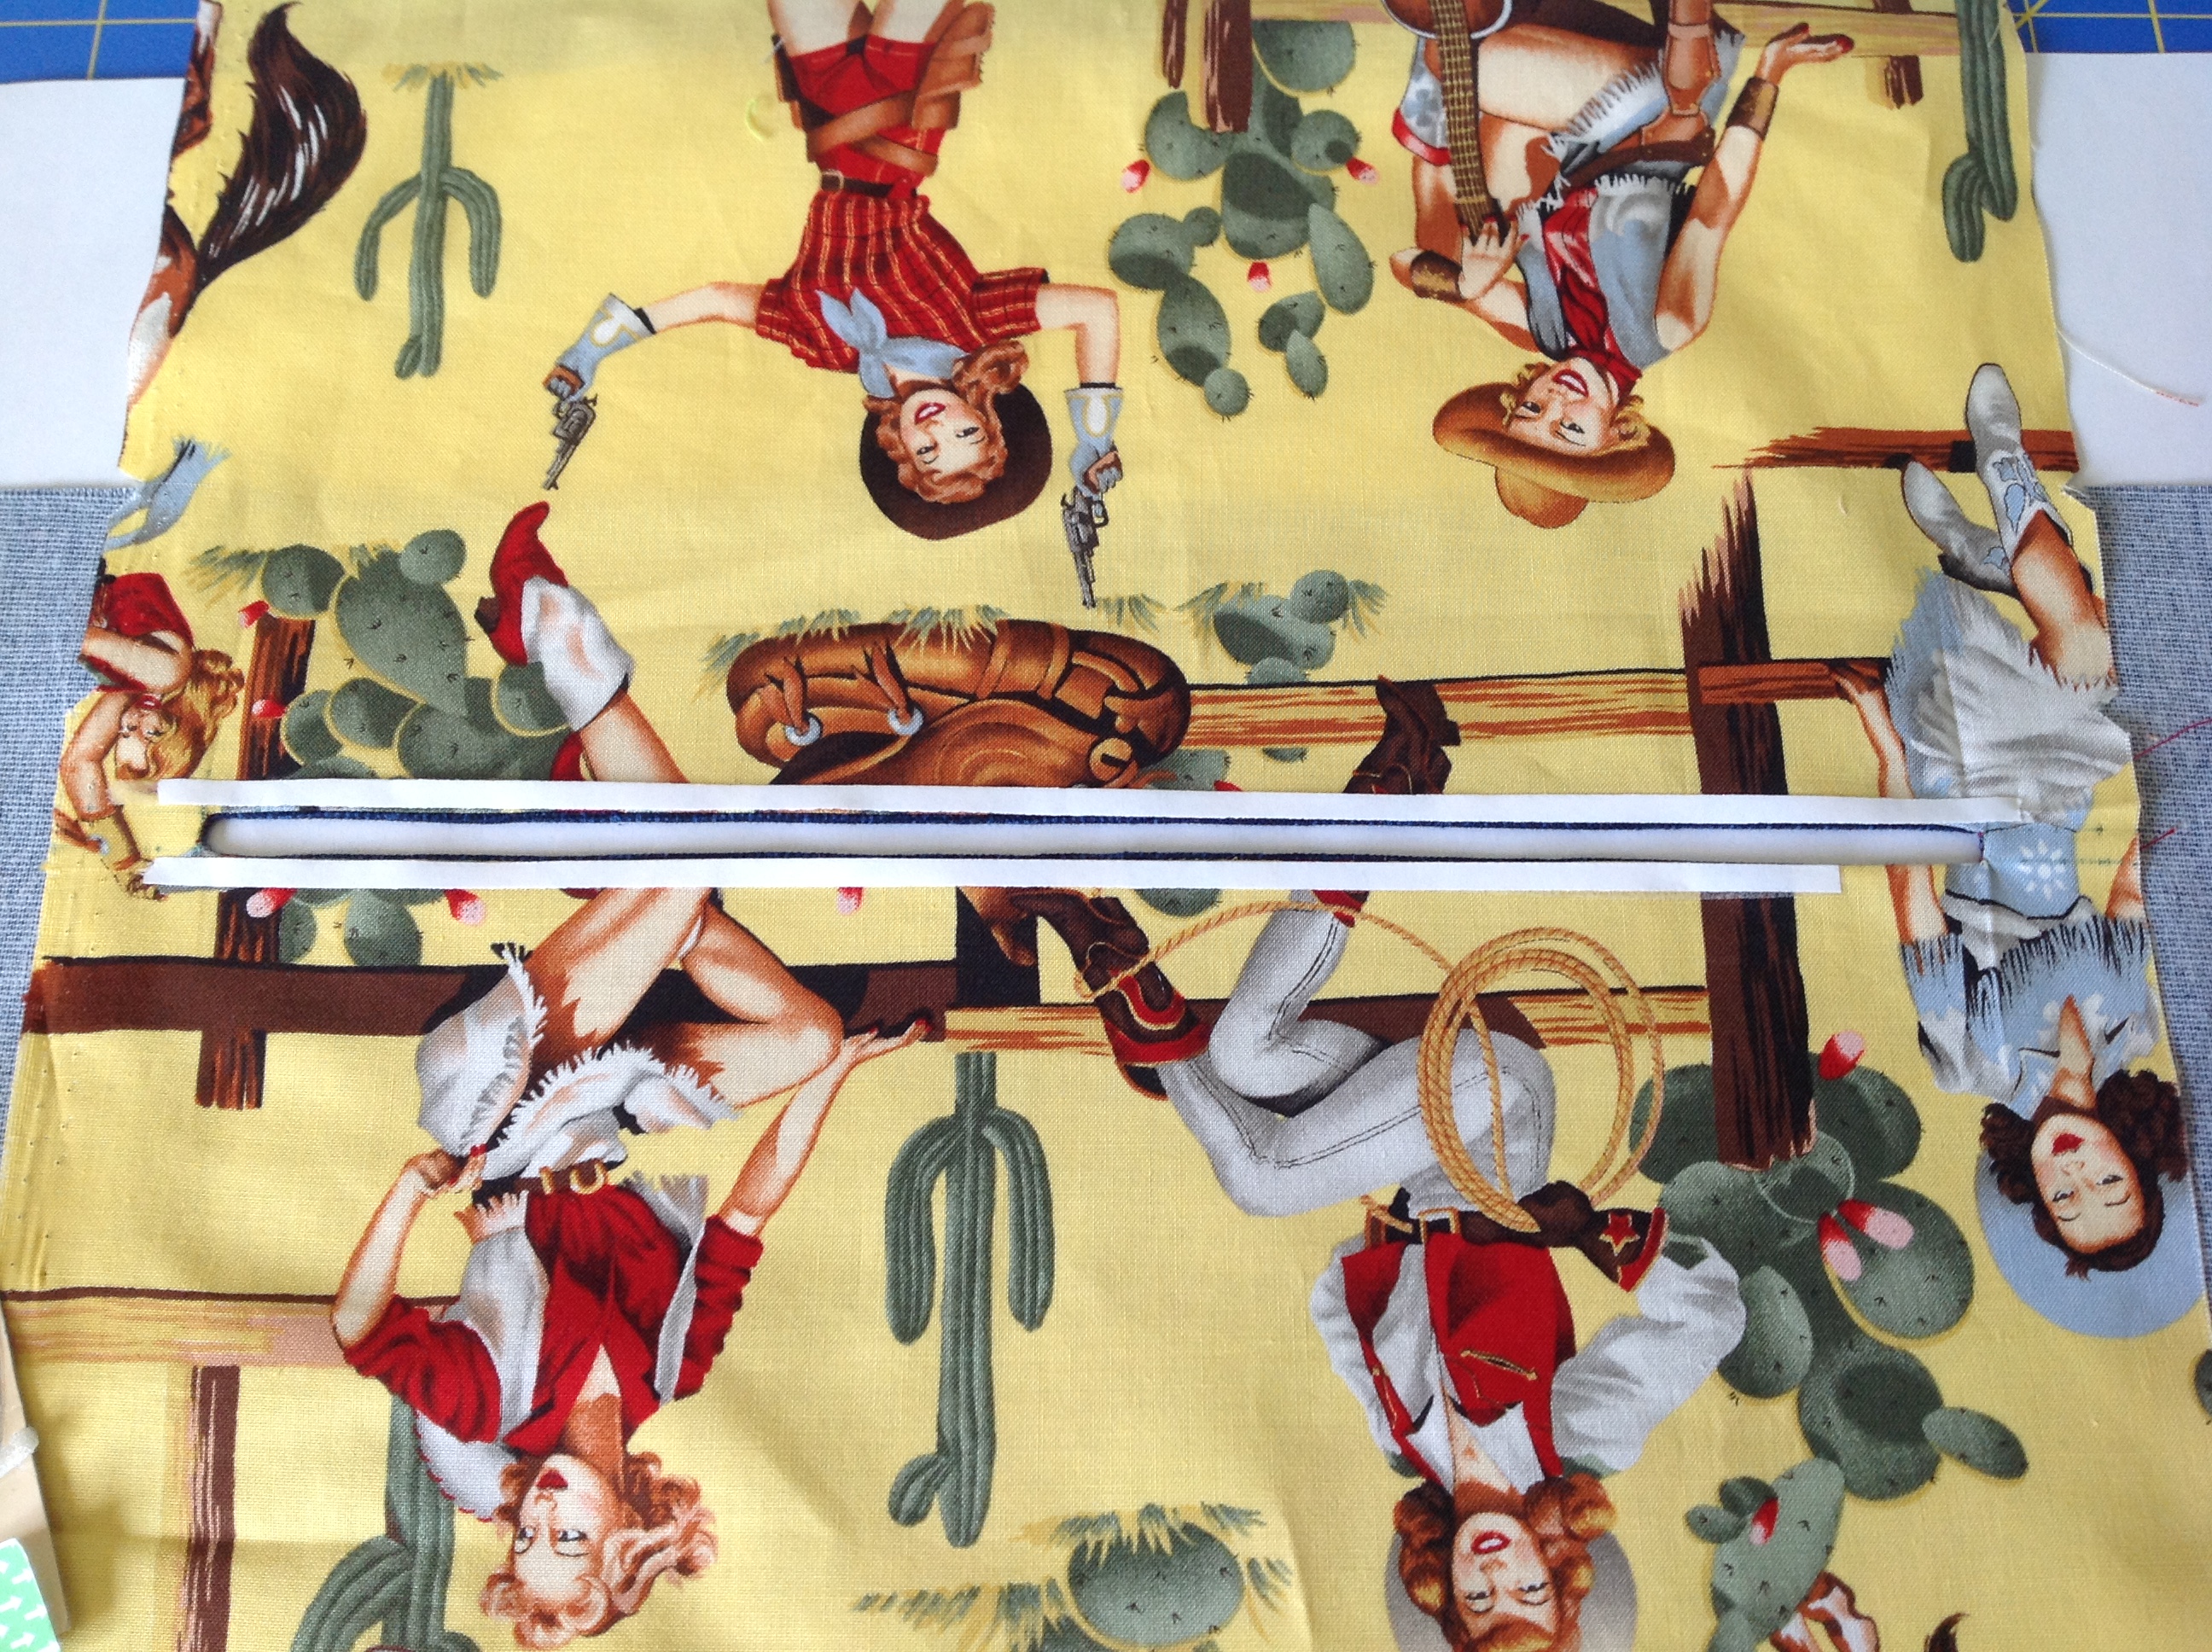
Find your zipper. If it’s longer than the window, that’s ok, it can be trimmed after it is sewn on. We are going to center the zipper into the window. Make sure you place the zipper on the wrong side of the Exterior panel. Also be sure that the zipper pull if visible on the right side of the Exterior.
Since my window is so thin, I have found it’s actually easier to lay the zipper on my work surface face up and then lay my panel down onto it working from one end of the opening to the other. That way I can position each side as close as I need to to the teeth of the zipper and I know it’s straight. If you have used something fusible web tape, fuse it down once you are happy with it.
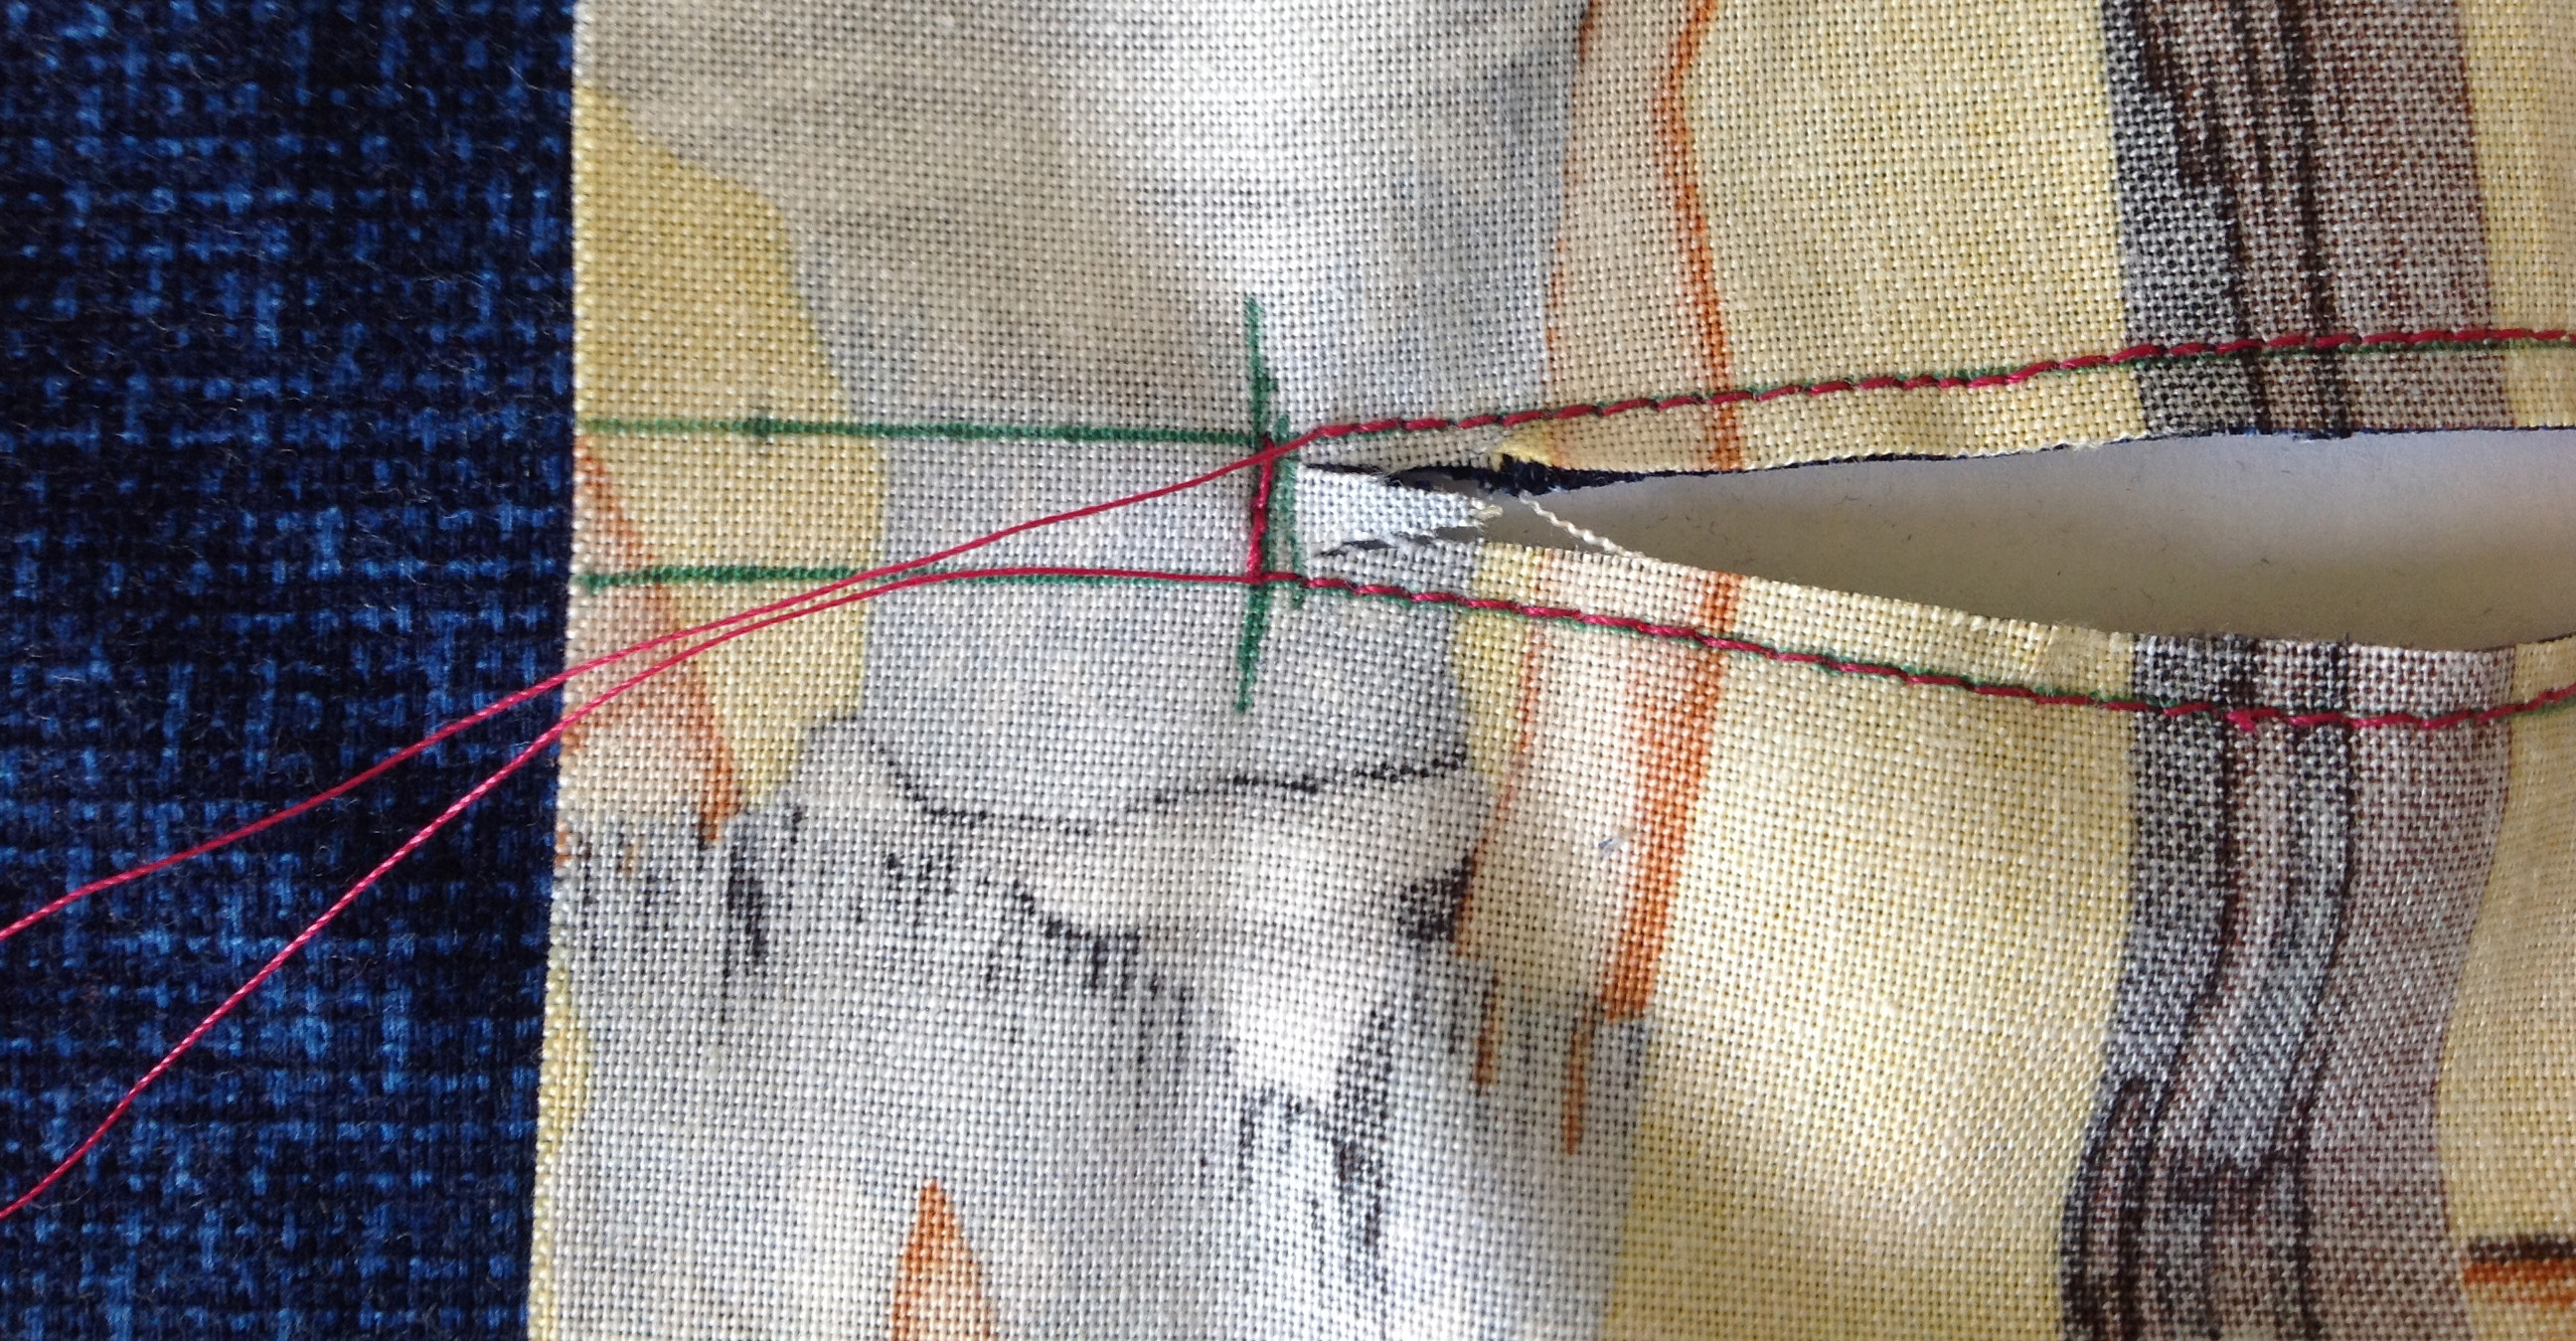
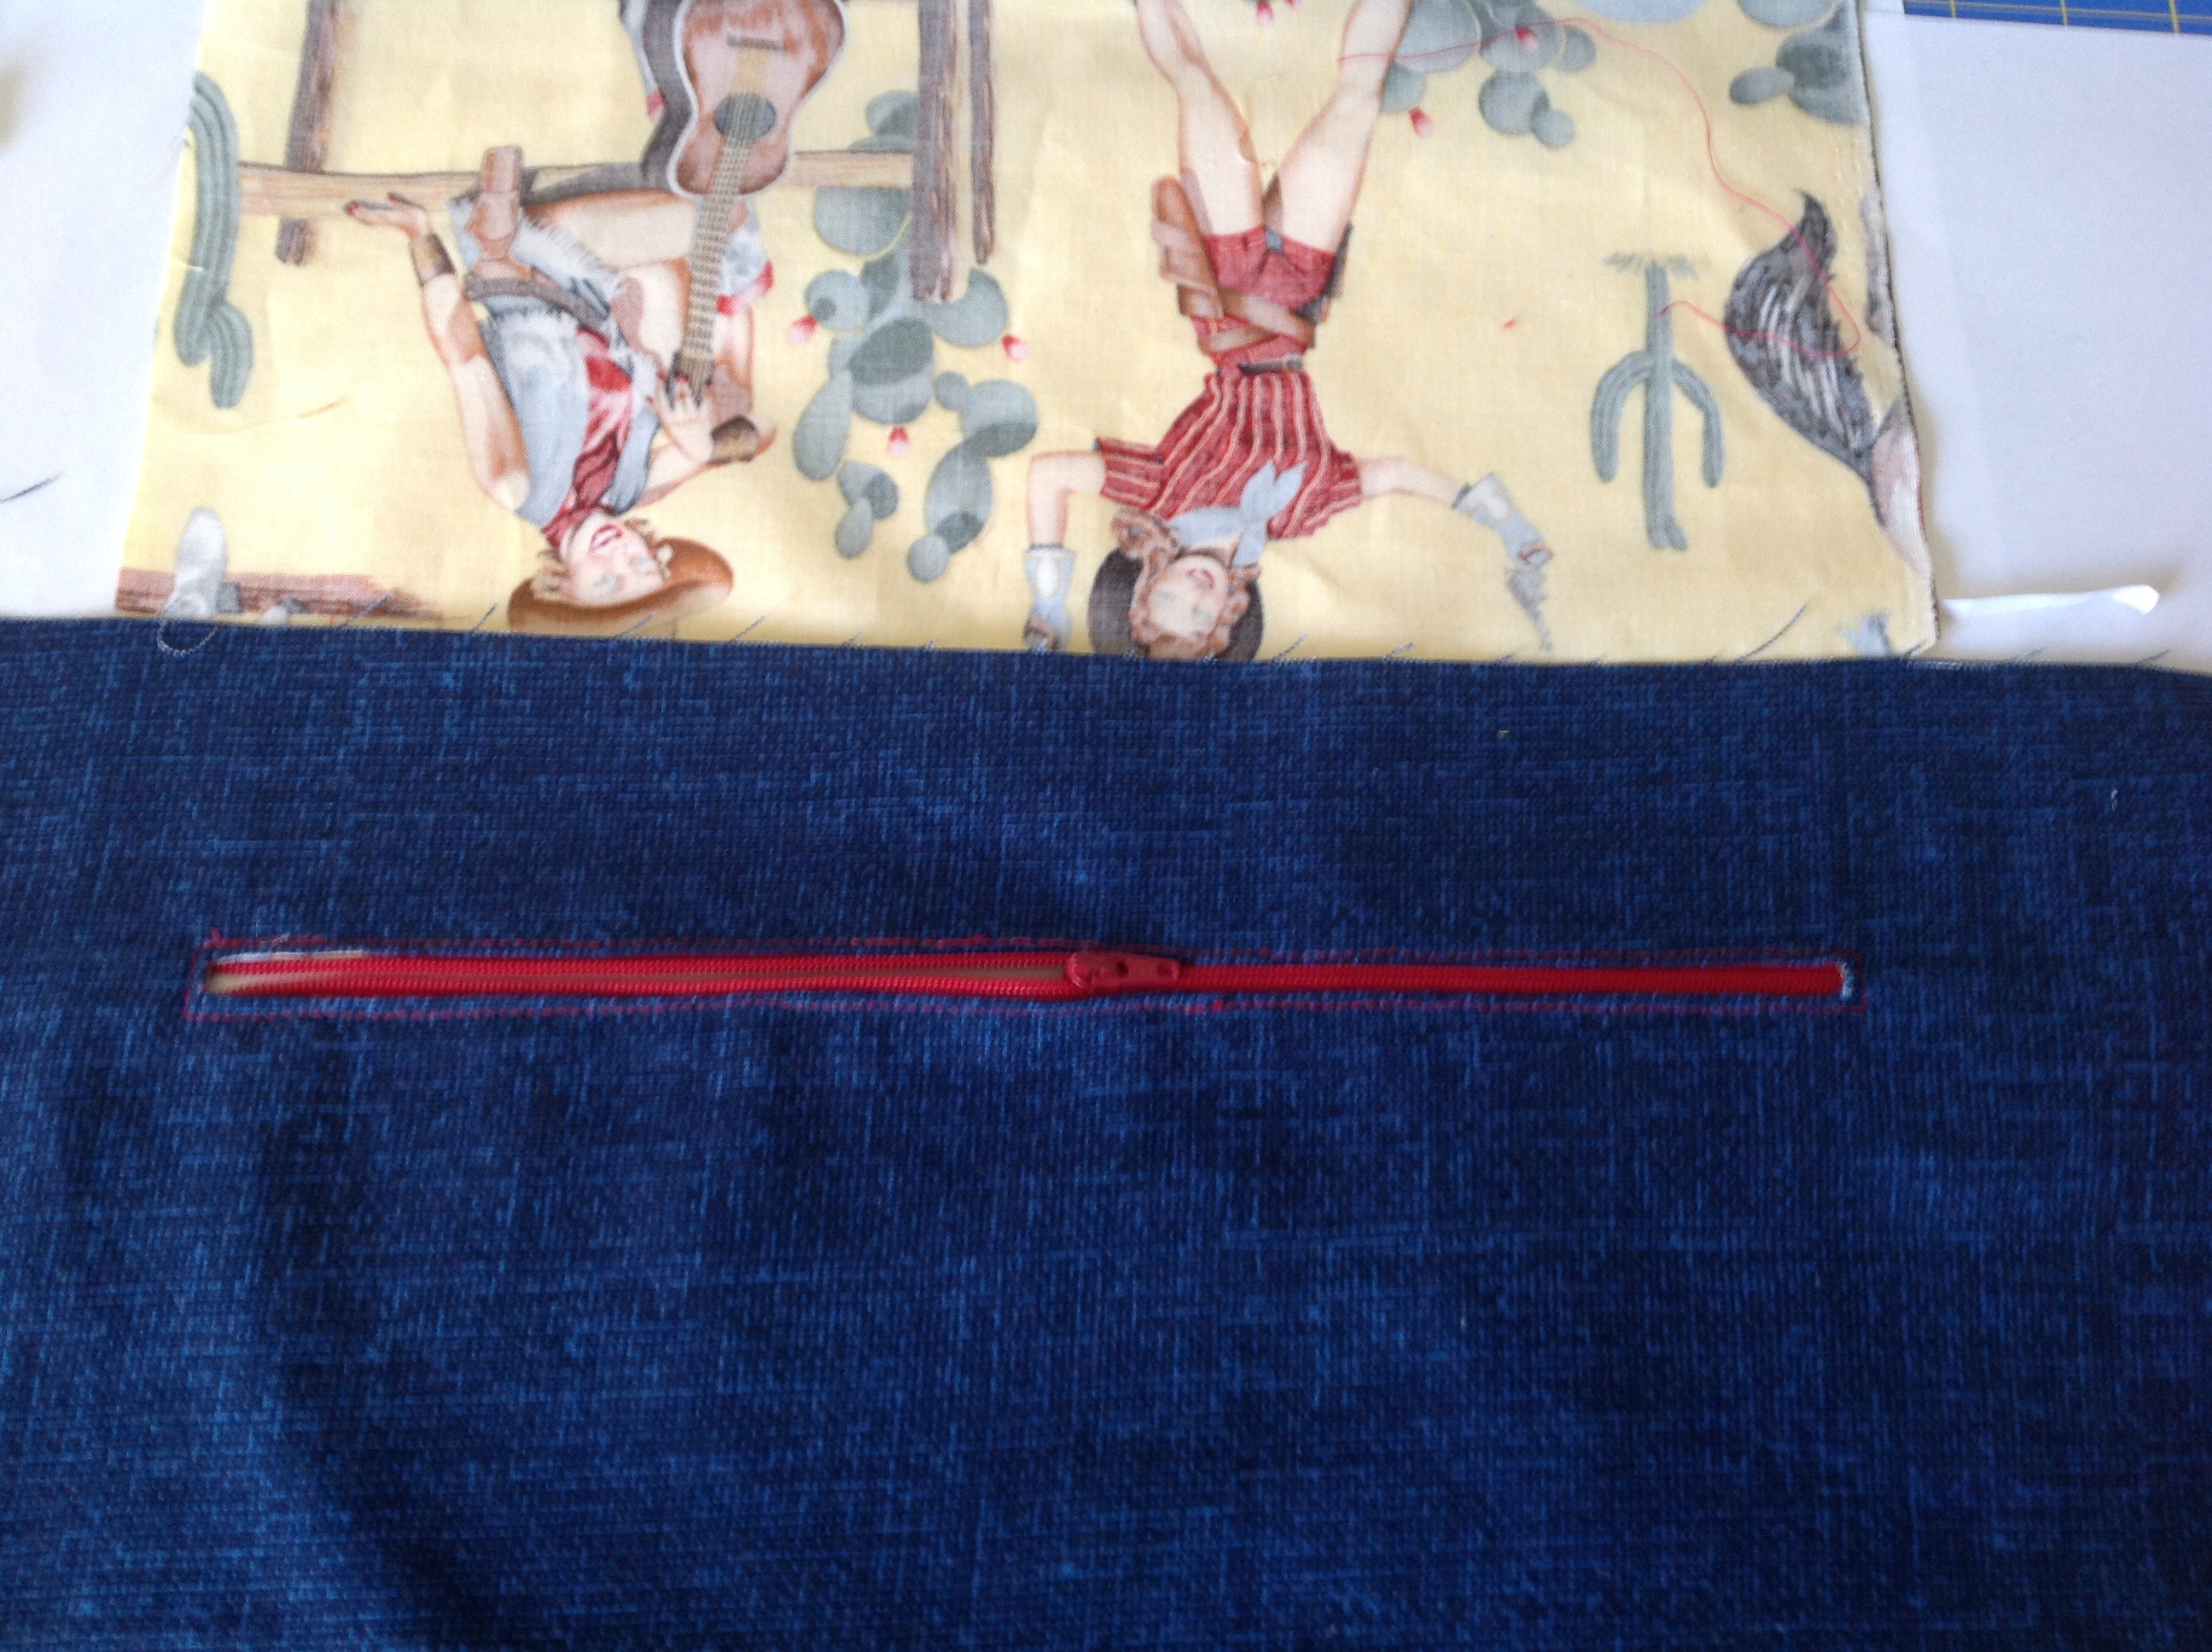
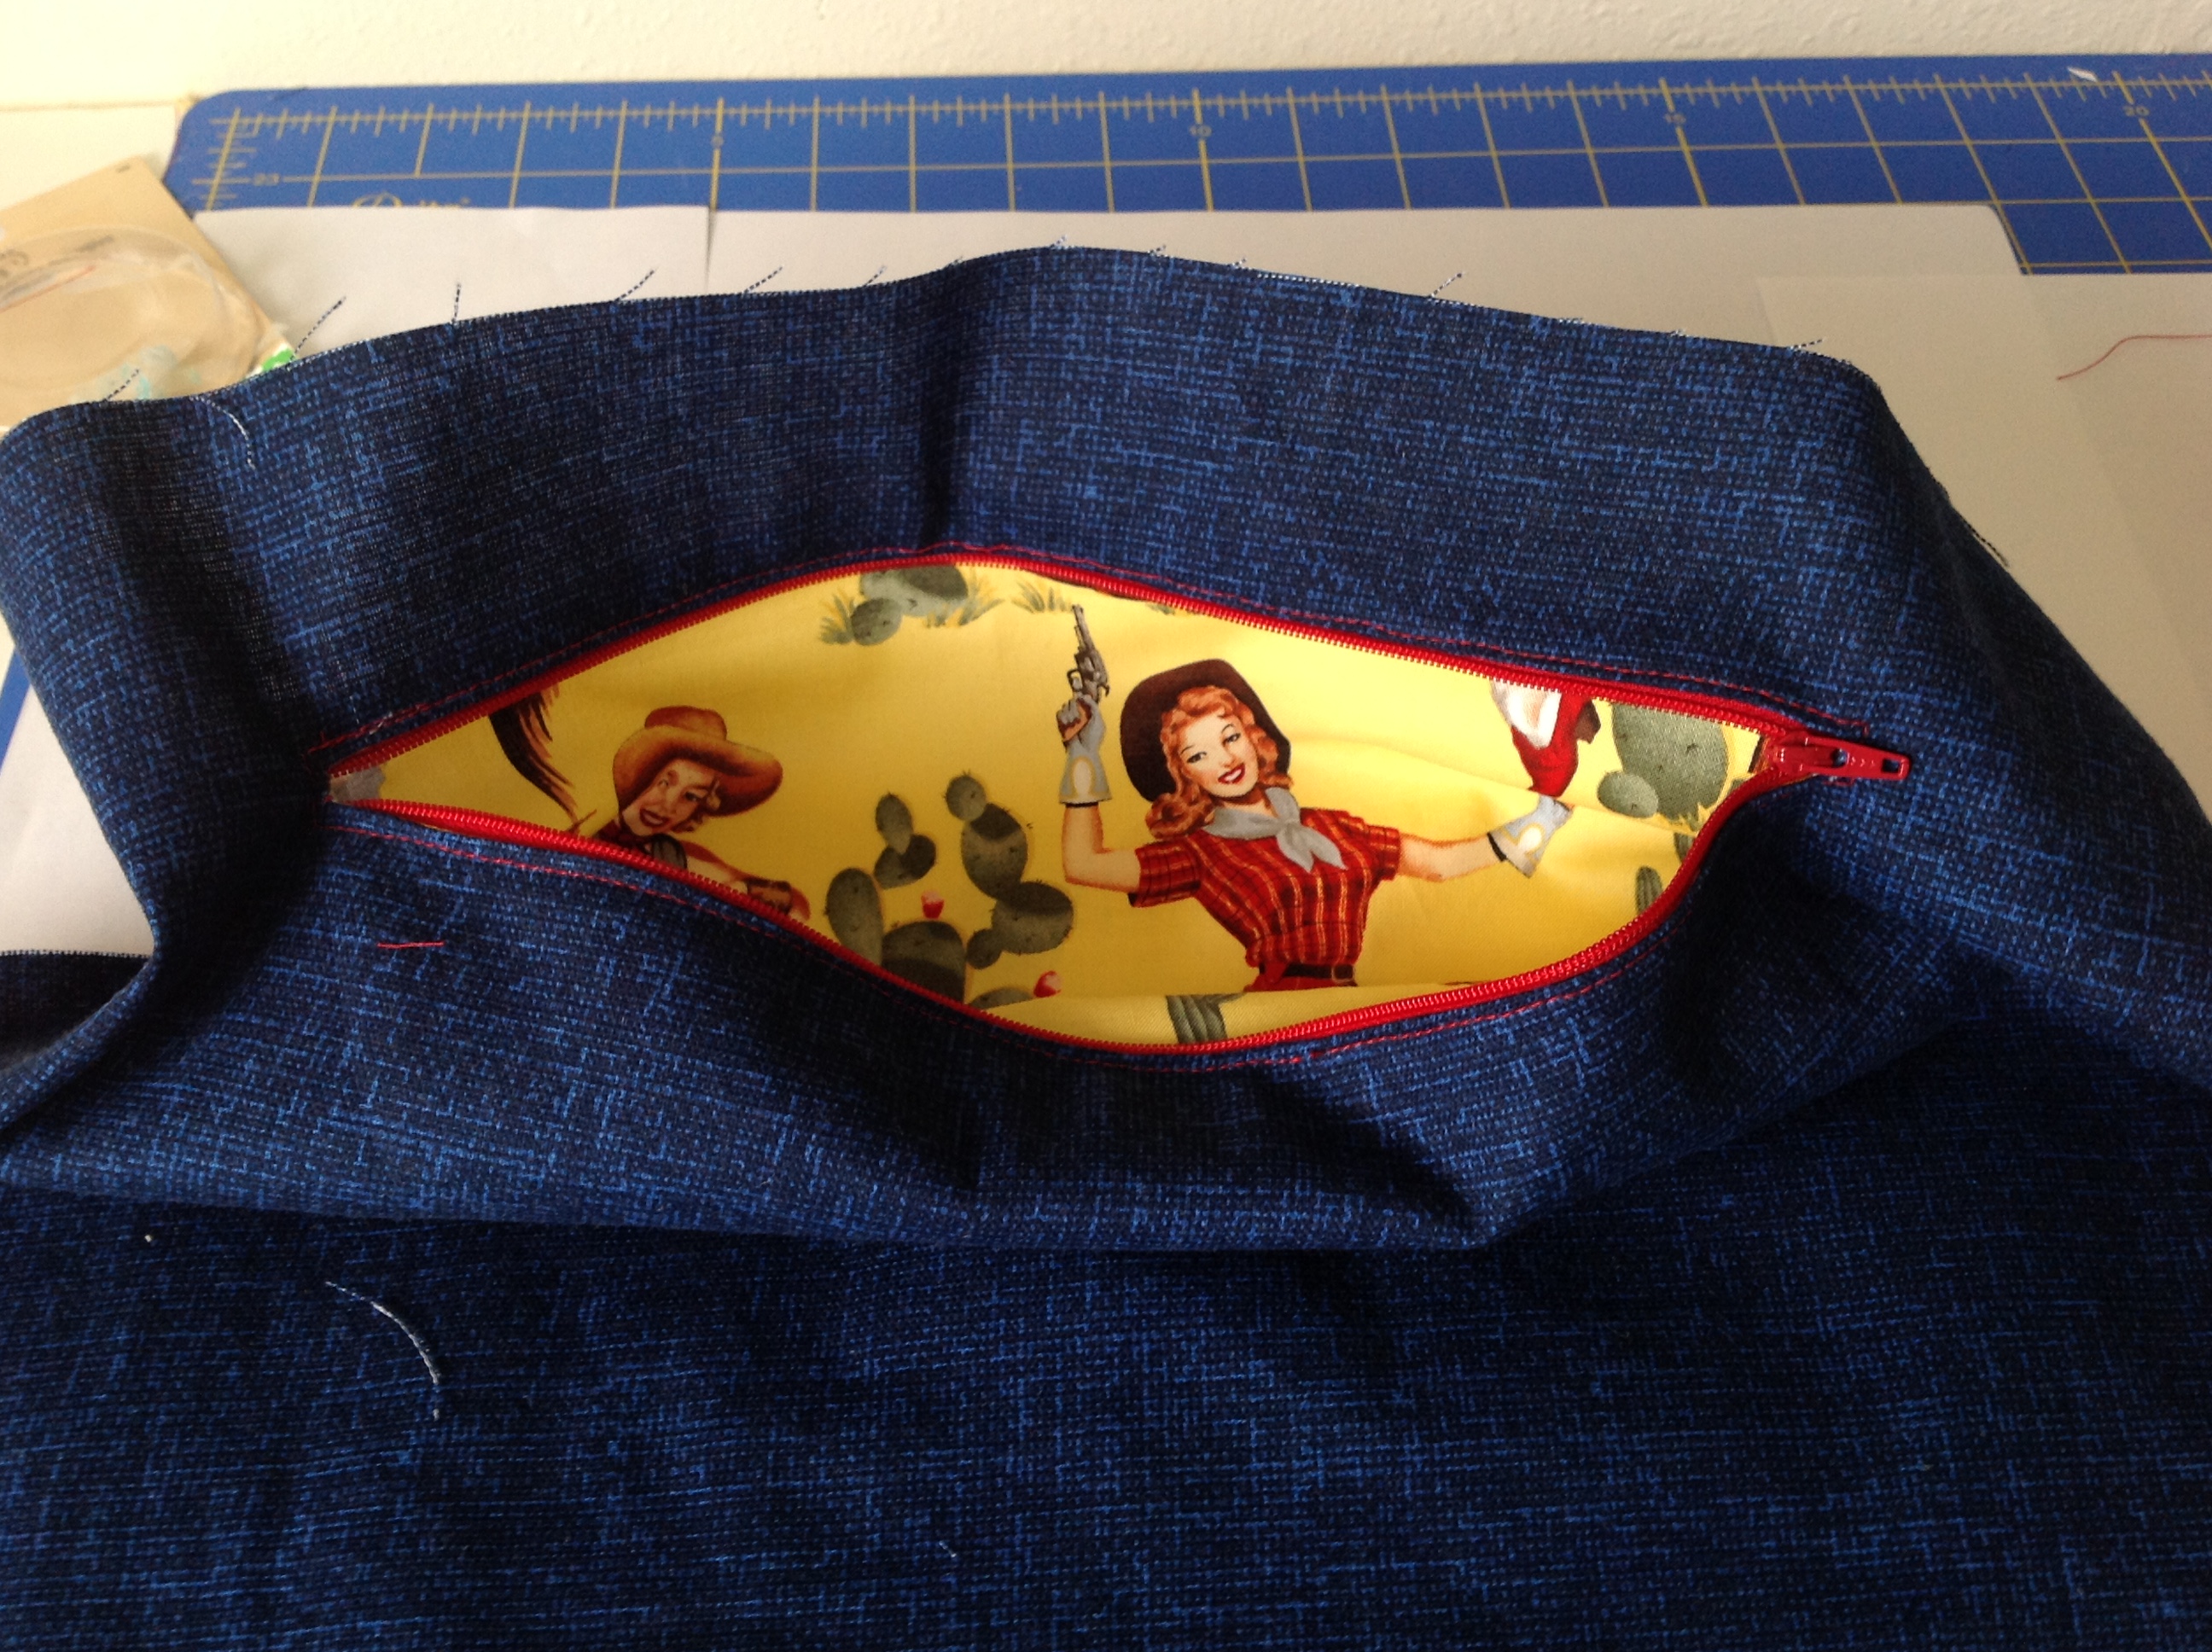
Now you’ll want to stitch down the zipper by sewing around the opening. So, from the Exterior panel side, topstitch the perimeter about 1/8″ or so all the way around.
Be very careful you don’t do what I did! Keep the pocket pieces well out of the way! 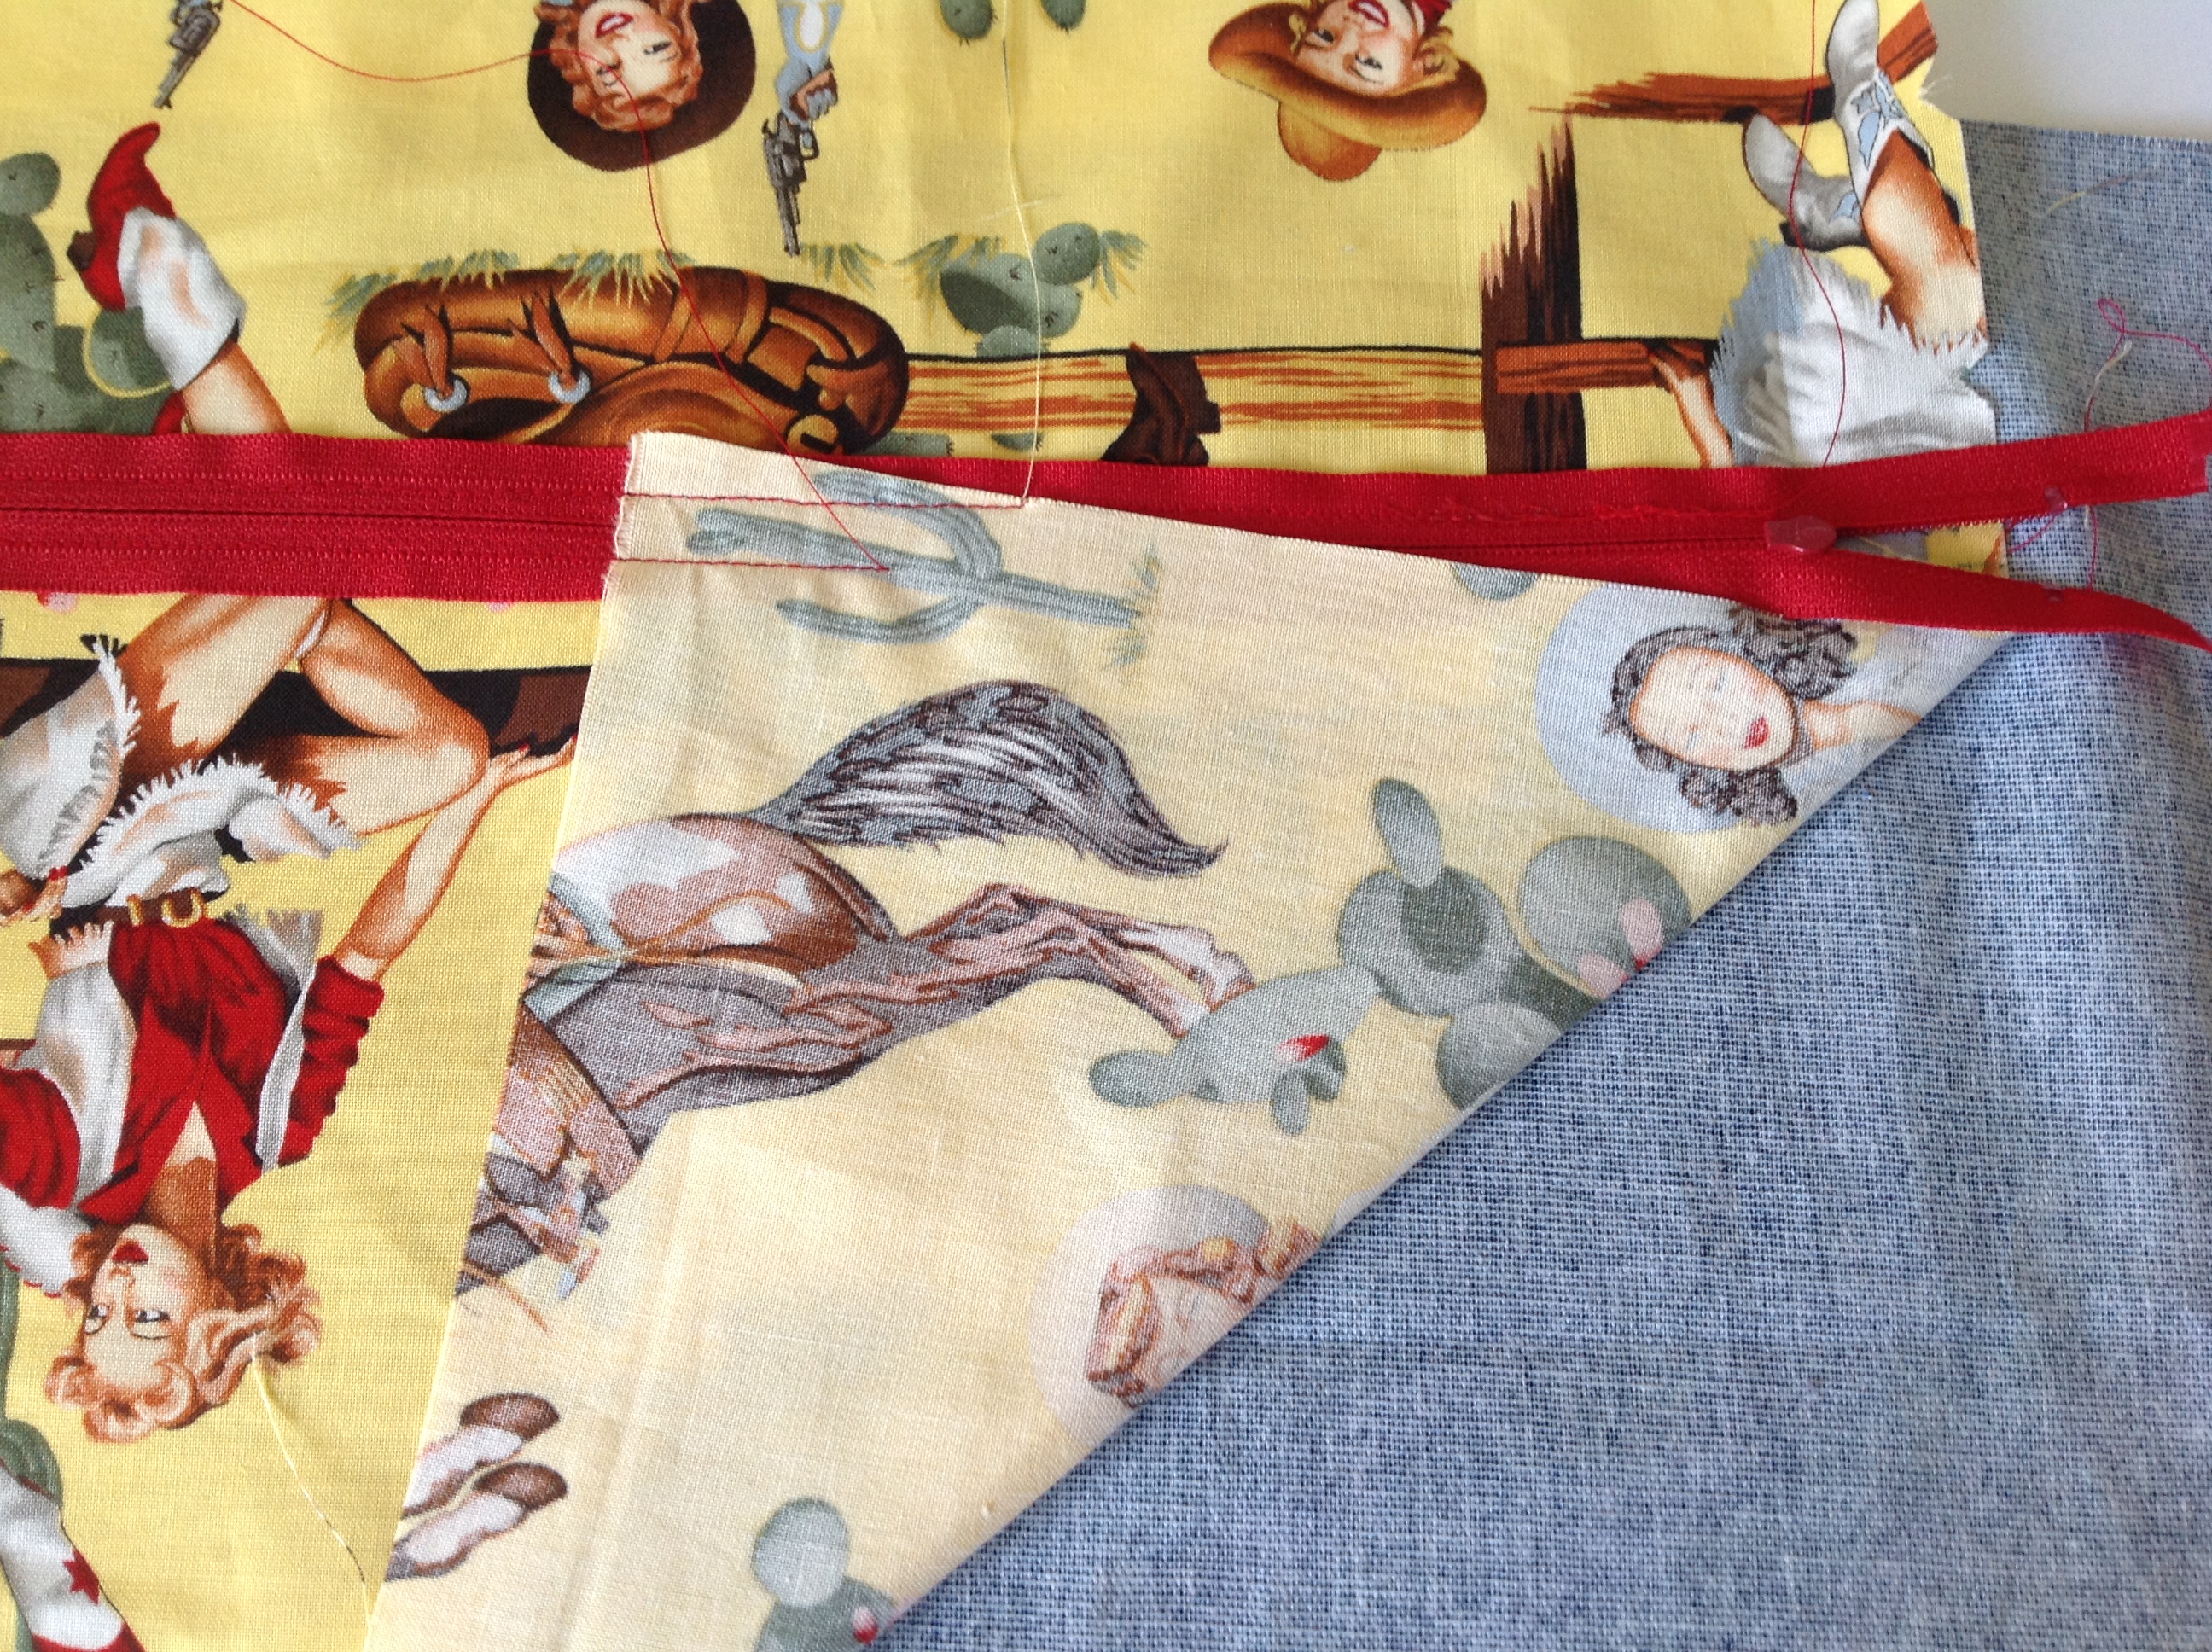
And that’s it and see, those cowgirls are right side up! Hope this helped. Sarah
For the next tutorial in the Motherload Tote Pattern, click here.
Leave a Reply
You must be logged in to post a comment.